Late-night chocolate cravings? Consider them conquered! This quick and easy 5-Minute Molten Lava Chocolate Mug Cake is the answer. Imagine a rich, moist, and chocolatey delight with a gooey molten chocolate center—all ready in just 5 minutes. Need I say more?
Print
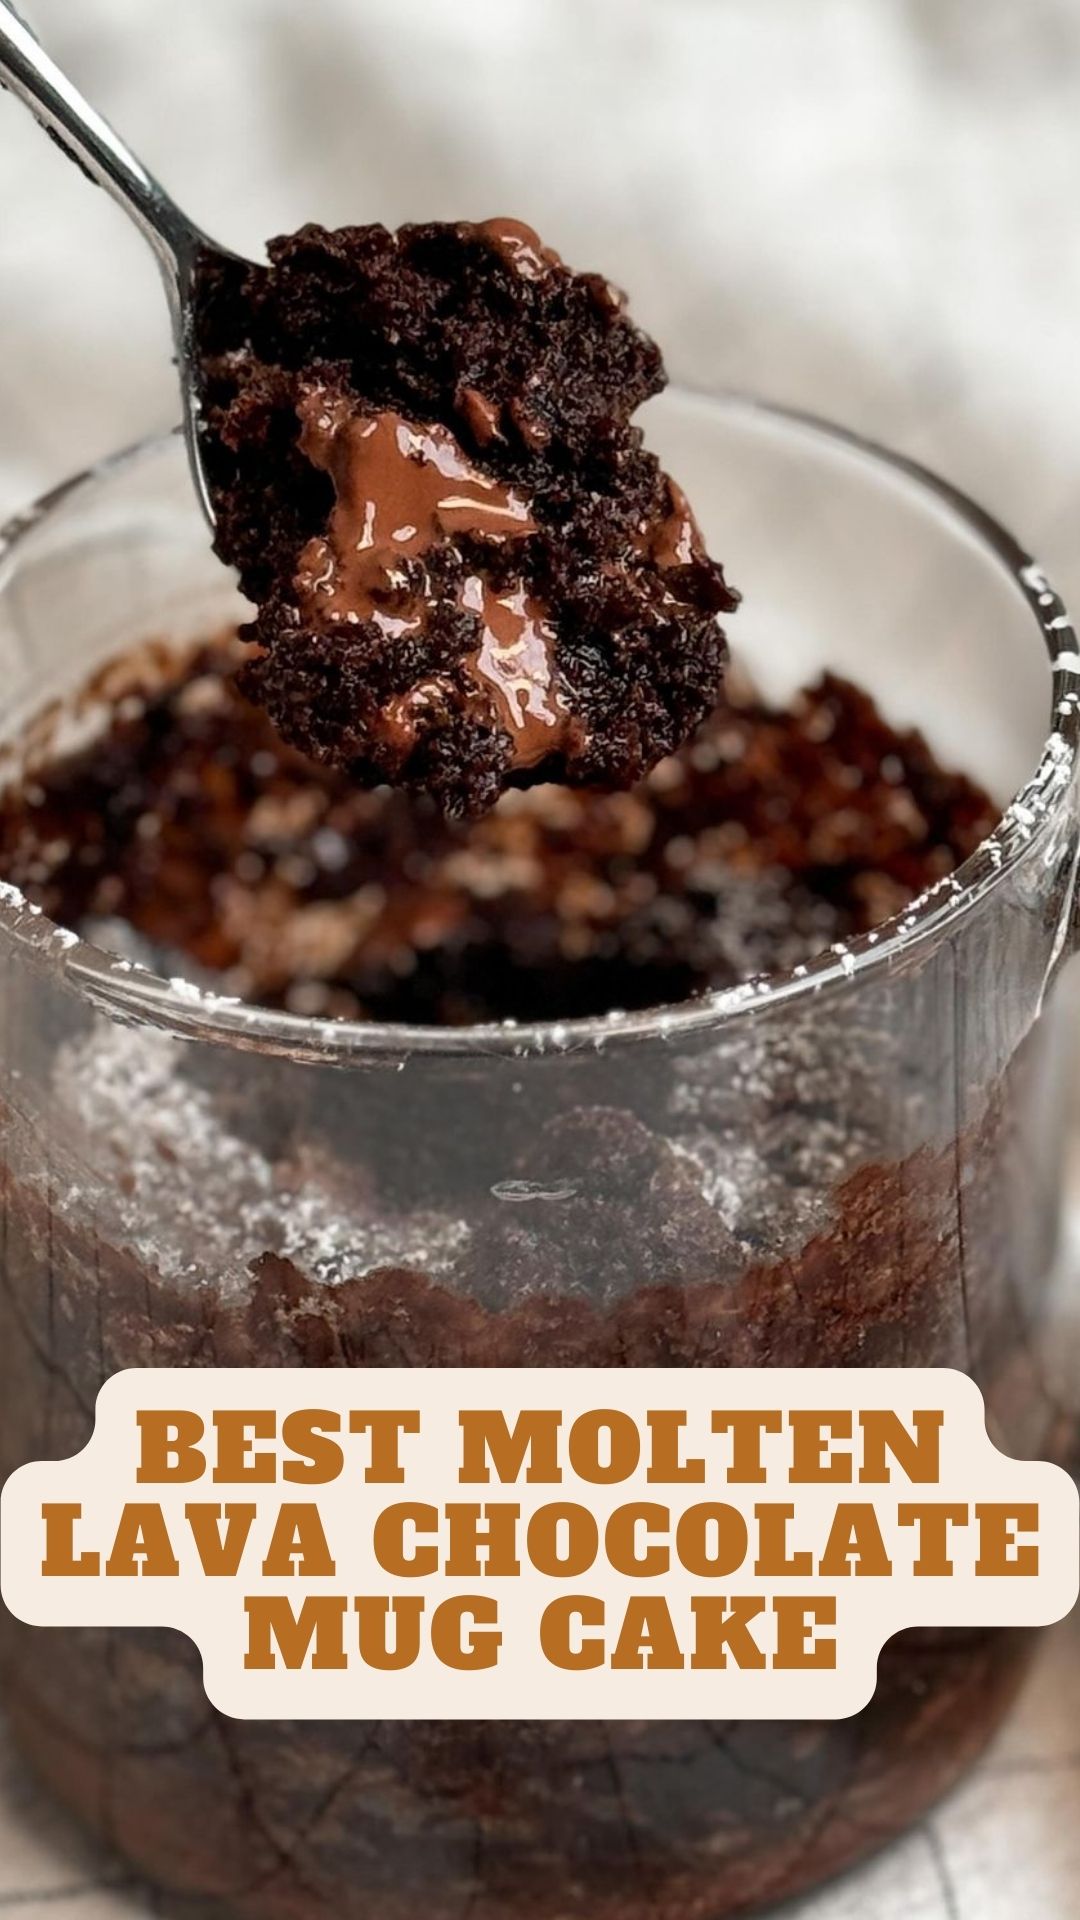
Best Molten Lava Chocolate Mug Cake
- Prep Time: 4 minutes
- Cook Time: 1 minute
- Total Time: 5 minutes
- Yield: 1 1x
- Category: Dessert
Ingredients
Scale
- 2 tablespoons of unsalted butter (28g)
- 1 ounce of dark chocolate (28g)
- 3 tablespoons of milk
- 2 tablespoons of sugar
- A generous 4 tablespoons of all-purpose flour (a bit less than a standard measuring cup)
- 1 tablespoon of cocoa powder
- 1/3 teaspoon of baking powder
- A pinch of salt
- 2 Lindor Dark Chocolate Truffles (or other chocolate chunks/chips for that extra chocolatey surprise in the middle)
Instructions
- In a microwave-safe mug (10-12oz), combine the butter and 1 ounce of dark chocolate. Microwave in 15-20 second intervals until melted and well mixed.
- Add the milk and sugar, then mix thoroughly with a fork.
- Sift in the dry ingredients—flour, cocoa powder, baking powder, and salt. Gently stir with the same fork, making sure everything is nicely combined. Don’t forget to scrape along the edges!
- Nestle those chocolate truffles in the center (no need to push them all the way to the bottom).
- Clean up the edges of the mug if needed, then pop it in the microwave for 60-70 seconds.
- Sprinkle some powdered sugar on top, and voila—indulge in your homemade molten lava mug cake!
Notes
A quick note: When measuring flour, fluff it up with a fork first, then add it to the tablespoon measure. Wipe off any excess flour above the rim of the spoon for accurate measurements. Enjoy your delightful treat!


