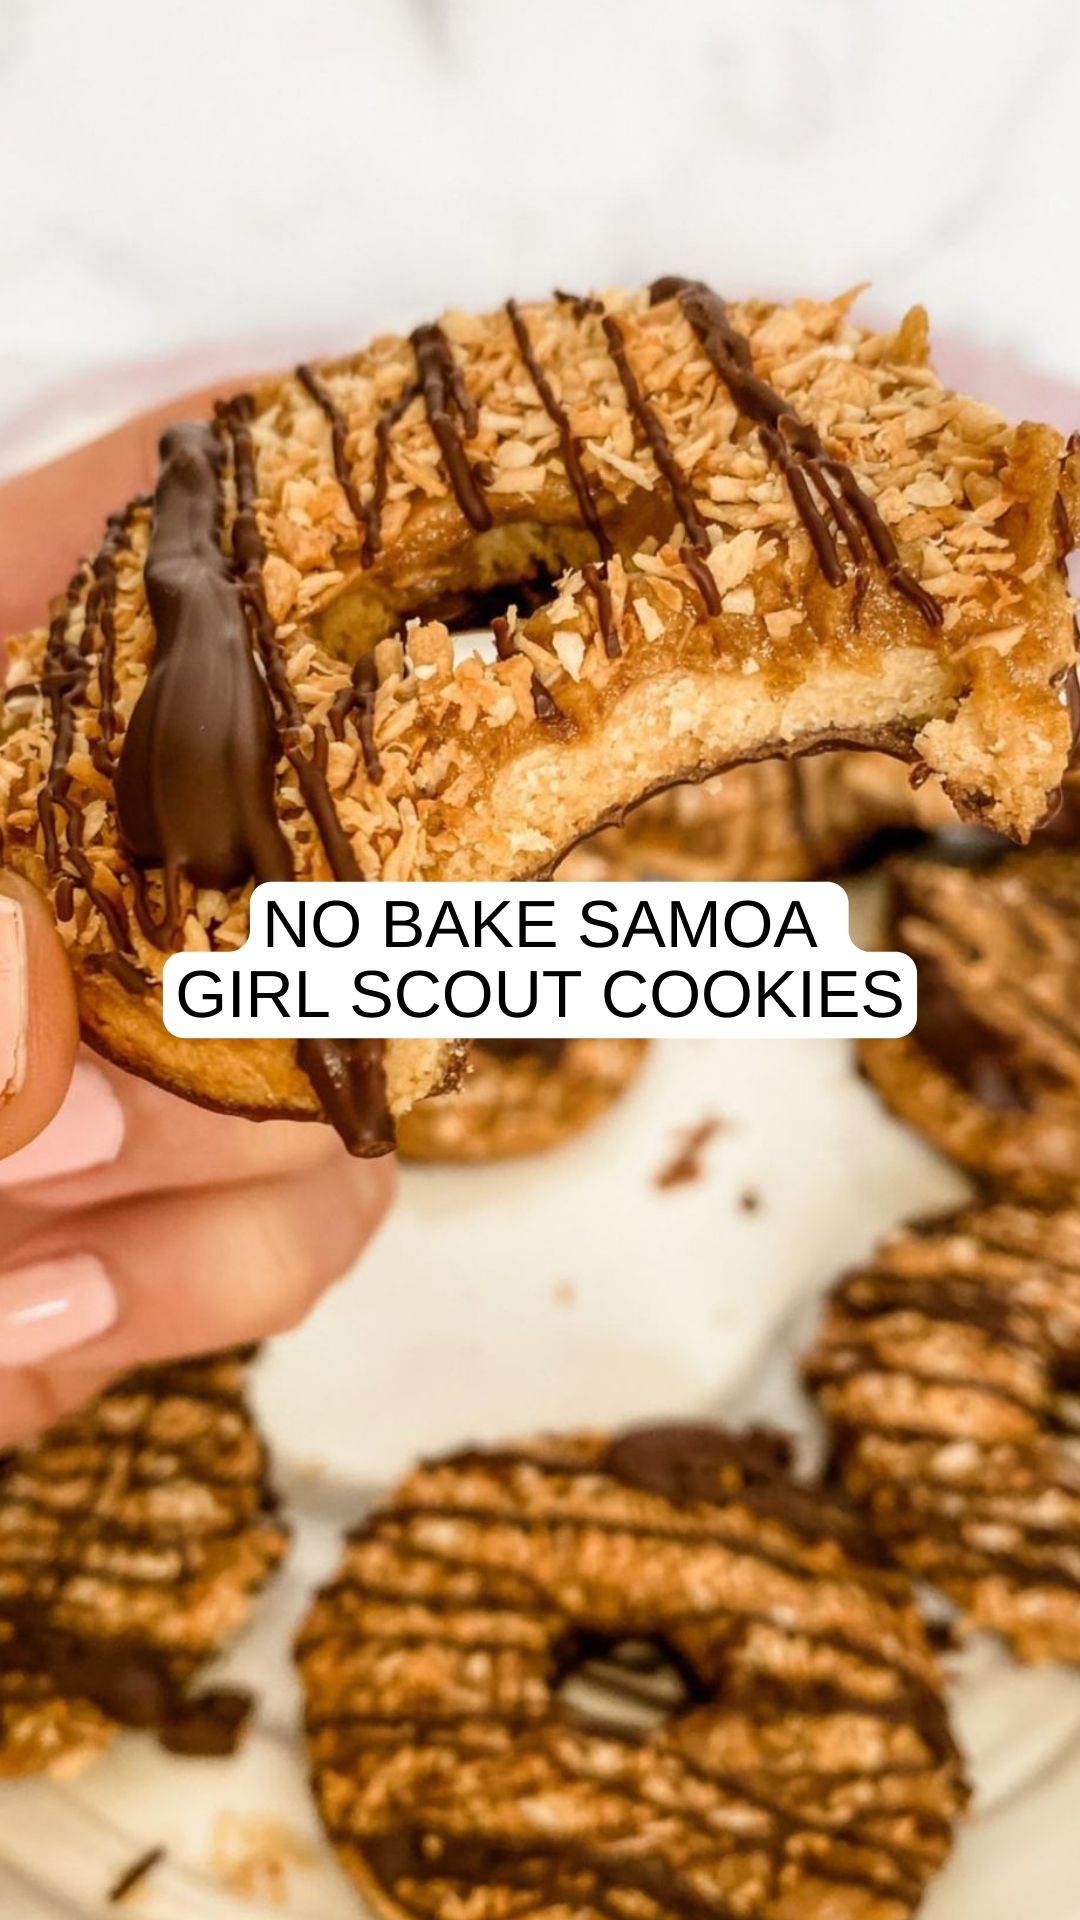
Get ready for a homemade treat with these No-Bake Samoa Girl Scout Cookies! With just four simple ingredients, they’re not only healthy but also a breeze to whip up. Plus, they’re vegan and gluten-free, making them perfect for everyone to enjoy!
Who can resist the temptation of Girl Scout cookies? Whether it’s the sweet girl outside the market or the nostalgia of enjoying them every year, they’re simply irresistible. But why wait for cookie season when you can enjoy those delicious flavors any time of the year? That’s why I decided to create a healthier version of the classic Samoa Girl Scout cookie.

No Bake Samoa Girl Scout Cookies
- Prep Time: 15 minutes
- Cook Time: 10 minutes
- Total Time: 25 minutes
- Yield: 8 cookies 1x
- Category: Dessert
Ingredients
Scale
- 1 1/2 cups shredded unsweetened coconut
- 10 pitted dates
- 4 tablespoons granola butter
- 1/2 cup dark chocolate chips
Instructions
- Preheat your oven to 350°F. Toast the coconut on a baking sheet for about 5 minutes or toast it in an air fryer until lightly golden.
- While the coconut is toasting, blend the soft dates in a food processor until smooth. Then, add the toasted coconut and granola butter to the processor and blend until you get a smooth mixture with a soft crust texture.
- Use a cookie scoop to shape the batter into balls and place them on a baking sheet lined with parchment paper.
- Flatten the balls into the shape of Samoa cookies using the palm of your hands. Make a hole in the center of each cookie using a chopstick. Chill the cookies in the fridge to firm up.
- Melt the dark chocolate chips and dip the bottom of each cookie into the melted chocolate. Place them back on the parchment paper.
- Drizzle more melted chocolate over the top of each cookie. Return the cookies to the fridge to allow the chocolate to harden.


