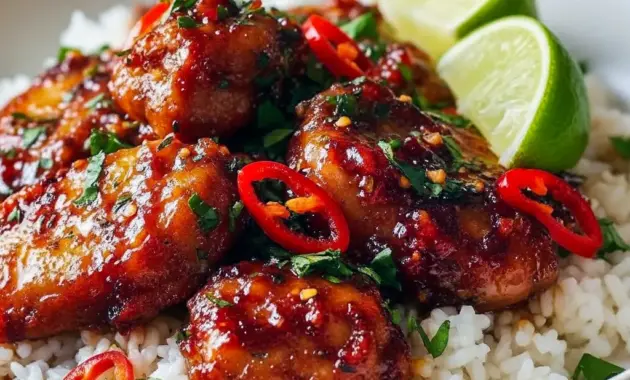
When Thai Sweet Chili Chicken starts rattling under pressure, you know dinner’s about to turn spectacular — quick, juicy, and sticky in the best possible way.
Thai Sweet Chili Chicken — pressure-cooker weeknight hero
There’s something addictive about that soft thump of the pressure cooker lid and the citrusy-sweet steam sneaking out when you crack it. This Thai Sweet Chili Chicken recipe gives you bold flavor with minimal fuss. It’s a perfect Thai Main Dish for busy evenings, yet polished enough to serve when guests pop in. Want dinner that tastes like you spent hours while you actually spent minutes? Yep — this is it.
Quick snapshot
- Flavor profile: sweet, tangy, with a hint of warm ginger
- Cooking style: sear, simmer, pressure-cook (fast and flavorful)
- Serve with: steamed rice, crunchy veg, or noodles
- Why it works: the pressure locks in juices and concentrates the sauce so every bite packs punch
Brief introduction to the recipe
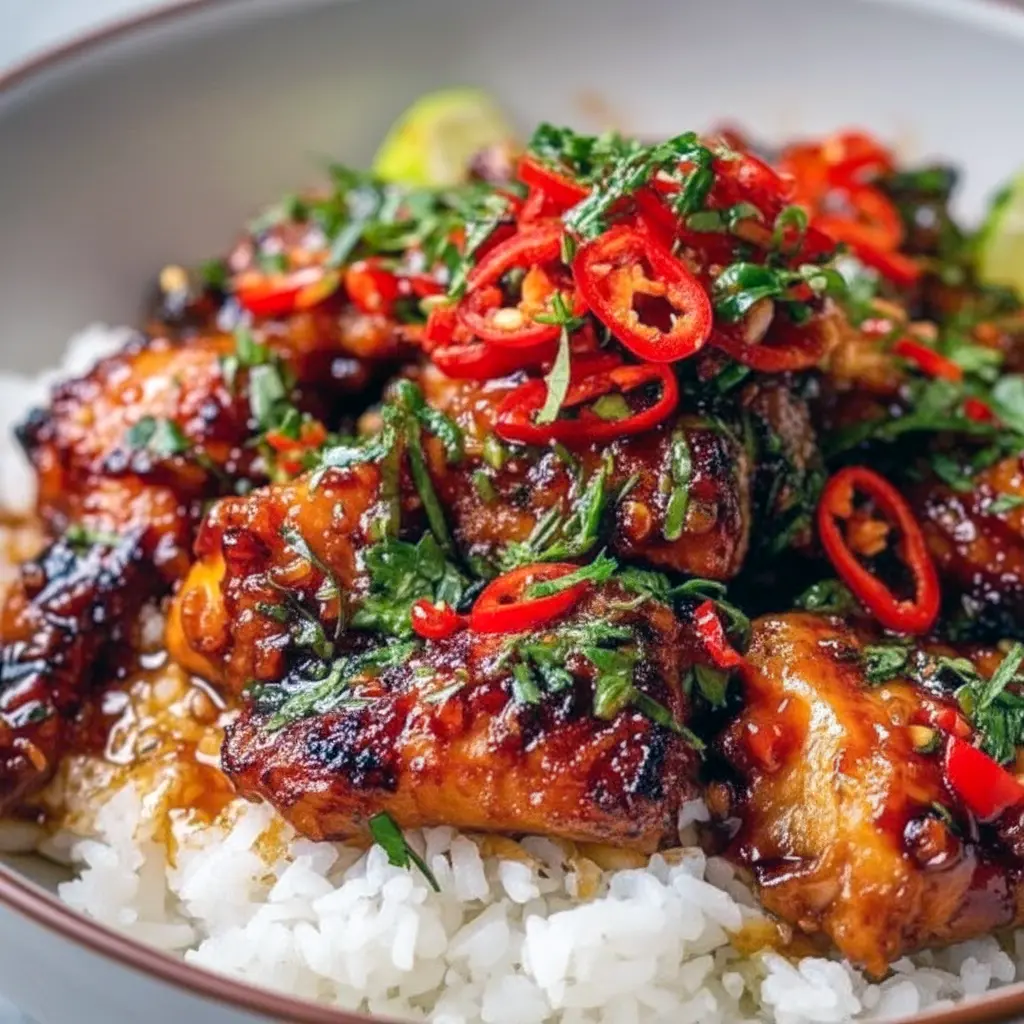
This dish blends a store-bought hero — sweet chili sauce — with pantry basics like soy and honey, then balances everything with fresh lime and a pinch of ginger. You get caramelized, glossy chicken that pulls apart tender. It’s a Thai Inspired Recipe that borrows big flavors and skips complicated steps. No exotic shopping list. No fuss. Just delicious results.
Why you’ll love this recipe
- Speed without compromise. Pressure cooking turns dinner from “Will I make it?” to “Wow, this tastes restaurant-quality.”
- Flexible protein choices. Use breasts for lean bites or thighs for richer, juicier meat — both sing here.
- Kid-friendly and crowd-pleasing. Sticky-sweet sauce gets nods from little ones and adults alike.
- One pot, less cleanup. Sear, simmer, then pressure-cook — minimal pans, maximum flavor.
- Easy to customize. Want spicy? Add chiles. Want tangier? Squeeze more lime. This is a true General Thai Chicken workhorse.
The Key Ingredients (and Why You Need Them)
I’ll walk through the main players (no amounts here — the recipe card has the exact measures). Know the role of each so you can tweak like a pro.
- Sweet chili sauce — This is the flavor anchor. It brings sweetness, a mild heat, and that glossy, sticky coat we all love. Pick a brand you enjoy since it sets the tone.
- Soy sauce / tamari / coconut aminos — Salt and umami. Use tamari or coconut aminos for gluten-free options. These balance the sweetness and deepen the savory notes.
- Honey — Adds texture and helps the sauce caramelize. Maple syrup works in a pinch, but honey gives that classic sheen.
- Fresh lime juice — Brightens everything and lifts the sauce from “pleasant” to “addictive.” Don’t skip it.
- Ground ginger — Warms the palate and complements the lime and chili. Fresh ginger is even better if you have it.
- Chicken (breasts or thighs) — Your protein base. Breasts give lean slices; thighs stay juicier and more forgiving if you slightly overcook. Either one makes this a satisfying Thai Dishes With Chicken option.
- Olive oil or neutral oil — For quick searing to lock in flavor and develop that caramelized crust.
- Green onions and lime wedges — For finishing: fresh crunch and acid that wake up every bite.
How to Make It
Follow these steps for tender, saucy results. Keep things moving but don’t rush the sear.
- Whisk the sauce. Combine sweet chili sauce, soy (or tamari/coconut aminos), honey, lime juice, and ground ginger in a bowl. Taste and tweak—want it tarter? Add more lime. Need more heat? Stir in chili flakes.
- Marinate briefly. Place halved chicken breasts (or thighs) into a resealable bag or shallow dish and pour half the sauce over them. Chill for at least 30 minutes if you can; 15 minutes still helps. Marinating makes a world of difference.
- Sear the chicken. Heat oil in a skillet over medium-high heat. Remove chicken from the marinade and sear 4–5 minutes per side until golden. You don’t need to cook through — searing builds flavor.
- Simmer to thicken. Lower the heat, pour the remaining sauce over the seared chicken, and let it simmer for 3–4 minutes. The sauce will reduce and cling to the meat.
- Pressure-cook. Transfer chicken and sauce to your pressure cooker. Lock the lid, set to “poultry” or manual high pressure for about 8–10 minutes (time varies by appliance and cut). Quick release to purge steam fast if you’re in a hurry; a short natural release helps keep things extra tender if you can wait.
- Finish and garnish. Open the cooker, spoon sauce over the chicken, and garnish with sliced green onions and lime wedges. Serve immediately.
Bold tip: Always check the sealing ring and vent before pressure cooking to prevent steam leaks and uneven cooking.
Pro tips for perfect results
- Sear for flavor. Don’t skip the browning step; it adds depth that sauce alone can’t replicate.
- Pat the chicken dry before searing to promote a better crust. Wet meat steams instead of browns.
- Use thighs for foolproof juiciness. If you’re worried about dryness, thighs give you a margin of error.
- Marinate when possible. Even half an hour improves flavor penetration. Overnight? Even better.
- Control the heat. Add chili flakes, sriracha, or fresh chiles if you want real heat. Keep them off if kids are eating.
- If reheating, add a splash of water or extra sauce to restore moisture. Reheated chicken can dry out fast.
- Pro-level finish: Sprinkle toasted sesame seeds and a drizzle of sesame oil for a nutty lift — it works wonders on this Asian Fusion Chicken style plate.
Variations to try
- Spicy sizzle: Stir in sambal oelek or chopped fresh chiles for a bolder kick.
- Citrus-sesame: Swap half the lime for orange and add a teaspoon of toasted sesame oil.
- Coconut twist: Use coconut aminos and a splash of coconut milk for creamy, island vibes.
- Baked version: Don’t have a pressure cooker? After searing, bake in a 375°F oven until cooked through, then broil briefly to caramelize the sauce. You’ll get a fine Thai Chicken Bake on weeknights.
- Meal-prep friendly: Slice cooked chicken and toss with rice and steamed broccoli for easy lunches. Keeps well in the fridge.
Best ways to serve
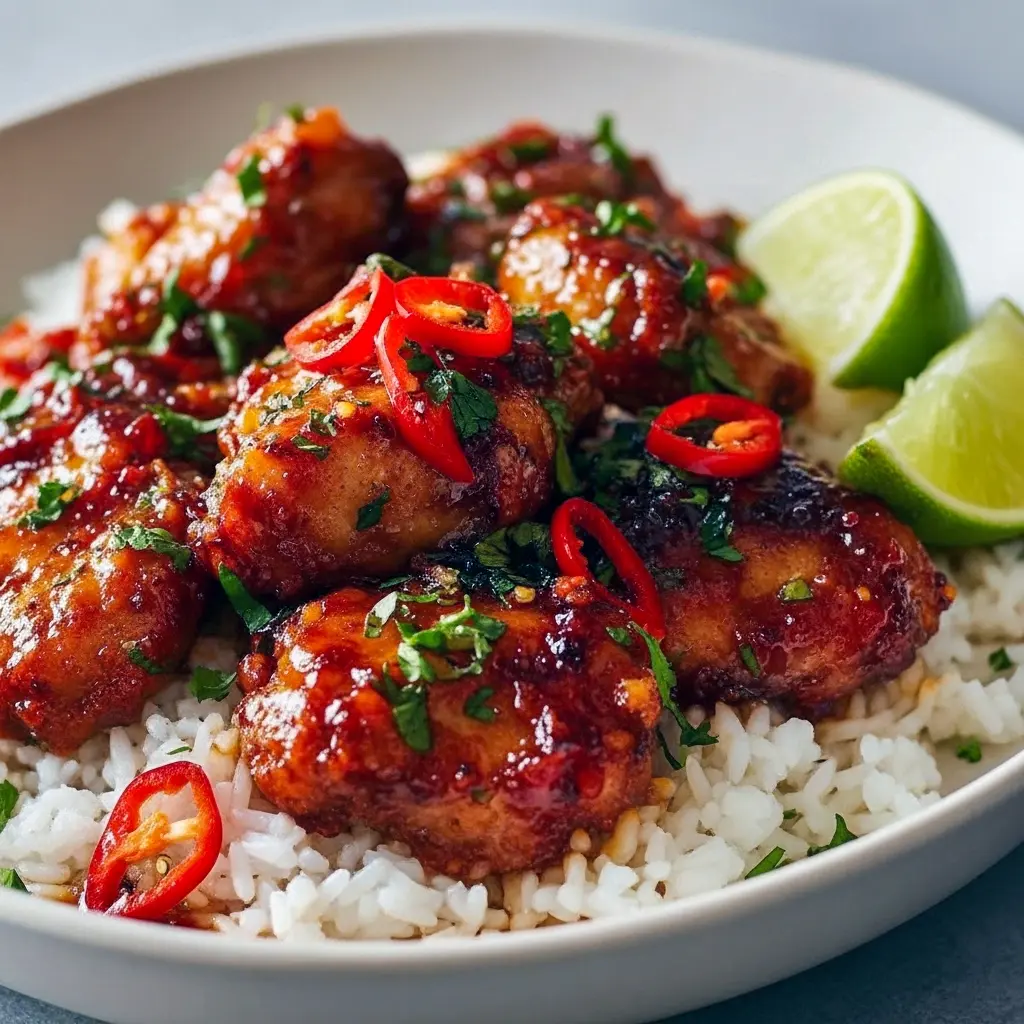
- Over steamed jasmine rice — classic, simple, perfect.
- On a bed of noodles with scallions and a lime wedge.
- With roasted or steamed veggies for a lighter Asian Dishes Healthy plate.
- In lettuce cups with cilantro and pickled carrots for a fresher option.
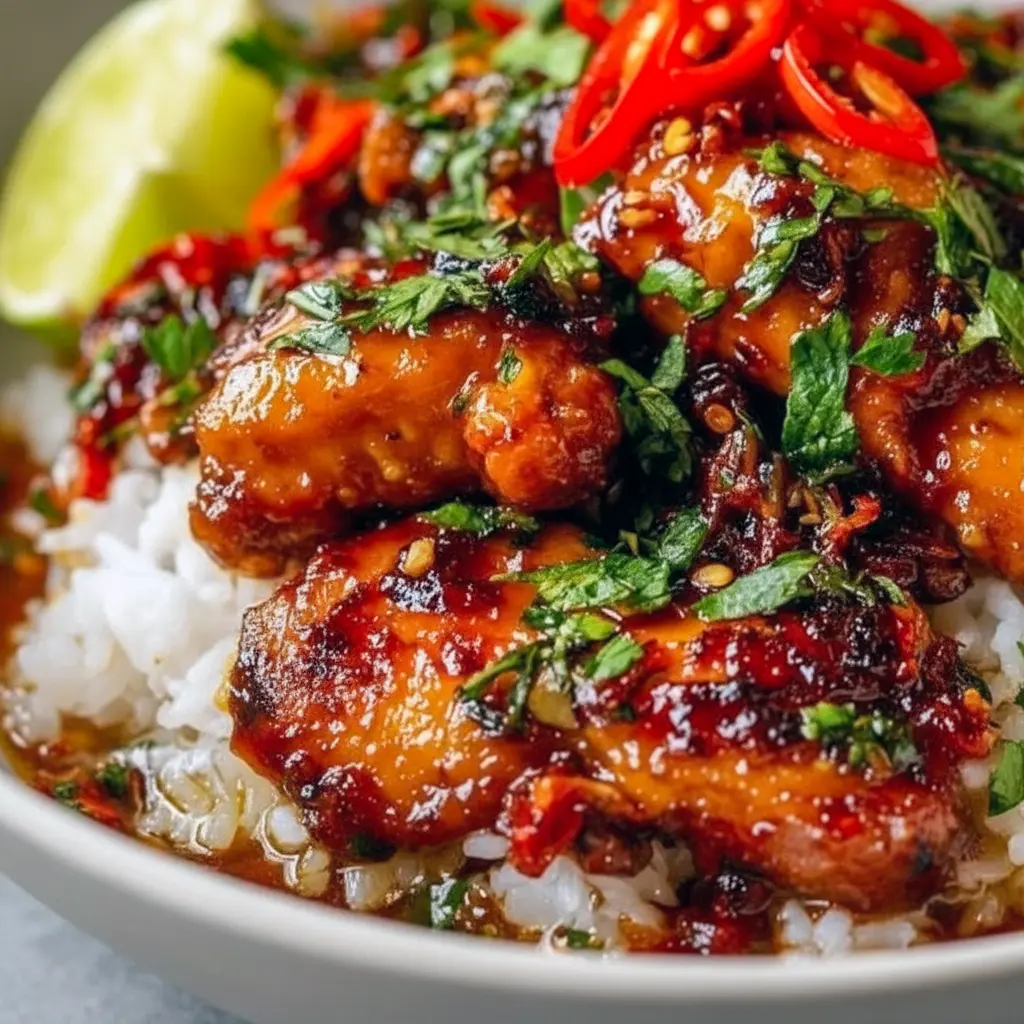
- As a Professional Dinner Recipe centerpiece: plate artistically with microgreens and a lime wedge for a restaurant-like impression.
Smart storage and leftovers
- Refrigerate leftovers in an airtight container for 3–4 days.
- Freeze sauce and meat separately for up to 3 months; thaw in the fridge overnight.
- Reheat gently on the stovetop with a splash of water to loosen the sauce; microwave in short bursts if needed.
- Keep lime wedges and fresh garnishes separate until serving to preserve brightness.
Bold tip: Store the sauce and chicken together if you plan to eat within a few days — flavors marry nicely. For long-term storage, freeze separately to maintain texture.
FAQs
Can I use chicken thighs instead of breasts?
Absolutely. Thighs stay juicier and often need the same or slightly less time in the pressure cooker. Either works — it’s a matter of preference.
Is this recipe gluten-free?
Yes, if you use tamari or coconut aminos instead of regular soy sauce. That makes this an easy Thai Recipe With Chicken option for gluten-free diners.
How can I make it spicier?
Add crushed red pepper, fresh chiles, or sriracha to the sauce. Start small; you can always add more heat at the table.
Do I need to marinate?
You get better flavor when you marinate, but if short on time, even a 15-minute soak helps. Marinating overnight gives the deepest flavor.
Can I cook this in an Instant Pot?
Yes. Use the poultry setting or manual high pressure, then do a quick release for a tender result.
Final thoughts
This Thai Sweet Chili Chicken recipe nails the sweet-and-tangy combo with no drama. It’s comfort food that reads almost fancy on the plate — a true Thai Main Dish that doubles as an everyday family favorite and a crowd-pleasing Professional Dinner Recipe when you want to impress.
Want something healthy? Keep the sides steamed and watch it earn you compliments without a ton of calories — a total win in the Asian Dishes Healthy lane. Prefer to keep it playful? Try tossing it into a Thai Chicken Bake style casserole or serving in tacos for an Asian-Fusion spin.
So the next time you hear the pressure cooker singing, lean in. Dinner’s ready to be delicious, fast. Who knew weekday cooking could be this satisfying? (FYI: it’s way easier than pretending you made it from scratch all day.)
Follow me on Pinterest for daily new recipes.

Irresistible Thai Sweet Chili Chicken — Easy Pressure Cooker Dinner
- Prep Time: 15 minutes
- Cook Time: 40 minutes
- Total Time: 55 minutes
- Yield: 4 servings 1x
- Category: Dinner
Description
Bright, sticky, and a little bit spicy — this pressure-cooker Thai Sweet Chili Chicken comes together fast and tastes like you fussed all afternoon. Quick sears build flavor, the sweet-chili glaze gets glossy and clingy, and lime wakes everything up. Perfect for weeknight dinners or make-ahead meal prep.
Ingredients
- 1 cup sweet chili sauce (the flavor base)
- ¼ cup soy sauce — or use tamari / coconut aminos to keep it gluten-free
- 3 tablespoons honey
- Juice of 2 limes
- ¼ teaspoon ground ginger (or a small knob of grated fresh ginger)
- 2 chicken breasts, each halved to make 4 thin cutlets
- 1 tablespoon olive oil (or any neutral oil for searing)
- 1 green onion, thinly sliced, for garnish
- Lime wedges, for serving
Instructions
-
In a bowl, whisk the sweet chili sauce, soy (or tamari/coconut aminos), honey, lime juice, and ground ginger until smooth and well combined. Taste and adjust — more lime for brightness, more honey for sweetness.
-
Place the halved chicken breasts in a resealable bag or shallow dish. Pour about half of the sauce over the chicken, toss to coat, and chill for at least 30 minutes to let the flavors sink in. Marinating improves the flavor but skip it if you’re short on time.
-
Heat the oil in a skillet over medium-high heat. Pat the chicken dry, then sear each piece 4–5 minutes per side until golden brown. The goal is a flavorful crust, not complete cooking.
-
Reduce heat to medium, pour the reserved sauce into the pan, and simmer for 3–4 minutes. Let the sauce thicken slightly and glaze the chicken.
-
Transfer the chicken and its sticky sauce into the pressure cooker. Secure the lid, set to the poultry setting (or high pressure), and cook for about 10 minutes. Use a quick release when done if you need dinner now; allow a brief natural release if you can wait a couple minutes for juicier meat.
-
Open, spoon extra sauce over the pieces, and finish with sliced green onion and lime wedges. Serve over jasmine rice, noodles, or steamed vegetables.
Notes
- Pat chicken dry before searing for the best browning.
- Swap chicken thighs if you prefer meat that stays extra tender.
- Want more heat? Add chili flakes or a splash of sriracha to the sauce.
- Storage: Refrigerate leftovers up to 4 days in an airtight container. Freeze for longer storage.
- Reheating: Warm gently on the stove with a splash of water or extra sauce to prevent drying out.