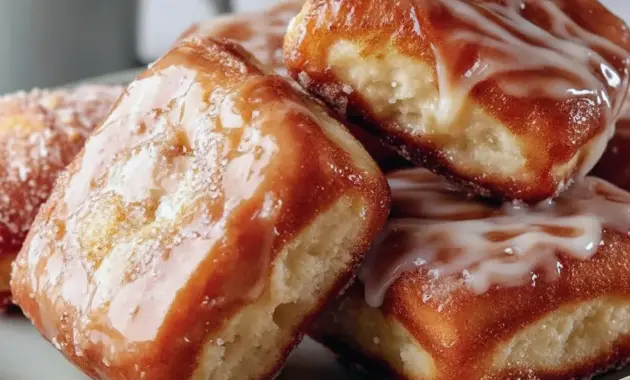
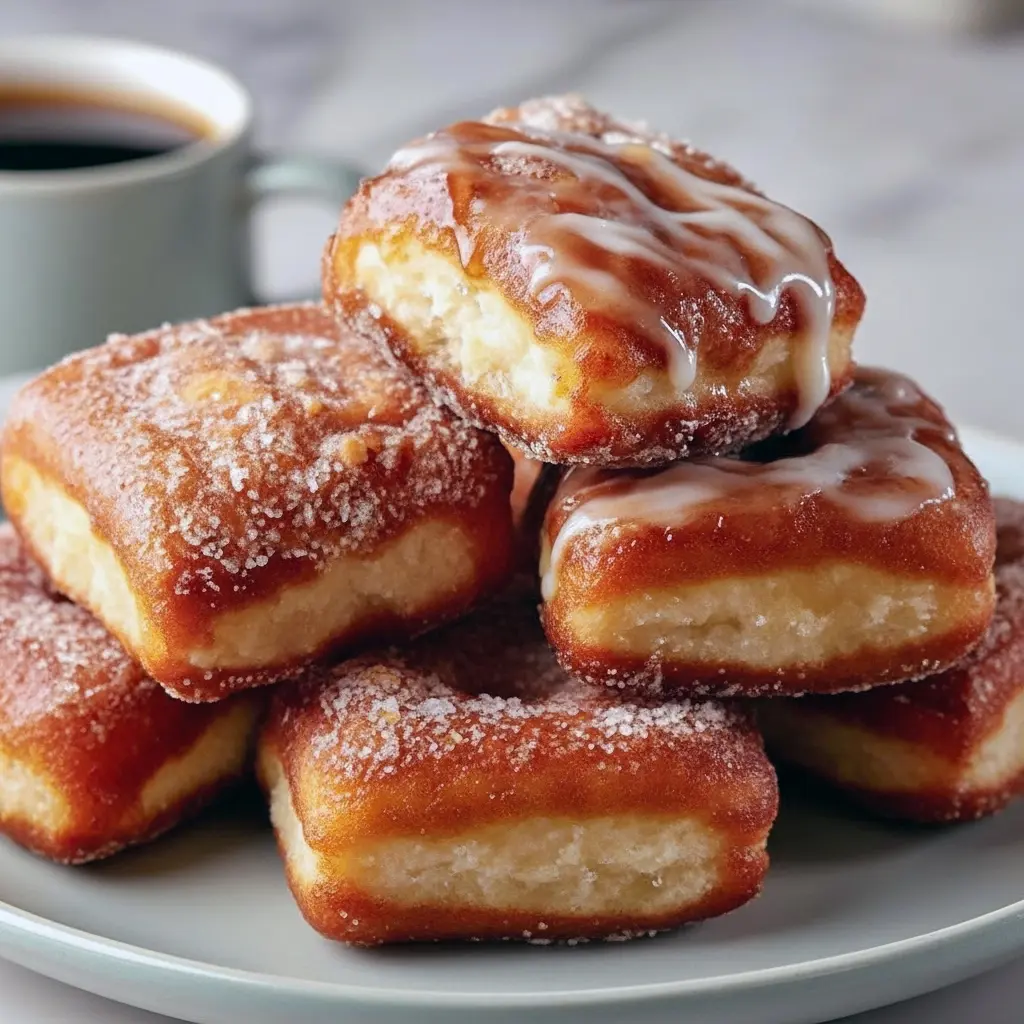
Donut Bar — Maple Donut Bars: soft, glazed, and wildly easy
If you want something that tastes like a donut but slices and stacks like a cake, a Donut Bar will absolutely blow your mind. These Maple Donut Bars deliver that golden, tender crumb and sticky-sweet glaze without the frying drama — just bake, glaze, slice, and disappear.
Brief intro to the recipe
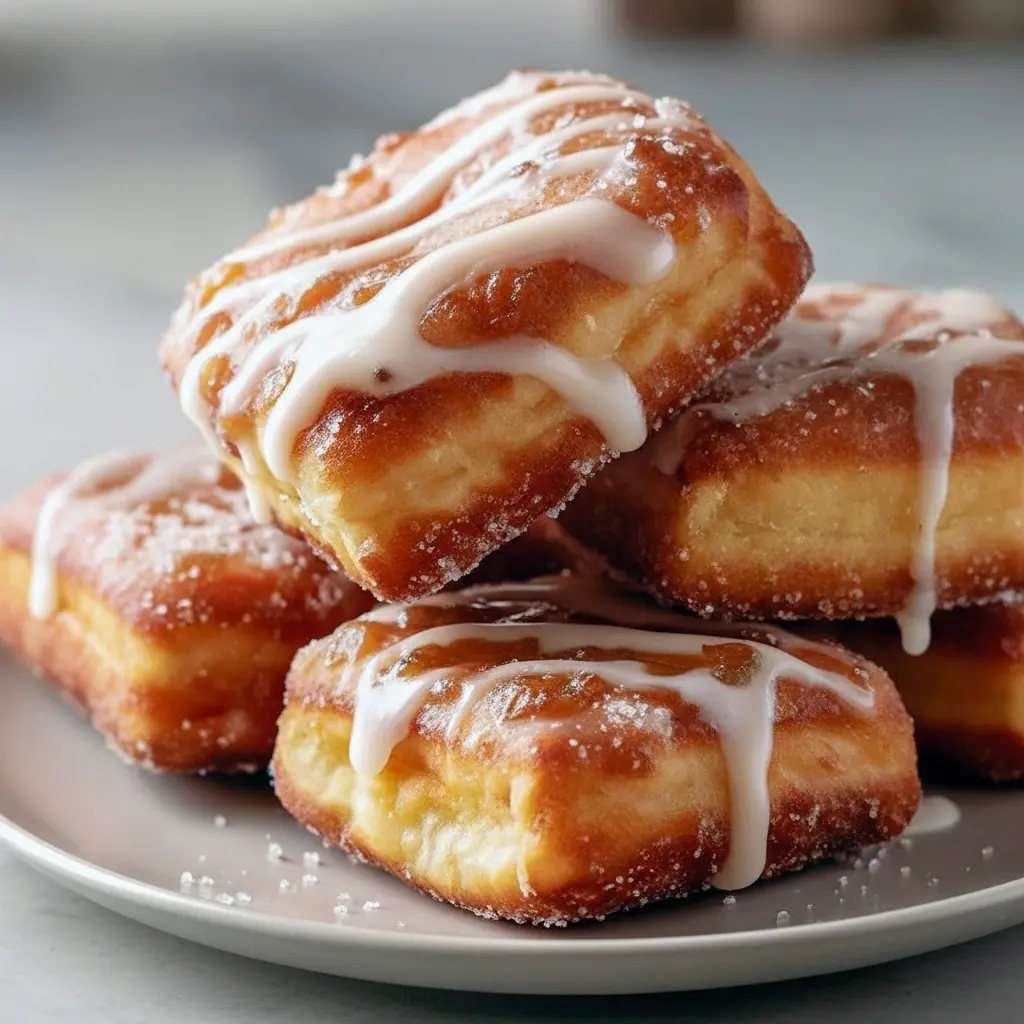
Imagine a soft, cake-like bar soaked in maple flavor, topped with a shiny maple glaze that crackles a little when you bite into it. These bars give you all the cozy vibes of classic Maple Donuts but in a way that’s simpler to serve, easier to scale, and perfect for sharing. They’re kid-friendly, guest-ready, and somehow both comfort food and a tiny bit fancy.
Bold tip: Use real maple syrup — it makes a noticeable flavor difference in both the batter and the glaze.
Why you’ll love these maple bars
Why reach for donuts when you can slice perfection from a pan? Here’s the short list.
- They’re fuss-free: no deep-frying, no dough proofing.
- They scale: one 9×13 pan feeds a crowd.
- They travel well: pack them for picnics or coffee runs.
- They’re versatile: breakfast, dessert, or snack.
- They’re fast enough to sneak into your weeknight rotation but pretty enough for weekend guests.
If you collect Brunch Recipes, this should be near the top.
The story behind my maple obsession
I love donuts — fried and glazed, old-school and fancy. But one winter morning I wanted donut flavor without the vat of hot oil. So I riffed on a classic sheet cake, bumped the maple, added warm spices, and finished with a glaze that actually tastes of maple. The crowd reaction? Immediate silence — followed by a second piece request.
Also: you get that nostalgic donut scent wafting through the house. Instant mood elevator.
Ingredients breakdown — what goes into these bars and why
Short blurbs so you know what each ingredient does.
- All-purpose flour: The structure. Measure properly for consistent texture.
- Granulated sugar: Sweetness and fine crumb.
- Baking powder: Leavens gently so bars aren’t dense bricks.
- Salt & spices (cinnamon, nutmeg): Warmth and depth — these are subtle but critical.
- Melted unsalted butter: Fat equals richness and a tender crumb.
- Whole milk: Adds moisture and helps dissolve the sugar.
- Eggs: Bind and give structure without making the bars cakey.
- Vanilla extract: Flavor enhancer. Don’t skip.
- Maple syrup: The star — used in batter and doubled in the glaze for punch.
- Powdered sugar (glaze): Smooth, sweet base for the shiny finish.
Pro tip: Room-temperature eggs and milk mix more smoothly with the melted butter and give a uniform batter.
Step-by-step: How to make Maple Donut Bars
This is the clean, no-nonsense workflow I use every time. Read it first, then go.
- Preheat & prep. Set oven to 350°F (175°C). Grease a 9×13 pan or line with parchment for easy lifting.
- Mix dry ingredients. Whisk flour, sugar, baking powder, salt, cinnamon, and nutmeg in a large bowl. This gets air incorporated and prevents clumps.
- Whisk wet ingredients. In a separate bowl stir melted butter, milk, eggs, vanilla, and maple syrup until smooth.
- Combine. Fold wet into dry just until moistened. Don’t overmix — a few lumps are fine. Overworking = tough bars.
- Bake. Spread batter evenly in the prepared pan and bake 25–30 minutes, until a toothpick comes out with a few moist crumbs. The top should be lightly golden.
- Cool. Let the bars rest in the pan 10 minutes, then transfer to a wire rack to cool completely.
- Glaze. Whisk powdered sugar with 1–2 tbsp milk for consistency, then stir in maple syrup (start with 2 tbsp and add to taste). Pour over the cooled bars and tilt the pan so glaze runs to the edges. Let it set for 10–15 minutes.
- Slice & serve. Cut into squares or rectangles. Drizzle extra maple if you want extra shine.
Bold tip: Let the bars cool completely before glazing so the maple glaze stays glossy and doesn’t sink in.
Texture and flavor secrets
These bars hit that perfect balance: a tender, slightly dense crumb (think Blondies Recipe vibe) with a pronounced maple note and a sticky-sweet top. The cinnamon and nutmeg act like background singers — you taste maple first, then warmth. If you want a more cake-like bar, add 1/2 teaspoon baking soda and a touch more milk, but I prefer the classic bar feel.
Want them lighter? Swap half the butter for neutral oil and they’ll feel less dense. But you’ll lose some of that buttery chew.
Pro tips for perfect results (real baker tricks)
- Measure flour by weight if you can — it’s the easiest way to avoid dry bars.
- Don’t overbake. Bars continue to cook a bit in the hot pan after you pull them out. Aim for a few moist crumbs on the toothpick.
- If glaze is too thick, add milk a teaspoon at a time. Too thin? Add powdered sugar.
- For deeper maple flavor, use pure Grade A amber or Grade B syrup. Grade B (darker) packs more intensity.
- Want a prettier top? While glaze is still tacky, dust with toasted chopped pecans or a sprinkle of coarse sugar for crunch.
- Make-ahead: Bake the bars, cool, wrap tightly, and freeze. Thaw and glaze when you’re ready to serve.
Bold tip: High-quality maple syrup matters. Cheap pancake syrup won’t deliver the depth you want.
Variations to try (because variety is everything)
- Chocolate-drizzled: Drizzle melted dark chocolate over the set glaze for a luxe finish.
- Maple-bacon: Top with crispy bacon bits for a sweet-salty crowd-pleaser.
- Apple-maple: Fold in 1 cup finely diced apple for fall flair.
- Nutty maple: Fold toasted pecans into the batter or use walnuts in the topping.
- Gluten-free: Swap in a 1:1 gluten-free flour blend; expect slight texture differences.
- Mini donut bars: Bake in muffin tins for individual portions — great for kid lunches or grab-and-go.
Best ways to serve these bars
These bars shine in many settings.
- Serve warm at a Breakfast Brunch with coffee and fresh fruit.
- Arrange on a Serving Platters board with pastries for a brunch spread.
- Box them individually for bake sale items or gift them in cellophane bags with a ribbon.
- Pair with whipped cream or vanilla ice cream for an after-dinner treat.
Serving idea: For a crowd, cut into uniform Dessert Squares and arrange on a tiered platter—instant party elegance.
Storage and make-ahead tips
- Room temperature: Store airtight for up to 3 days. They stay moist.
- Refrigerator: Keep up to a week; bring to room temp before serving for best flavor.
- Freezing: Wrap well and freeze up to 3 months. Thaw overnight in the fridge and re-glaze if needed.
Quick tip: If the glaze dulls in the fridge, a brief blast with a kitchen torch or a quick re-drizzle of warm maple syrup revives the shine.
Quick substitutions for dietary needs
- Dairy-free: Use melted coconut oil instead of butter and a dairy-free milk. The flavor shifts slightly but still delicious.
- Lower sugar: Reduce granulated sugar by 1/4 cup and increase maple syrup by 2 tbsp for balanced sweetness.
- Vegan: Replace eggs with flax eggs and use plant milk plus vegan butter or oil. Texture will be slightly different but still tasty.
FAQs — bite-sized answers
Can I make these in a 9×9 pan?
Yes — the bars will be thicker and bake time will increase slightly. Watch closely.
Can I double the recipe?
Absolutely — double and use a 9×13 pan or two 9×13 pans. Bake time stays similar per pan depth.
Are these appropriate for kids’ lunchboxes?
Yes! Cut into small squares; they’re easy to pack and less messy than glazed donuts.
What’s the sheen trick for the glaze?
A little real maple syrup stirred into the powdered sugar glaze gives it that glossy, authentic look.
Why this is a go-to for mornings and gatherings
These bars check a lot of boxes: they taste like comfort, look polished, and suit many eating occasions. Whether you’re assembling a Perfect Breakfast for guests, putting together Brunch Recipes for a shower, or filling a Serving Platters board at a potluck, these Maple Donut Bars fit the bill. They’re approachable for beginner bakers but impressive enough for hosts who want something homemade that looks like they spent hours.
FYI: They’re also excellent as a little dessert after a big meal — you get donut pleasure without frying oil and last-minute prep.
Final thoughts — your new favorite baked treat
If you’ve been hunting for easy Baked Goods that taste special and travel well, these Maple Donut Bars deserve a permanent spot in your rotation. They’re essentially the best of a donut and a cake, shaped into neat, sliceable Dessert Squares that make mornings, brunches, and friendly gatherings feel a little more celebratory.
So preheat that oven, whisk the batter, and get ready to fall in love with a simple treat that delivers big maple flavor and cozy nostalgia. Who knew a Donut Bar could be this convenient and this good?
Follow me on Pinterest for daily new recipes.

Easy Maple Donut Bars — Soft, Sweet & Glazed
- Prep Time: 15 minutes
- Cook Time: 30 minutes
- Total Time: 45 minutes
- Yield: 12 bars 1x
- Category: Dessert
- Diet: Vegetarian
Description
These maple-infused bars capture all the cozy goodness of a classic donut in an easy, sliceable pan. They bake up tender and slightly cake-like, then get a shiny maple glaze for that true breakfast-sweet finish — perfect for mornings, brunch, or a simple treat any time.
Ingredients
- 2 cups all-purpose flour
- 1 cup granulated sugar
- 1 tablespoon baking powder
- ½ teaspoon salt
- ½ teaspoon ground cinnamon
- ¼ teaspoon ground nutmeg
- ½ cup unsalted butter, melted
- 1 cup whole milk
- 2 large eggs
- 1 teaspoon vanilla extract
- ½ cup pure maple syrup
For the glaze:
- 1 cup powdered (confectioners’) sugar
- 1–2 tablespoons milk, as needed to thin
- 2 tablespoons maple syrup (plus extra for drizzling, optional)
Instructions
- Heat the oven to 350°F (175°C). Grease a 9×13-inch pan or line it with parchment for easy removal.
- In a large bowl, whisk together the flour, granulated sugar, baking powder, salt, cinnamon, and nutmeg until the dry mix looks uniform.
- In a separate bowl, combine the melted butter, milk, eggs, vanilla, and maple syrup. Whisk until the wet ingredients are smooth and well blended.
- Pour the wet mixture into the dry ingredients and fold gently with a spatula just until the batter comes together. A few small lumps are fine — overmixing will make the bars tough.
- Spread the batter evenly into the prepared pan and smooth the top. Slide the pan into the oven and bake 25–30 minutes, or until the edges turn light golden and a toothpick inserted into the center comes out clean or with a few moist crumbs.
- Let the pan cool on a wire rack for about 10 minutes, then lift the cake out (if lined) and cool completely before glazing.
- To make the glaze, whisk the powdered sugar with 1 tablespoon milk until smooth. Add more milk, a teaspoon at a time, until the glaze is thick but pourable. Stir in the maple syrup.
- Drizzle the glaze over the cooled bars, spreading gently so it covers the surface. For extra maple punch and shine, drizzle a little additional maple syrup over the glaze.
- Allow the glaze to set for 10–15 minutes before cutting into squares or rectangles and serving.
Notes
- Serving & storage notes
- Serve warm or at room temperature. These keep well in an airtight container for a few days at room temp, or longer in the fridge. For a decadent finish, serve with whipped cream or a scoop of vanilla ice cream.
- Don’t overmix the batter — fold until just combined to keep the bars tender.
- If you want a stronger maple flavor, use a darker (Grade A amber or Grade B) maple syrup.