If you love coconut, this Sticky Coconut Cake (aka wingko babat) will become your new obsession — chewy, slightly caramelized, and so coconut-forward that one bite transports you to the train stations and street stalls of Java. I adapted this recipe so you can recreate that Javanese snack in a regular kitchen without hunting down exotic pantry items.
Brief introduction — what this cake is and why it sings
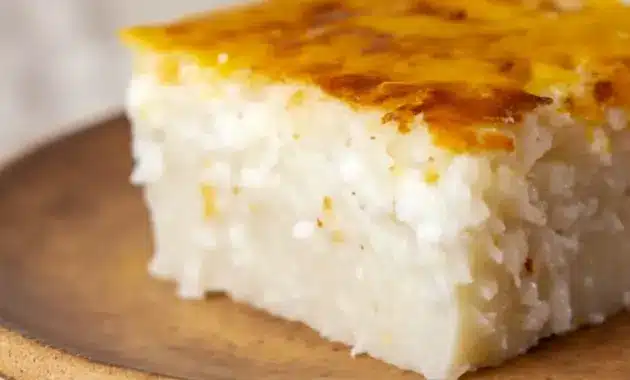
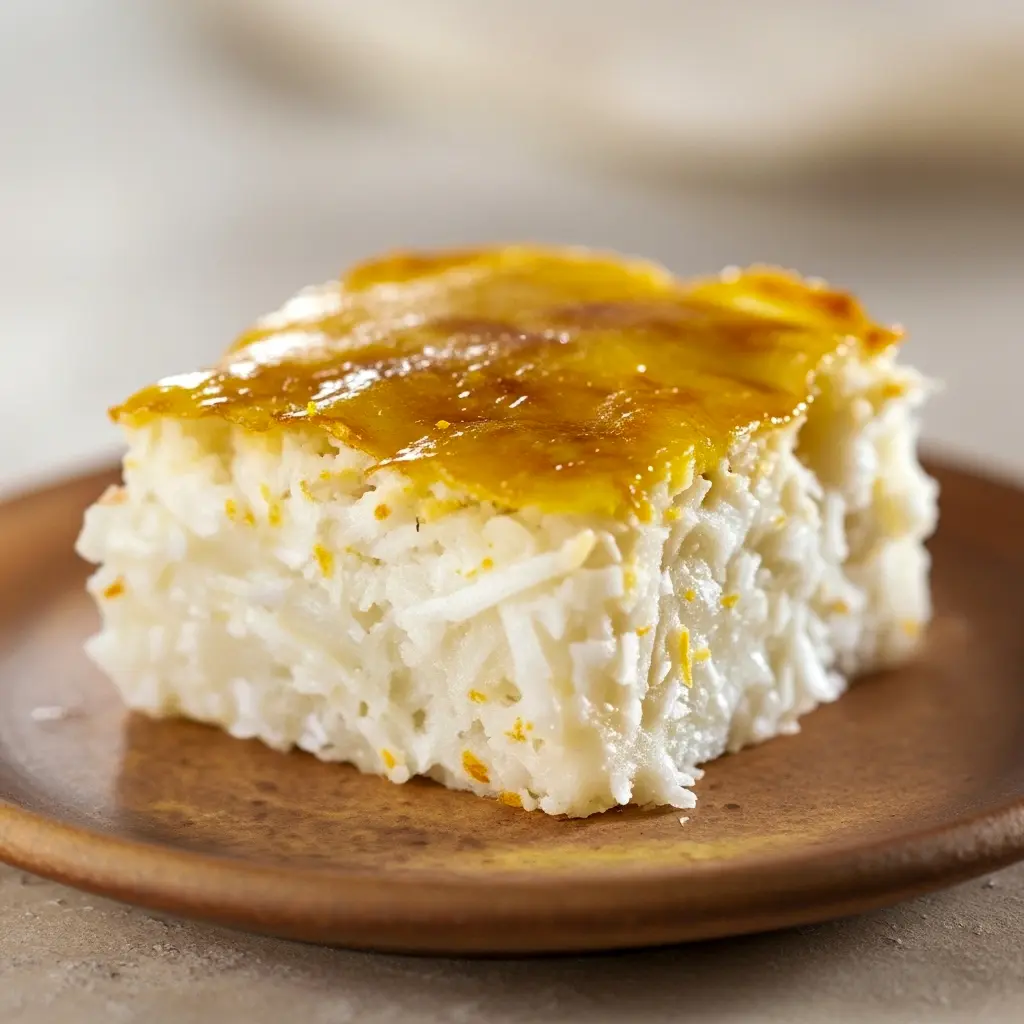
Wingko Babat is a classic Indonesian coconut cake, traditionally sold in bite-sized rounds and often enjoyed as a travel memento. My version keeps the spirit — dense, sticky, and toasty on top — while using easy-to-find ingredients like canned coconut milk and shredded coconut. The result? A fudgy, macaroon-like bar with a golden crust and intense coconut flavor. It’s not a light sponge; it’s chewy, comforting, and utterly addictive.
Why you’ll fall for this Indonesian Sticky Coconut Cake
- Simple build, huge payoff. You mix a handful of ingredients, bake, broil briefly for color, chill and slice.
- Coconut for days. The texture and aroma are pure coconut bliss — great if you’re a macaroon fan.
- Gluten-free by design. The secret is glutinous rice flour (yes — mochiko works), which gives the cake its chewy, mochi-like bite.
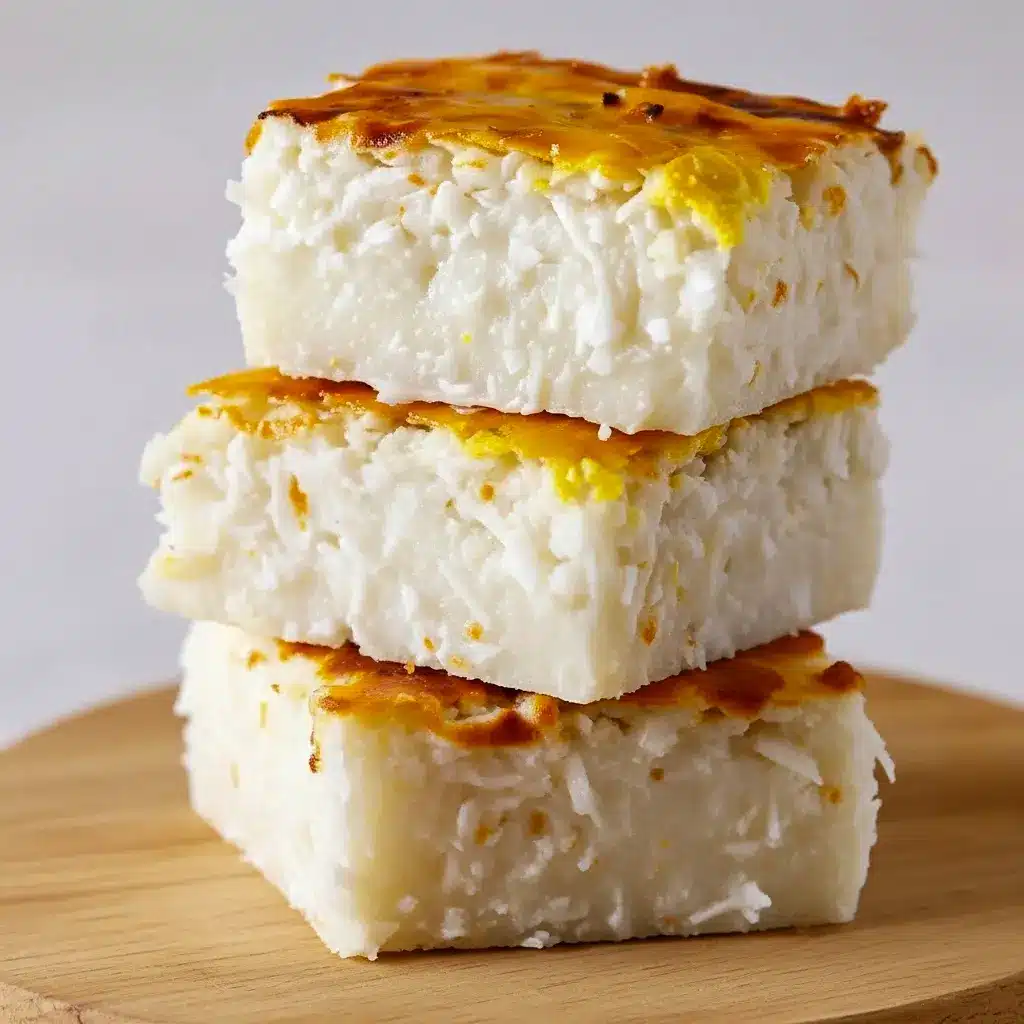
- Make-ahead friendly. Bake it today, chill it overnight, and serve cold for neat slices at parties.
- Cultural comfort. This is a small way to taste Java: think train-station treats and warm hospitality in every square.
What makes this different from an American cake? It’s dense, not airy. It’s chewy, not crumbly. If you expect a pillow-soft layer cake, this isn’t it — but if you want a sticky, coconut-dense snack, you’re in the right place.
The Key Ingredients (and Why You Need Them)
Below I list the main ingredients (no amounts here — the recipe card is at the end). I’ll explain each item’s role so you can tweak with confidence.
- Glutinous rice flour (or mochiko). This is the MVP. It creates that chewy, almost chewy-sticky texture that defines wingko. Regular all-purpose flour won’t give the same result.
- Shredded coconut (sweetened or unsweetened). This provides the coconut body and toothsome texture. Sweetened coconut boosts caramelization; unsweetened keeps it less sweet.
- Canned full-fat coconut milk. Fat equals flavor and moisture here. Shake the can well — the cream and water want to separate, so get them recombined.
- Sugar. Balances the coconut’s richness and creates a caramelized surface when broiled.
- Eggs (whites whisked, yolks for glazing). Whipping the whites with sugar adds lift and structure; the yolk brushed on top and broiled gives a glossy, slightly charred crust.
- Vanilla extract. A small splash rounds and brightens the coconut notes.
- Salt (a pinch). Tiny amount sharpens flavors — never skip it.
These components combine into a batter that looks loose and fluid before baking, then firms into dense, sliceable bars with a chewy, glossy finish after resting.
How to Make It
Follow this timeline and you’ll get perfect, authentic-feeling bars without fuss.
Prep
Preheat the oven to 350°F (175°C). Lightly grease or line an 8×8-inch baking pan with parchment paper that hangs over the edges — this makes removing the cake easy. Measure ingredients ahead; the batter mixes fast.
Whisk the egg whites and sugar
Whisk the egg whites with sugar until well combined. You don’t have to get full meringue peaks; just aim for the sugar to dissolve and the mixture to lighten slightly.
Combine the wet ingredients
Slowly stir in the coconut milk, the shredded coconut, and vanilla. The batter will be loose — that’s okay. Make sure there are no dry flour pockets; if you see lumps of coconut, give it a quick stir to break them up.
Add the glutinous rice flour
Fold in the glutinous rice flour. This will thicken the mix and bind the coconut. Mix until homogenous. The texture should be flowy but thicker than milk — think pancake batter displaced toward thick porridge.
Bake
Pour the batter into the prepared pan and smooth the surface. Bake for about 45 minutes. The edges should brown and the top should look set but still a touch soft — we’ll finish it under high heat to build that signature crust.
Brush and broil
Remove the pan, brush the surface gently with the reserved egg yolks (use a pastry brush lightly — too much brushing can tear the top). Set the oven to broil and return the pan to the top rack for 5–10 minutes, watching closely. The top will quickly darken; remove it when it reaches an even, golden-brown color. Bold tip: Stand nearby while broiling — marshaling that perfect char takes seconds, not minutes.
Chill and slice
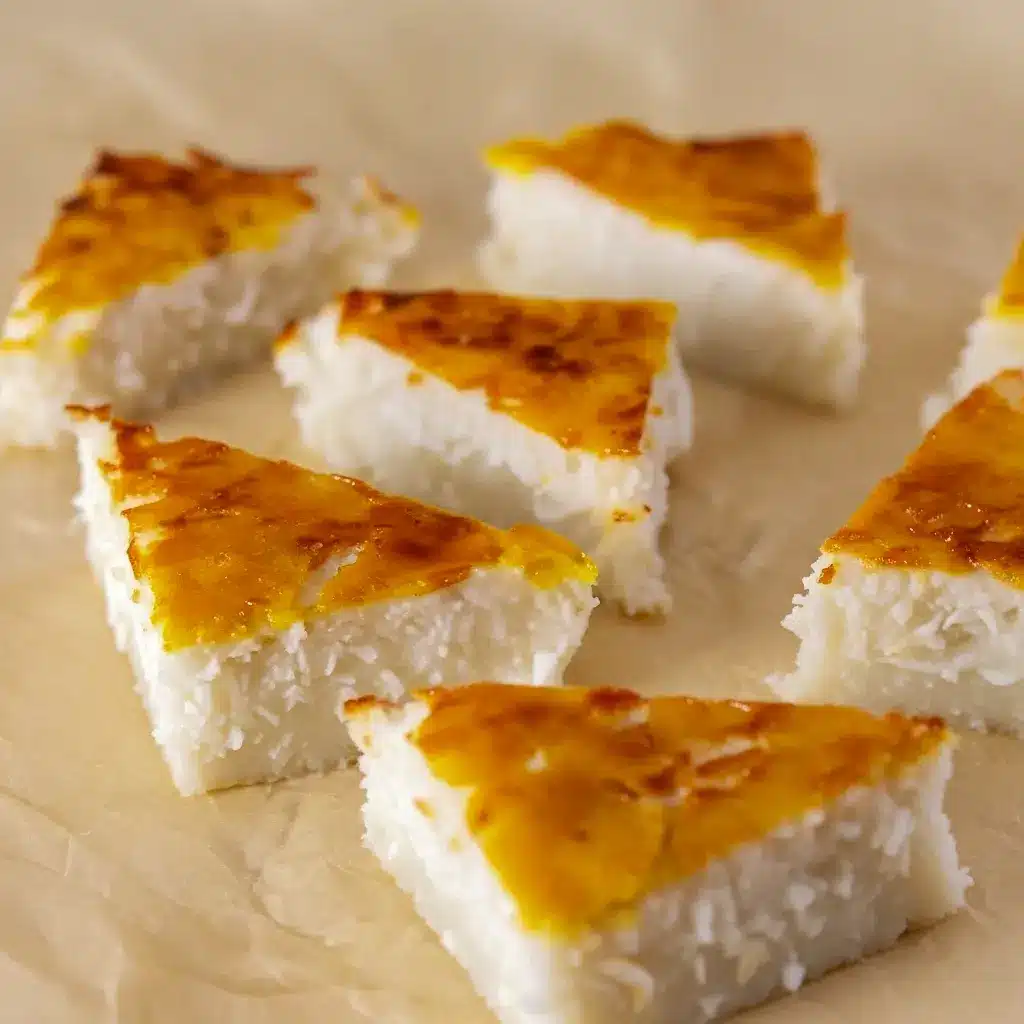
Let the cake cool to room temperature, then cover and refrigerate overnight (or at least 8 hours). Chilling firms the interior so you slice clean squares. Cut into 9 pieces, or into smaller triangles for bite-sized snacks.
Pro tips for perfect results
- Use glutinous rice flour, not all-purpose. That chewy, sticky mouthfeel depends on this ingredient. Mochiko works wonderfully.
- Shake or stir coconut milk before measuring. The cream separates in the can — reunite it for consistent moisture. Heat briefly if it’s stubborn.
- Don’t expect a light sponge. This cake is dense and chewy — think macaroon, not pound cake.
- Broil with care. The broiler gives authentic caramelized surface; don’t walk away.
- Chill before cutting. Cold cake slices cleanly; warm cake will smear.
- Make ahead. It tastes even better after a night in the fridge when the flavors have settled.
Bold tip: If your coconut flakes look dry, add a tablespoon or two more coconut milk — better a slightly looser batter than a chalky, dry result.
Variations & creative riffs
Want to spin the recipe into new directions? Here are simple ideas that keep the soul of wingko intact.
- Pandan-scented version. If you find pandan extract or fresh pandan leaves, add a touch for that herbaceous, authentic Javanese note.
- Almond & coconut cake twist. Stir in slivered toasted almonds or a handful of almond meal for a nutty lift — think Almond & Coconut Cake vibes. (Bolded for search goodness.)
- Mini cakes. Pour batter into muffin tins or ramekins for portable, single-serve treats. Bake time drops substantially.
- Chocolate drizzle. Add a light dark-chocolate drizzle for contrast to the sweetness — a sophisticated finishing touch.
- Fruit addition. Top with thin slices of jackfruit or mango for a tropical pairing typical in Indonesian snacks.
These small edits let you explore textures while keeping the basic technique unchanged.
Best ways to serve
- Cold from the fridge for neat slices at gatherings — the chew is satisfying and the flavor concentrated.
- Room temperature if you prefer a softer bite and pronounced coconut aroma.
- With tea or coffee — great as a mid-afternoon pick-me-up or an after-dinner nibble.
- Miniatures in cupcake liners make excellent potluck offerings and are super cute to serve.
Want to make it festive? Place small squares in colorful cupcake liners or stack them with parchment sheets as a gift box.
Quick tips for storage & leftovers
- Refrigerator: Cover tightly; stores well for up to 5 days.
- Freezer: Wrap individual pieces in plastic and foil and freeze for up to one month; thaw in the fridge before serving.
- Serving tip: If chilled, let sit at room temp 10–15 minutes to soften slightly before eating.
FAQs — quick answers
Can I use all-purpose flour instead of glutinous rice flour?
Don’t swap — the texture will change dramatically. Use mochiko or glutinous rice flour for chewy authenticity.
Is this recipe truly Indonesian?
It’s an adapted version for broader availability of ingredients. It captures the essence of wingko babat, though not every traditional step (like stovetop searing on a specialized pan) is included.
Can I make this vegan?
Try replacing eggs with flax “eggs” and use a plant-based concentrated coconut cream. Results will vary, and you may need to adjust liquid ratios.
What if my coconut milk separates and won’t mix?
Heat briefly or whisk vigorously in a measuring cup until fully combined.
Why is the cake sticky?
Glutinous rice flour + coconut give it that chew. That’s the point — it’s supposed to be sticky and dense.
Final thoughts — wrap-up and encouragement
Whether you call it wingko, wiwingka, or just “that amazing Indonesian coconut cake,” this recipe gives you an accessible way to bake a classic Javanese snack at home. It’s forgiving, portable, and deeply coconutty — perfect for potlucks, travel snacks, or just a quiet afternoon treat. If you love coconut macaroons or sticky rice desserts, you’ll appreciate this chewy, golden batch.
Try it, tweak it, and make it yours. And if you fall as hard for it as I did, explore more Indonesian Desserts Recipes and Indonesian Dessert Recipes — you’ll find a delicious world of Indonesian Coconut Dessert inspirations and Indonesian Coconut Sweets waiting. Want a printable recipe card or a scaled version for smaller batches? I can format one for you next — just say the word.
Happy baking — and selamat makan (enjoy your meal)!
Follow me on Pinterest for daily new recipes.

Indonesian Sticky Coconut Cake (Quick & Easy Recipe)
- Prep Time: 10 minutes
- Resting time: 9 hours
- Cook Time: 50 minutes
- Total Time: 10 hours
- Yield: 18 servings 1x
- Category: Dessert
- Cuisine: Indonesian
Description
Love coconut? This Sticky Coconut Cake — a home-friendly take on wingko babat — is chewy, sweet, and totally addicting. It’s naturally gluten-free, simple to mix up, and ideal for making ahead.
Ingredients
- 2 eggs, separated
- 1⅟4 cups (about 250 g) granulated sugar
- 2¼ cups full-fat canned coconut milk (shake the can first)
- 3 cups shredded sweetened coconut
- 1½ cups glutinous rice flour (mochiko works great)
- 1 teaspoon vanilla extract
Instructions
-
Heat the oven to 350°F (175°C). Line an 8×8-inch pan with parchment or grease it lightly.
-
In a medium bowl, whisk the egg whites together with the sugar until they’re well combined and slightly glossy.
-
Pour in the coconut milk, then fold in the shredded coconut, glutinous rice flour, and vanilla. Mix until everything is smooth and there are no dry pockets of flour or clumps of coconut. The batter will be quite loose — that’s normal.
-
Transfer the mixture to the prepared pan and smooth the surface with a spatula. Bake on the center rack for about 45 minutes, until the top looks set and the edges begin to brown.
-
Remove the pan and gently brush the surface with the reserved egg yolks. Switch the oven to broil and return the pan to the top rack. Broil briefly (about 5–10 minutes) until the top turns a golden brown — watch it closely so it doesn’t burn. Bold tip: Keep the oven door slightly ajar and stay nearby — broilers brown fast.
-
Cool the pan on a wire rack until it reaches room temperature. Cover with plastic wrap and refrigerate overnight (or ~8 hours) so the cake firms up and slices cleanly.
-
Cut into squares or triangles and serve straight from the fridge or at room temperature.
Notes
- This yields about 18 triangle pieces.
- Bold tip: Use glutinous rice flour (not regular flour) for the chewy, sticky texture wingko is known for.
- Store covered in the fridge up to 5 days or freeze individual pieces for longer storage.
Nutrition
- Calories: 268kcal
- Sugar: 15g
- Sodium: 17mg
- Fat: 17g
- Saturated Fat: 14g
- Trans Fat: 1g
- Carbohydrates: 29g
- Fiber: 3g
- Protein: 3g
- Cholesterol: 18mg


