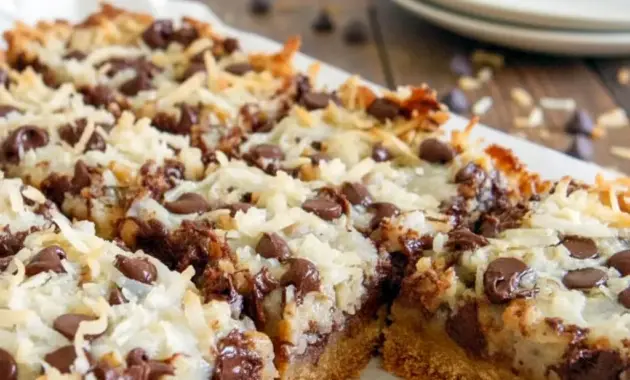
Magic Cookie Bars are the kind of retro dessert that never goes out of style: a crisp graham-cracker base, a drizzle of sweetened condensed milk, and a decadent layer of chocolate, coconut, and nuts. They bake up in one pan, slice into shareable squares, and vanish faster than you can say “who brought dessert?” Ready in under an hour, they qualify as one of the easiest Dessert Bar Recipe classics you’ll keep coming back to.
Why you’ll love this recipe
Want something nostalgic, simple, and shockingly good? Yep, this delivers. You get crunchy, chewy, nutty, and melty in every bite. It’s essentially a handheld sundae in bar form—no spoon required. They work for potlucks, lunchboxes, bake sales, and last-minute company. Plus, this Magic Cookie Bar Recipe invites riffing: toss in candies, swap nuts, or go totally tropical. Curious yet?
The Key Ingredients (and Why You Need Them)
Below I list the main ingredients (no amounts here — the printable card has those). I’ll explain what role each plays so you understand how and why to tweak things.
- Graham cracker crumbs (Biscuits Graham): This makes the crunchy, buttery crust. It holds the bars together and gives a toasty backdrop for everything else.
- Butter: Melts into the crumbs and creates a sturdy, flavorful base.
- Sweetened condensed milk: The glue and the luscious sweet layer—this is what makes the bars “magic.”
- Semisweet chocolate chips: Provide melty pockets of chocolate and balance the sweetened milk.
- Flaked coconut (Coconut Cookies / Coconut Cookies Recipes inspiration): Adds chew and a toasty coconut note that plays beautifully with chocolate.
- Chopped nuts: For contrast—pecans or walnuts add crunch and a rustic flavor note.
- Optional mix-ins: Think candy pieces or butterscotch—these are the elements that let you customize this Easy Bar Recipes template.
How to Make It
Follow these tidy steps for dependable bars every time.
- Prep: Preheat your oven (generally 350°F/175°C), and grease a 9×13-inch pan. If you use glass, drop oven temp a bit to avoid overbrowning.
- Make the crust: Combine crushed graham crackers and melted butter until the mixture resembles wet sand. Press it evenly into the bottom of the prepared pan—compact it well so the base stays intact when you cut bars.
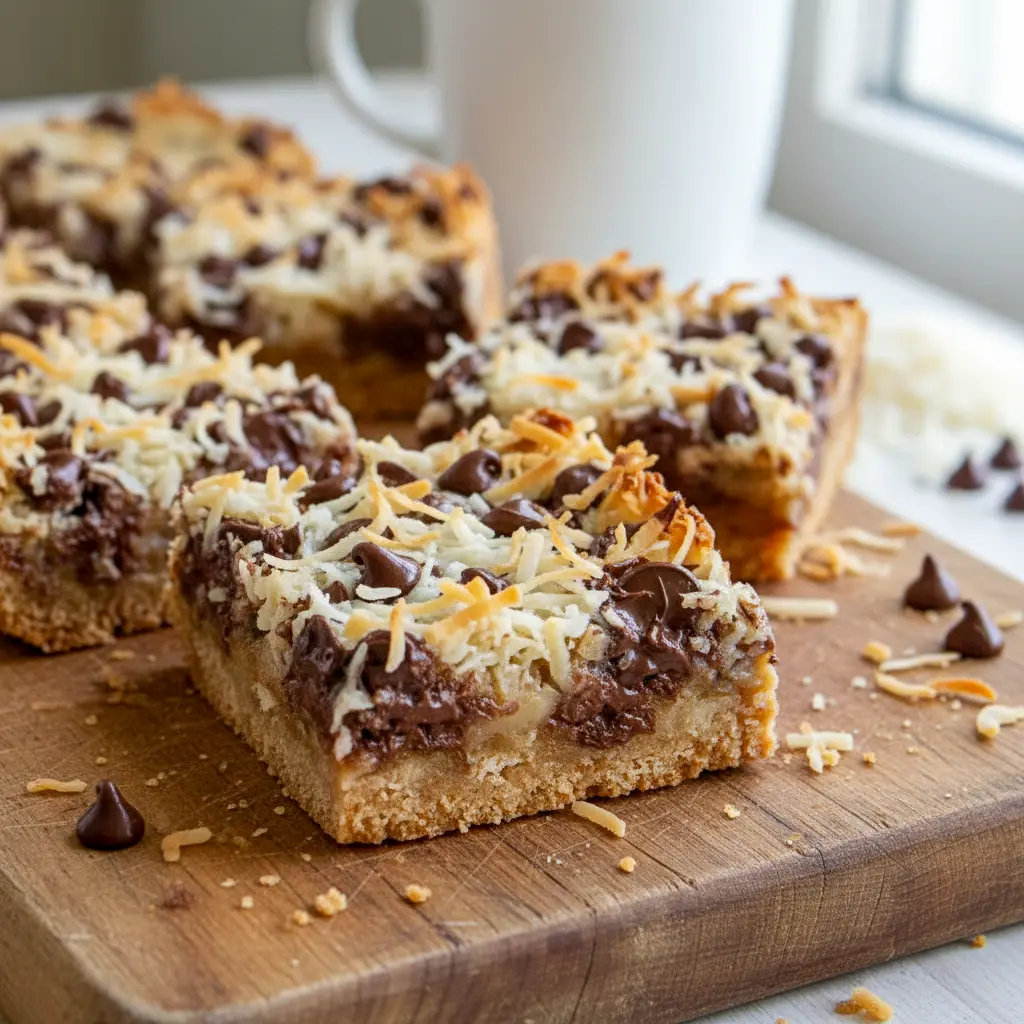
- Layer the magic: Pour condensed milk over the crust in a thin, even stream. Sprinkle an even layer of chocolate chips, then coconut, then chopped nuts. Press gently with the back of a spoon or a fork so the toppings nestle into the milk.
- Bake: Slide the pan into the oven and bake until the top is lightly golden—about 25 minutes (check early if your oven runs hot). The condensed milk should bubble slightly and the coconut should toast a touch.
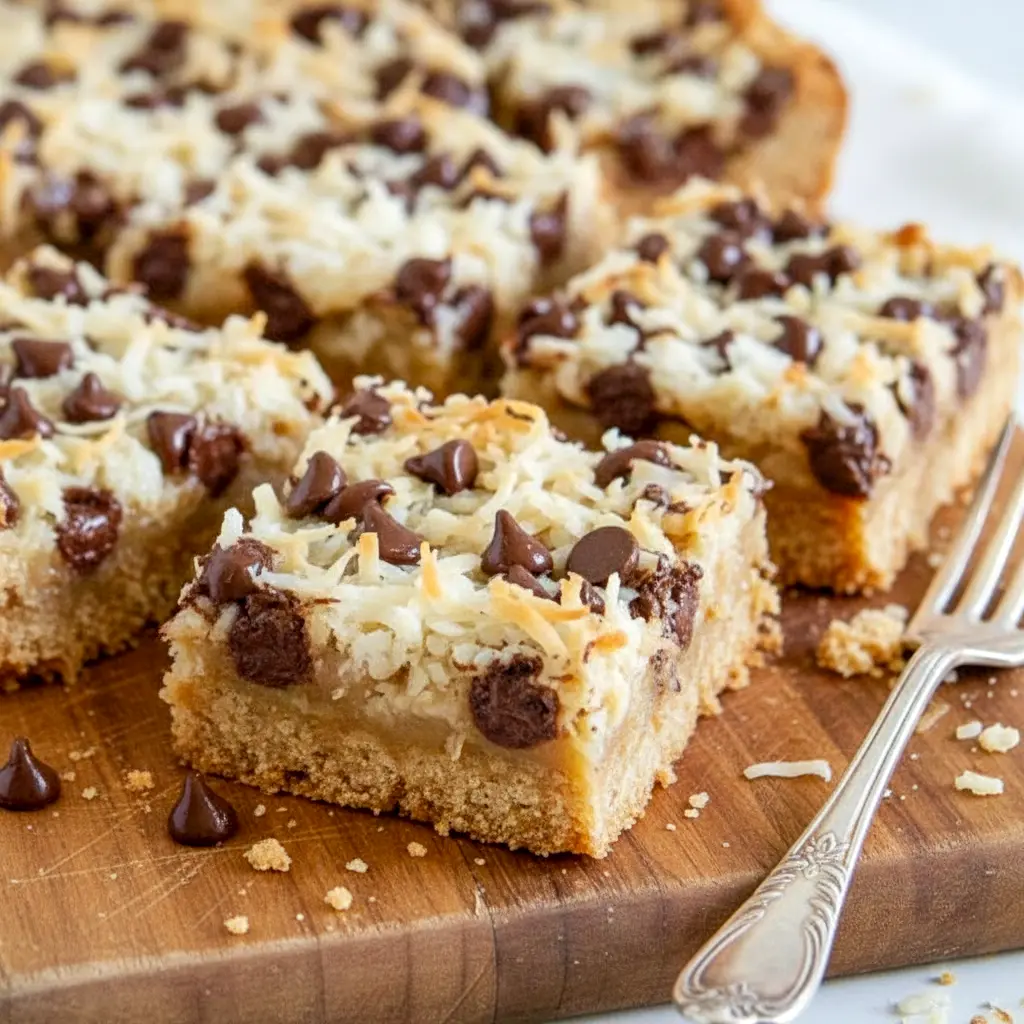
- Cool & slice: Let the bars cool completely—this is key. Chill briefly if you prefer, then slice into bars or diamonds.
Bold tip: cool fully before cutting so the sweet layer firms and you get clean, photogenic squares.
Pro tips for perfect results
- Press the crust firmly. A compact base prevents a crumbly mess when you serve.
- Don’t overbake. You want just-browned coconut and a set middle. Overcooking dries the bite.
- Use quality chocolate chips. Cheap chocolate can turn waxy when baked.
- Swap nuts to suit guests. Pecans, almonds, or macadamia—go with what you love.
- Make-ahead friendly. Bars keep well at room temperature in an airtight container for a few days—or in the fridge for up to a week.
- Want extra gloss? A light drizzle of melted chocolate after cooling makes them look bakery-level.
Bold tip: if your condensed milk looks super runny, give it a few extra minutes in the oven—it will thicken as it cools.
Variations to try (because variety is life)
- Magic Peanut Cookie Bars: Substitute chocolate chips and chopped nuts with chocolate-covered peanuts for a salty-sweet crunch.
- Rainbow Magic Bars: Swap half the chocolate chips for candy-coated chocolates for a colorful party-friendly version.
- Butterscotch or White Chocolate: Replace one cup of chocolate chips with butterscotch or white chocolate chips for a sweet change.
- Coconut-forward: Add toasted coconut to both the crust and the topping for an intense coconut cookie experience—a nod to Coconut Cookies Recipes.
- Cookie crust swap: Use crushed Oreos or shortbread instead of graham crumbs if you want a fudgier base—community bakers swear by it. One reader even used peanut-butter pretzels in the crust for an addictive salty edge.
Best ways to serve
These bars shine as is, but a few serving ideas elevate them:
- Serve warm with a scoop of vanilla ice cream.
- Plate small squares with coffee for an elegant after-dinner dessert.
- Stack bars on a platter for parties—cut diamonds for a retro touch.
- Wrap individual bars for gifts or bake sales—tie with twine for nostalgia points.
Storage and freezing tips
- Room temp: Store in an airtight container at room temp for up to 3 days.
- Fridge: Keep chilled for up to one week—bring to room temp before serving for best texture.
- Freeze: Wrap tightly in plastic and foil; freeze up to 3 months. Thaw overnight in the fridge. These reheat well for a few seconds in a microwave if you like them warm.

Frequently asked questions (short & useful)
Can I make these nut-free?
Yes—simply omit the nuts or replace them with extra coconut or crushed pretzels for crunch.
Do I have to use sweetened condensed milk?
It’s the signature element. Substitutes don’t behave the same way in bake-time or set texture. Stick with condensed milk for authentic results.
Can I use shredded unsweetened coconut?
Yes—just toast it lightly first for the best flavor and texture.
What size pan works best?
A 9×13-inch pan gives the classic thickness. Larger pans make thinner bars; smaller pans yield chunkier squares.
Community tips & fun swaps
Home bakers have shared great ideas over the years. Try crushing a handful of pretzels into the crust for salty notes. Or swap graham crackers for crushed Oreos to make it near-fudgy. If you love a gooey, retro candy bar vibe, these tweaks turn the classic into a new obsession.
Why this qualifies as an Easy Bar Recipes winner
This recipe hits all the marks: minimal steps, affordable ingredients, wide appeal, and endless shoppable variations. It’s the dessert you bring when you want to impress without a meltdown. With a straightforward method and forgiving technique, even novice bakers score big.
A note on nostalgia — and the “magic” in the name
These bars earned the “magic” label because the condensed milk binds everything into a sticky, almost caramel layer that transforms simple ingredients into something memorable. They evoke lunchbox smiles and church-bake-sale energy—warm comfort with a sweet kick.
Quick troubleshooting
- Topping sinking? If the milk puddles, give the bars more bake time so it thickens.
- Crust too crumbly? Press more firmly and add a touch more melted butter next time.
- Too sweet? Try halving the chocolate chips or using bittersweet chocolate to cut the sugar.
Final thoughts — wrap-up and serving pep talk
If you want a no-fuss, high-reward dessert, Magic Cookie Bars deserve a spot in your recipe rotation. They’re a nostalgic, crowd-friendly Dessert Bar Recipe that play beautifully with swaps—candy, nuts, or a cookie-crust twist. Make them for a bake sale, a holiday dessert table, or just because you need something sweet and satisfying in under an hour.
So: preheat, press, layer, bake, and slice. You’ll get ooey, chewy bars that taste like childhood and look like you worked way harder than you did. Want a printable recipe card, social captions, or a short video script to promote these on Instagram or Pinterest? I’ll write them up—scroll-stopping and ready to post.
Follow me on Pinterest for daily new recipes.

Easy Magic Cookie Bars — A Classic Favorite
- Prep Time: 15 minutes
- Cook Time: 25 minutes
- Total Time: 40 minutes
- Yield: 36 bars 1x
- Category: Dessert
Description
Old-school and always adored, these bars layer a buttery graham-cracker crust with sweetened condensed milk, melty chocolate, chewy coconut, and crunchy nuts. They come together fast and store well — keep them covered at room temperature.
Ingredients
- 1½ cups graham cracker crumbs
- ½ cup butter, melted
- 1 (14 oz) can sweetened condensed milk
- 2 cups semisweet chocolate chips (morsels)
- 1⅓ cups flaked coconut
- 1 cup chopped nuts (pecans or walnuts work great)
Instructions
- Gather everything you need and preheat the oven to 350°F (175°C). If you’re baking in glass, lower the temperature to 325°F (165°C). Lightly spray a 9×13-inch baking pan with cooking spray.
- Combine the graham crumbs and melted butter in a bowl until the crumbs are evenly moistened. Press this mixture firmly and evenly into the bottom of the prepared pan to form the crust.
- Pour the can of sweetened condensed milk evenly over the crust, spreading it gently so it covers the surface.
- Scatter the chocolate chips across the condensed-milk layer, then add the flaked coconut and top with the chopped nuts. Press the toppings lightly with the back of a fork or a spoon so they nestle into the milk.
- Bake until the top turns a light golden color and the condensed milk bubbles slightly around the edges, about 25 minutes (watch your oven; times vary).
- Let the pan cool completely on a wire rack. Once cooled, cut into about 36 small bars or diamond shapes.
- Serve, store in an airtight container, and enjoy!
Notes
Quick tips: press the crust well so the bars hold together, and allow full cooling before slicing for neat squares.
Nutrition
- Calories: 167
- Fat: 10g
- Carbohydrates: 14g
- Protein: 2g


