If you want show-stopping holiday bites, Meringue Christmas Trees are the light, crunchy, and cheer-filled treat you need on your cookie tray this year. These airy little confections bake low and slow, pipe into adorable tree shapes, and practically beg for sprinkles. Who doesn’t love a snack that looks fancy but literally takes three main ingredients?
Brief introduction to the recipe
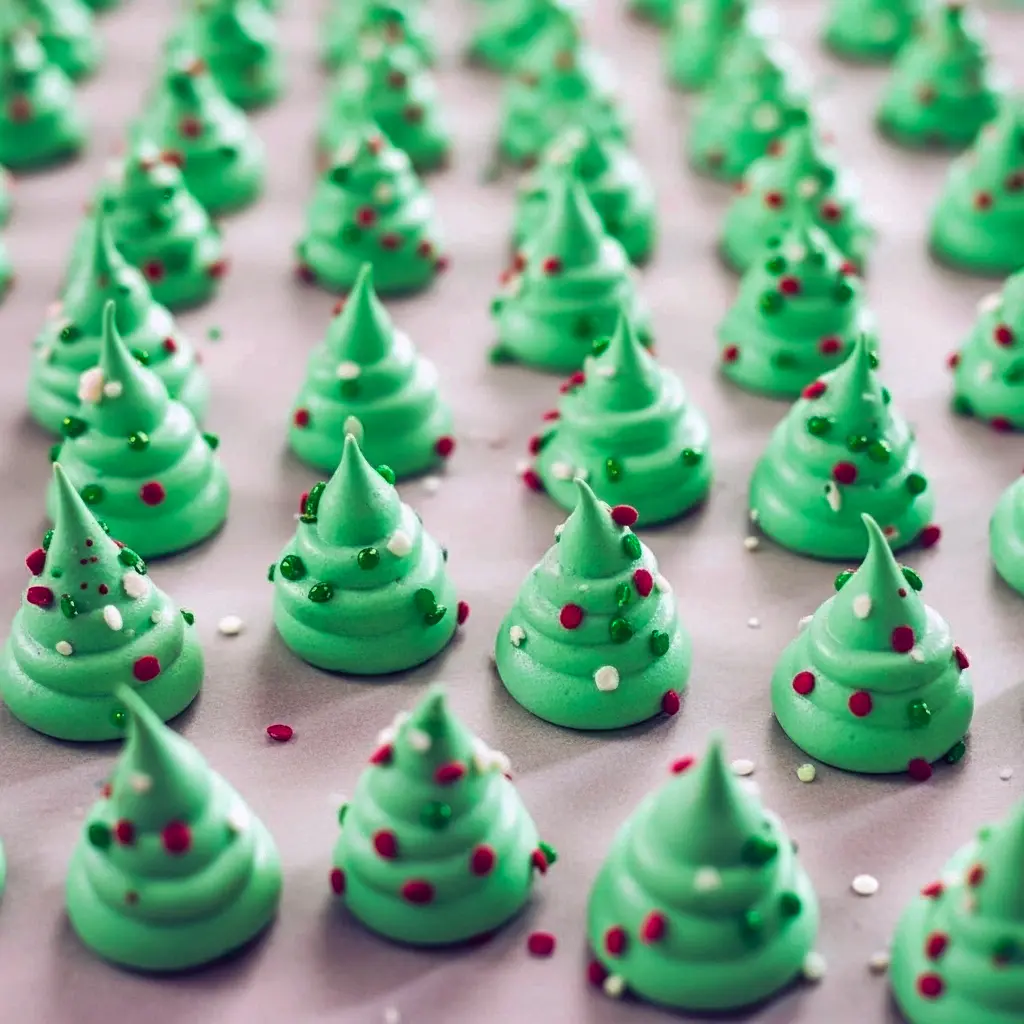
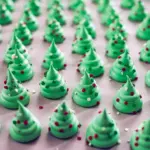
Meringue trees transform whipped egg whites and sugar into delicate, crisp cookies that melt on your tongue. You dye them festive green, pipe them into mini evergreens, add a pretzel stump or a star sprinkle, and suddenly your dessert table has personality. They make fantastic additions to cookie exchanges, holiday parties, or a laid-back afternoon of baking with the kids. Best part? Meringue Cookies require minimal equipment and maximum delight.
Why you’ll love these meringues
- Ridiculously simple: three core ingredients (egg whites, sugar, cream of tartar).
- Kid-friendly: great for beginners and little sous-chefs.
- Make-ahead friendly: dry them in the oven, then store — they keep well.
- Customizable: add flavor, color, or a salty pretzel trunk for a sweet-salty pop.
Want something unique for your holiday spread? Try pairing with other playful bites like Meringue Christmas Tree Pretzels to build a sweet-and-salty board that disappears fast.
The story behind the recipe
I remember whipping up my first meringues like they were miniature science projects — fragile, magical, and utterly satisfying. Meringues were the first “grown-up” cookie I made without adult supervision, and they still feel like a rite of passage. Each year I tweak color shades and sprinkles until I hit the perfect festive vibe. The result? A tray of tiny green trees that look like a winter forest and taste like crunchy clouds.
Ingredients breakdown — what each thing does
- Egg whites (4, cold): the base of meringue. Cold eggs separate cleaner; room temperature whites whip higher after a short rest.
- Granulated sugar (1 cup / 200 g): sweetens and stabilizes the structure. You’ll add slowly to dissolve and create glossy peaks.
- Cream of tartar (1/8 tsp): a stabilizer that helps the whites hold stiff peaks. Small amount, big impact.
- Vanilla extract (2 tsp): classic flavor — optional but recommended.
- Green food coloring or gel: turns your meringues merry and tree-like. Gel gives richer color with less liquid.
- Sprinkles: decoration and nostalgia. Use festive shapes for extra cheer.
Pro tip: Make sure your bowl and beaters are completely free of grease — any fat ruins the whip. If in doubt, wipe with white vinegar and rinse.
How to make it — step-by-step
Prep (don’t skip)
- Clean bowl & tools. Wipe with white vinegar if needed and rinse.
- Preheat oven to 200°F (93°C). Line two sheet pans with parchment or silicone.
- Fit a piping bag with a large round or star tip (or use a zip-top bag with a corner snipped).
Whip the meringue
- Separate eggs carefully (no yolk contamination!). Put 4 cold egg whites in the mixing bowl.
- Beat on medium-high until foamy (~2 minutes).
- Add sugar slowly while mixer runs; then add cream of tartar. Increase speed to high and whip until stiff, glossy peaks form (~5 more minutes). Test by inverting the beater — the peak should stand tall.
- Add vanilla and green coloring. Mix briefly on medium until evenly colored.
Pipe & decorate
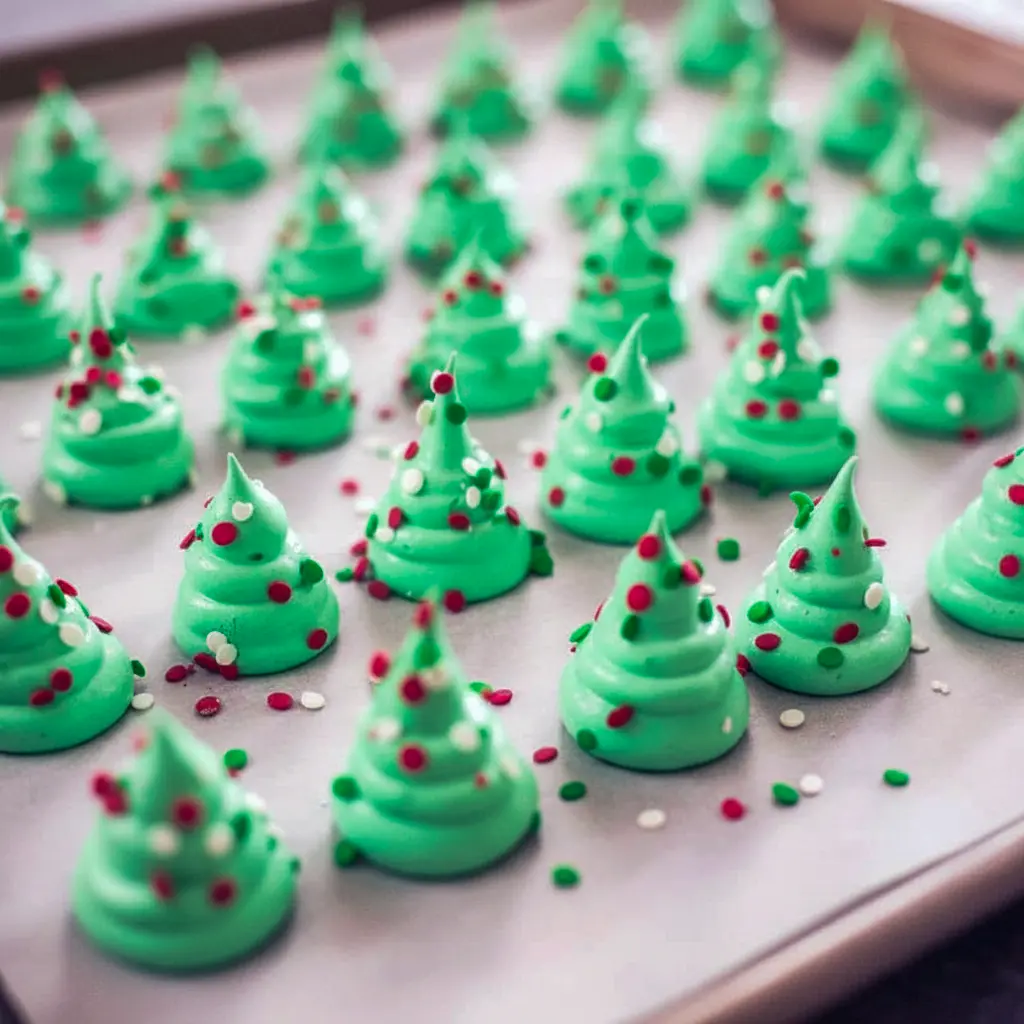
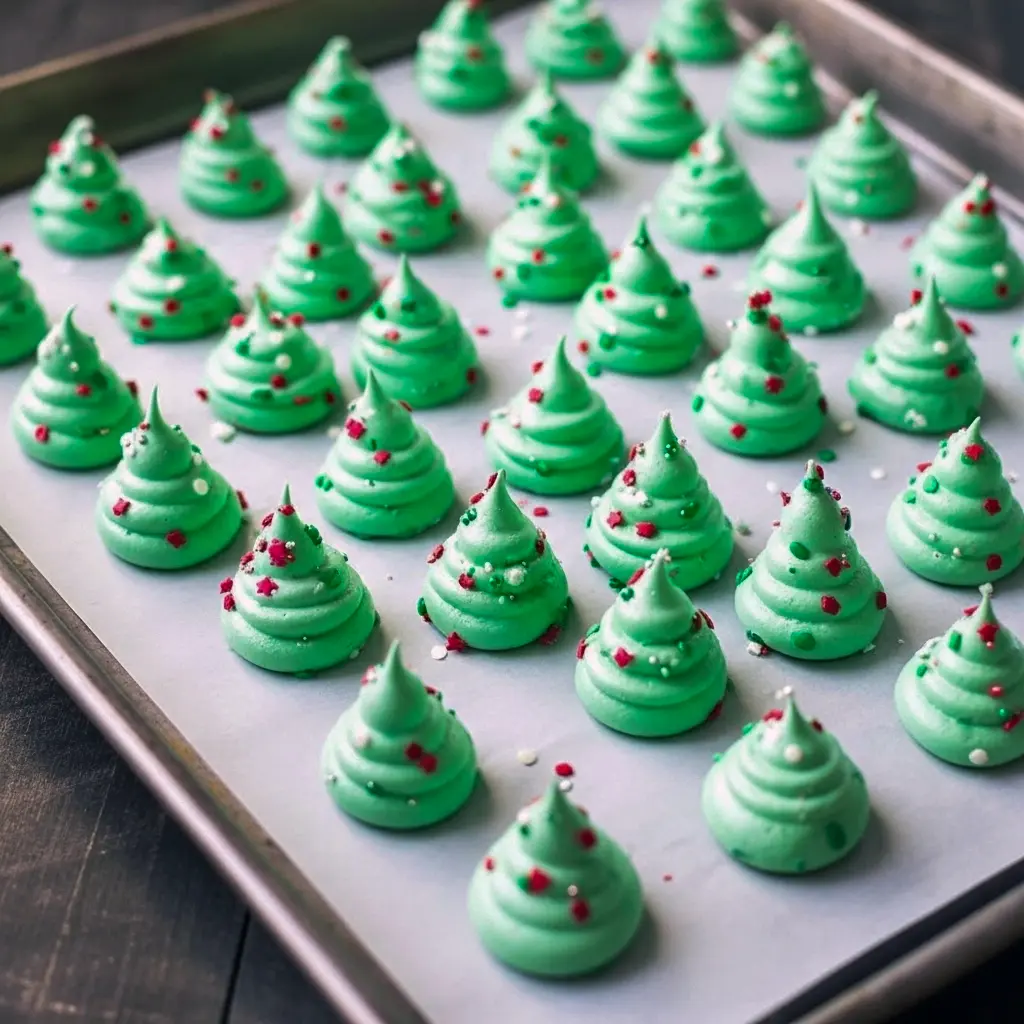
- Spoon meringue into your bag. Pipe tree shapes (base about the size of a quarter) on prepared sheets. Don’t crowd them.
- Top immediately with sprinkles (they’ll stick as the meringue dries).
Dry low and slow
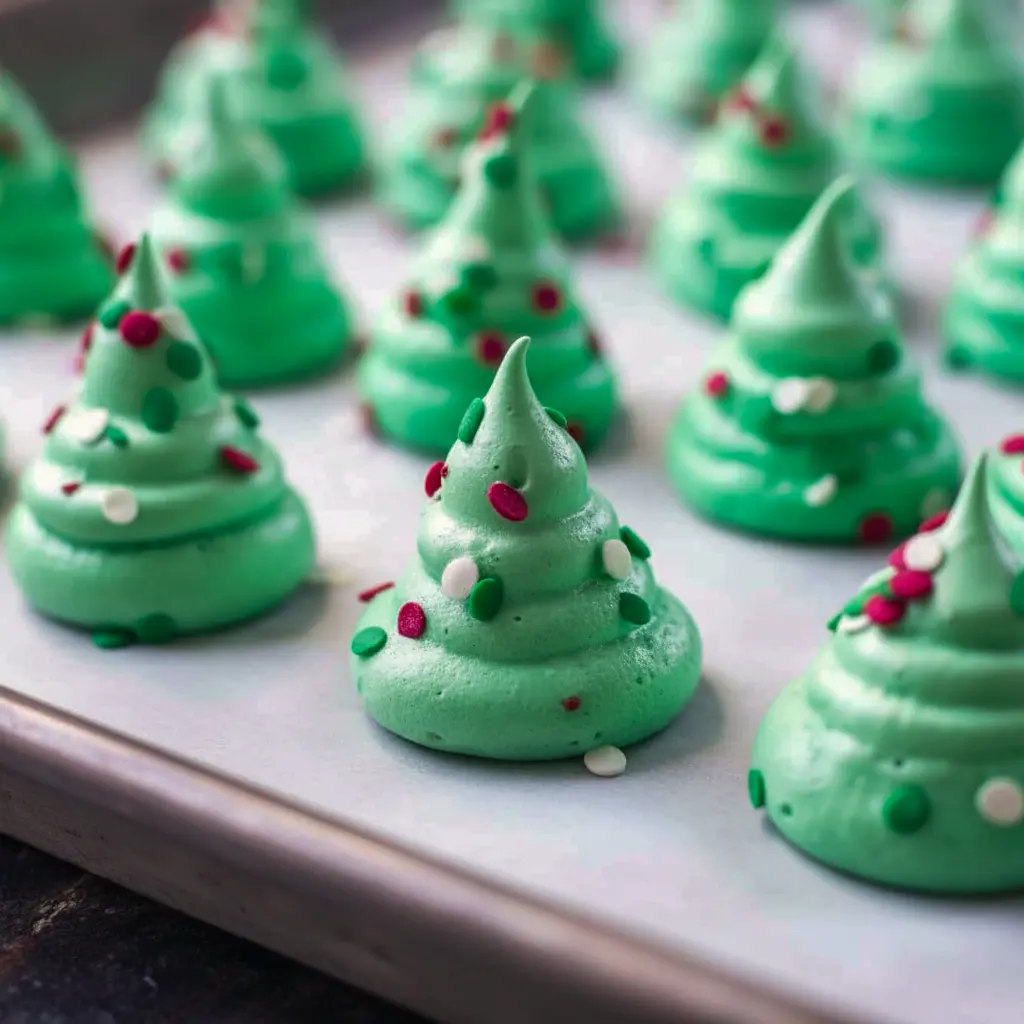
- Bake at 200°F for 2–2.5 hours, rotating pans halfway. These aren’t baked so much as dehydrated — the goal is very dry and crisp. If they begin to brown, lower oven to 175°F.
- Cool completely and test: they should lift from the parchment easily and be crunchy throughout.
Bold tip: Bake low and slow — this dries them without browning. Browning means you baked too hot.
Pro tips for perfect results (don’t skip these!)
- Use gel coloring. Gel gives vivid green without adding liquid that would deflate your meringue.
- Slow sugar addition is crucial. Pour too fast and your meringue won’t get that glossy, stable texture.
- Avoid humidity. Meringues hate damp air. Pick a dry day if possible — or keep them stored airtight after cooling.
- Don’t overbeat after adding sugar. Stop when stiff peaks form. Overbeating can make the structure brittle and prone to cracking oddly.
- Piping practice makes prettier trees. Try a few test shapes on the tray before committing to all of them.
- If you want a trunk, press a small pretzel into the base or pipe a tiny brown dot of melted chocolate after baking for a neat effect. (Hello, Meringue Christmas Tree Pretzels combo.)
- Clean tools = success. Any fat will kill your peaks. Wipe with vinegar if needed.
FYI: If you’re juggling a million things, this recipe remains forgiving — it’s perfect for multitasking bakers.
Variations to try — get creative
- Mini peppermint pops: Add ¼ tsp peppermint extract and top with crushed candy cane. Great for pairing with hot cocoa.
- Chocolate-dipped trees: Dip bases in melted dark chocolate after baking for a grown-up finish.
- Green ombré: Mix different shades of green for a forest-of-trees look.
- Snow-dusted meringues: Dust with powdered sugar after baking for a snowy effect.
- Meringue + savory: For a playful appetizer twist, serve alongside Xmas Tree Deviled Eggs — an entire holiday menu in tree form. (Yes, that’s quirky. Yes, it’s fun.)
If you want bold swaps, try tinting white and piping star-shaped cookies for a more classic cookie tray inclusion.
Best ways to serve and present
- Cookie platter: alternate sizes and sprinkle types for visual interest.
- Dessert board: include nuts, chocolate bark, and small candies for a festive dessert charcuterie.
- Cupcake topper: use small meringue trees to top lightly frosted cupcakes — instant wow.
- Mini trifle garnish: add a crisp meringue tree on top of small trifles for texture and drama.
Want a crowd-pleaser? Combine with other small bites from Christmas Candy Recipes or serve alongside classic Xmas Cookies — contrast is everything.
Storage and leftovers — how to keep them crisp
- Store completely cooled meringues in an airtight container at room temperature. They keep well for 3–5 days.
- Avoid refrigeration. Moisture will make them soggy.
- If humidity looms, add a packet of dry rice wrapped in cloth to the container (it helps absorb excess moisture).
- If any get a bit sticky, crisp them back in a low oven (175°F) for 10–15 minutes.
Bold storage tip: Keep airtight and dry. Meringues lose their magic with moisture — fast.
FAQs — quick answers
Why didn’t my meringue whip up?
Likely grease or yolk contamination. Clean the bowl and beaters; start over with fresh whites.
Why are my meringues sticky after baking?
Oven too hot or not long enough — dry them longer at a low temp. Humidity can also cause stickiness.
Can I flavor these other ways?
Yes. Try lemon zest, almond extract, or a hint of cocoa for chocolate meringues. Add extracts sparingly.
Can I use electric hand mixer?
Absolutely. A stand mixer gives steadier volume, but a hand mixer works fine.
Pairings & party ideas
- Make a holiday dessert table that includes Green Christmas Tree Meringue Cookies, gingerbread men, and cinnamon-spiced treats.
- Build a dessert board with Meringue Cookies, pretzel sticks, and chocolate squares for an elegant no-fuss option.
- For a playful family night, host a meringue-piping contest — who can pipe the tallest tree without toppling? Prizes optional, giggles guaranteed.
Thinking of making a full themed spread? Mix in a few nostalgic favorites from Christmas Food Desserts lists and you’ll have a menu that covers all ages.
Troubleshooting common issues
- Collapsed peaks: likely underwhipped or a yolk sneaked in. Re-separate and start again.
- Weeping (liquid forming): this can happen if the sugar didn’t dissolve fully. Beat longer while adding sugar slowly.
- Browning: temperature too high. Lower to 175°F and extend drying time.
- Cracking only at the top: normal; the exterior dries first and the inside shrinks slightly — that’s part of the charm.
Final thoughts — why these deserve a spot on your holiday table
Meringue trees fuse nostalgia with elegance. They feel festive without fuss, and they look like you’ve been baking all afternoon when you really spent ten minutes piping and then went about your merry chaos. These airy cookies make a lovely contrast to denser holiday sweets — they’re the light breath between chocolate and fudge on a cookie plate.
Whether you make a whole forest of Meringue Trees Christmas for a party or a small batch of Green Christmas Tree Meringue Cookies to tuck into gift boxes, they deliver crunch, charm, and that visual pop holiday hosts crave. Want to go full DIY? Pair them with homemade pretzels to make Meringue Christmas Tree Pretzels — salty trunk, sweet top. Or include them with savory bites like Xmas Tree Deviled Eggs for a themed menu that surprises guests.
So — ready to whip up a flock of tiny evergreens? Grab the eggs, clear a counter, and let’s make the house smell like holiday success. If you need a printable recipe card, piping templates, or a quick shopping list, I can pull those together next. Happy piping!
Follow me on Pinterest for daily new recipes.
Irresistible Meringue Christmas Trees — Easy, No-Fail Dessert
- Prep Time: 20 minutes
- Cook Time: 2 hours
- Total Time: 2 hours 20 minutes
- Yield: 48 cookies 1x
- Category: Dessert
Description
Christmas Meringues make a whimsical, ultra-light addition to any cookie spread — crunchy, snow-white (or dyed green) little trees that are shockingly simple to whip up.
Ingredients
- 4 egg whites (cold)
- 1 cup granulated sugar (about 200 g)
- 1/8 teaspoon cream of tartar
- 2 teaspoons pure vanilla extract
- Green food coloring or gel
- Assorted sprinkles for decorating
Instructions
Before you start — quick prep notes
-
Make sure your mixing bowl and beaters are spotless. Any grease will stop the whites from whipping properly; if you’re unsure, wipe the bowl and tools with a little white vinegar and rinse.
-
Preheat the oven to 200°F (93°C).
-
Line two baking sheets with parchment paper or silicone mats.
-
Fit a piping bag with a large round or star tip, or use a heavy-duty zip-top bag with a corner snipped off.
-
Separate the eggs carefully — even a speck of yolk will sabotage the whip.
Method — step-by-step
-
Place the cold egg whites in your clean mixing bowl. Start whipping on medium-high until they turn foamy (about 2 minutes).
-
While the mixer runs, slowly add the sugar—a little at a time—so it dissolves into the foam. Sprinkle in the cream of tartar.
-
Beat on high until the mixture becomes glossy and holds stiff peaks (about 5 more minutes). You’ll know it’s ready when peaks stand straight up when you lift the whisk. This is crucial.
-
Fold in the vanilla and then mix in your green coloring a small amount at a time until you reach the shade you like. Use gel coloring if you can — it gives richer color without watering the meringue down.
-
Spoon the meringue into your piping bag and pipe tree shapes onto the prepared sheets. Make the base of each tree roughly the size of a quarter.
-
Add sprinkles right away so they stick as the meringue dries.
-
Bake low and slow: place the trays in the oven for 2–2½ hours, rotating halfway through. You are drying the meringues, not browning them. If you see any golden color, drop the temperature to 175°F (79°C).
-
When a meringue lifts off the parchment easily and feels completely crisp, it’s done. Let cool, then transfer to an airtight container.
Notes
- Storage
- Keep the finished trees in an airtight tin or container at room temperature. They stay crisp for about 3–5 days. Do not refrigerate — humidity will make them soft.
- Troubleshooting & tips
- Clean tools = success. Any trace of fat ruins the peaks.
- Add the sugar very gradually. Too fast and your meringue will remain grainy or collapse.
- Stiff peaks are non-negotiable. If peaks fold over, keep whipping.
- Humidity kills crunch. Pick a dry day if possible and store airtight.
- If any meringues are sticky later, revive them in a low oven (175°F) for 10–15 minutes.
- If they brown, your oven’s too hot. Lower the temp and extend drying time.
- For a cute trunk, press a small pretzel at the base before drying or dip the finished base in melted chocolate.
- Note on cream of tartar
- Don’t skip the cream of tartar. It stabilizes the egg whites and helps them keep their shape while drying. If your cream of tartar has been in the pantry forever, replace it — fresh works best.
Nutrition
- Serving Size: 3g
- Calories: 20kcal
- Sugar: 5g
- Sodium: 4mg
- Fat: 1g
- Carbohydrates: 5g
- Protein: 1g


