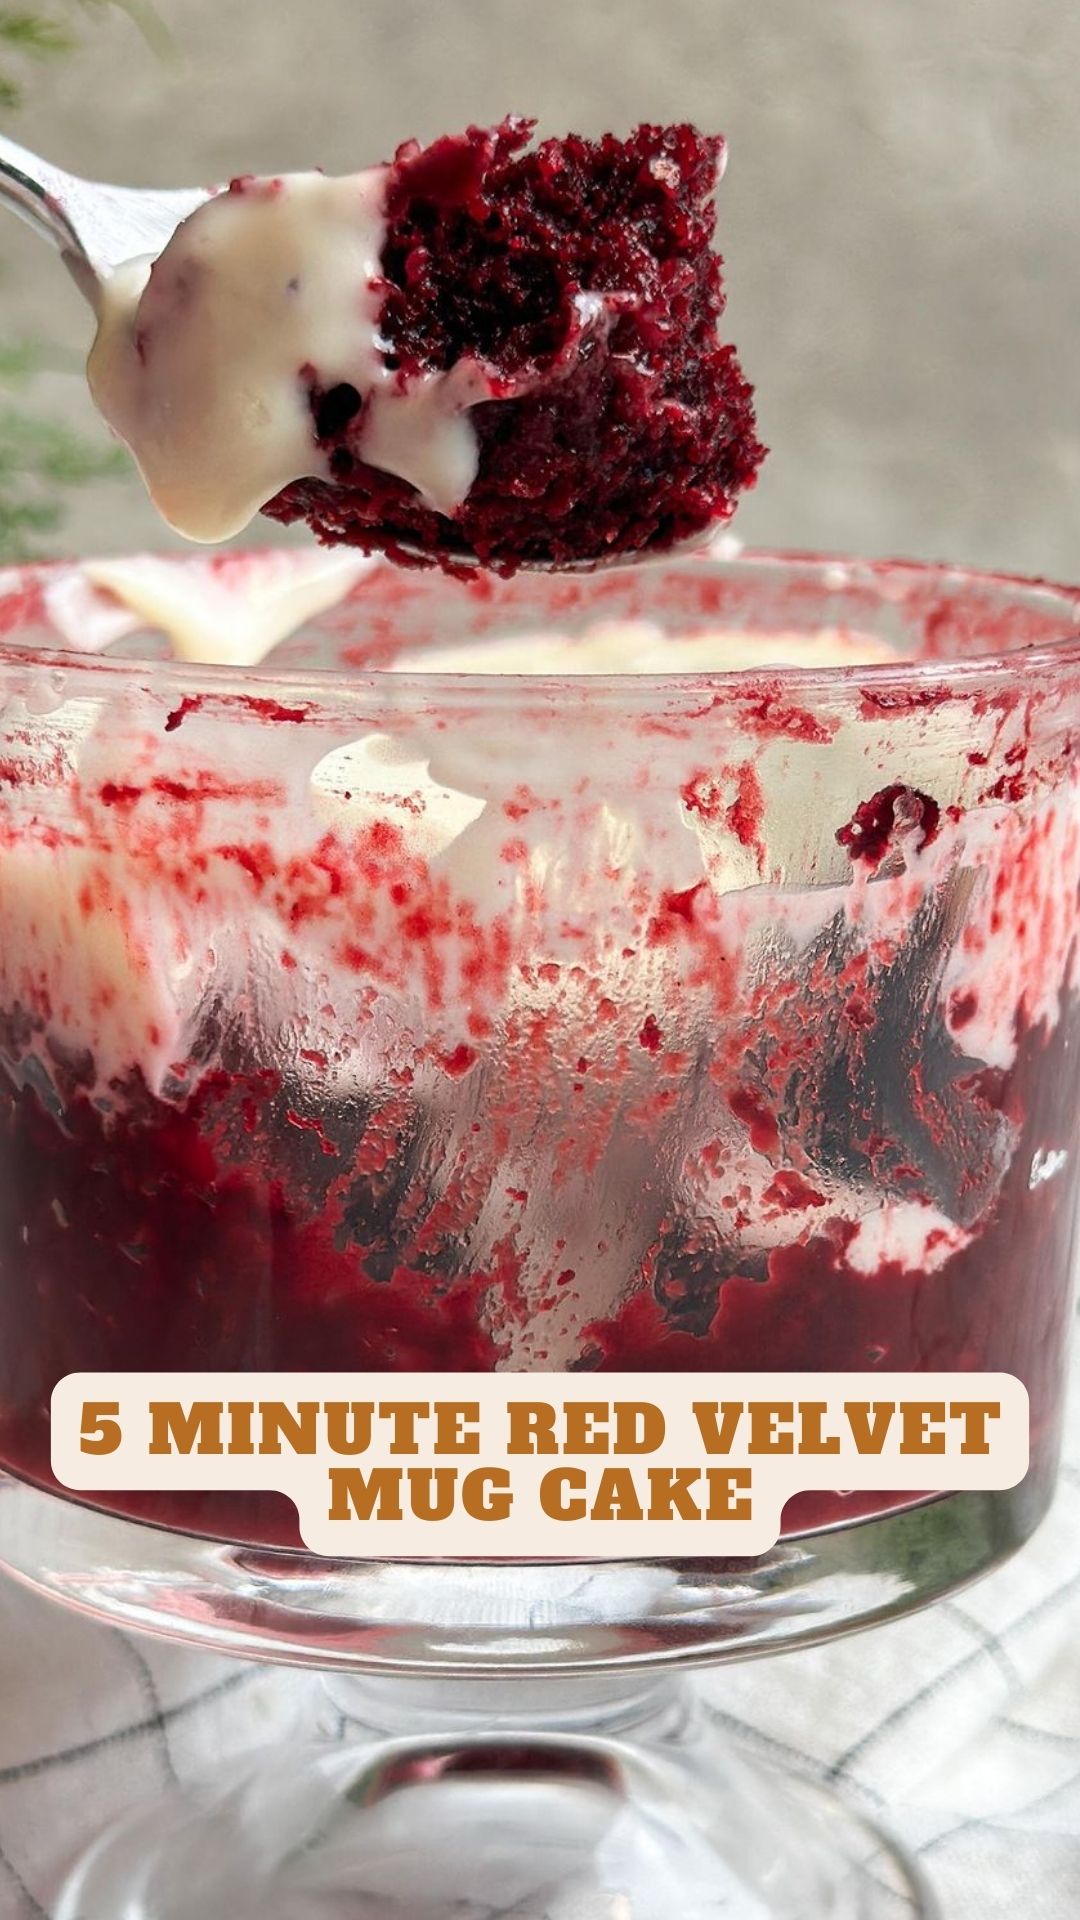
Introducing the Five Minute Red Velvet Mug Cake – because dreams really do come true! This cake is not only a piece of cake to make but also boasts a wonderfully moist, velvety texture. And to top it off, there’s a super quick cream cheese frosting that takes it to the next level. Seriously, your Netflix and chill date night just found its missing piece.
Print
5 Minute Red Velvet Mug Cake
- Prep Time: 3 minutes
- Cook Time: 2 minutes
- Total Time: 5 minutes
- Yield: 2 1x
- Category: Dessert
Ingredients
Scale
**Cake:**
- 4 tbsp milk (60g)
- ½ tbsp white vinegar
- 1 ½ tbsp vegetable oil (20g)
- ½ tsp vanilla
- A few drops of gel red food coloring
- 4 tbsp all-purpose flour (32g)
- ½ tbsp cocoa powder (4g)
- 2 tbsp sugar (27g)
- ¼ tsp baking powder
- ⅛ tsp salt
**Cream cheese frosting:**
- 1 tbsp cream cheese (room temperature (15g))
- 1 tbsp heavy cream
- 1–2 tablespoons powdered sugar (to taste)
Instructions
- Take a microwave-safe mug (around 10-12oz) and add in the milk, vinegar, oil, and vanilla. Give it a good mix with a whisk or fork.
- Add the red food color and mix until you have a bold red color (it’ll dilute a bit when we add cocoa powder).
- Sift in the flour, cocoa powder, baking powder, and salt. Add the sugar. Whisk until a smooth batter forms (no need to overmix).
- Microwave on the default setting for 60-90 seconds. Keep an eye on it around the 60-second mark; if there’s still wet batter, zap it for another 10-20 seconds.
- Let the cake cool for 15 minutes (speed up the process by placing it in the fridge after 5 minutes).
- While it cools, use a fork to whip up the cream cheese frosting until it’s creamy.
- Spread a generous amount of the cream cheese frosting onto the cake.
- Serve, and let the indulgence begin!
Notes
- Microwaving time can vary, so start checking around 60 seconds. If there’s wet batter, give it a bit more time. If it springs back when lightly poked, it’s done.
- Avoid long gaps between microwaving to prevent the cake from deflating and becoming dense.


