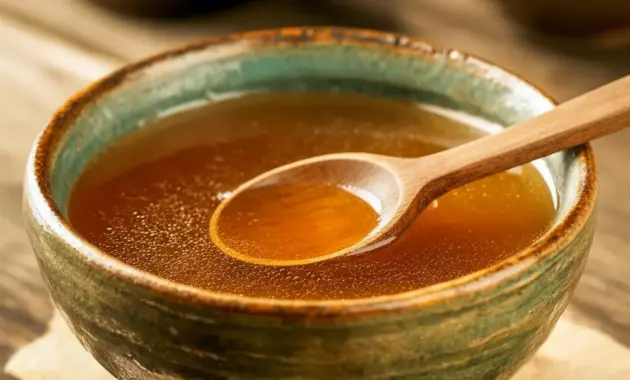
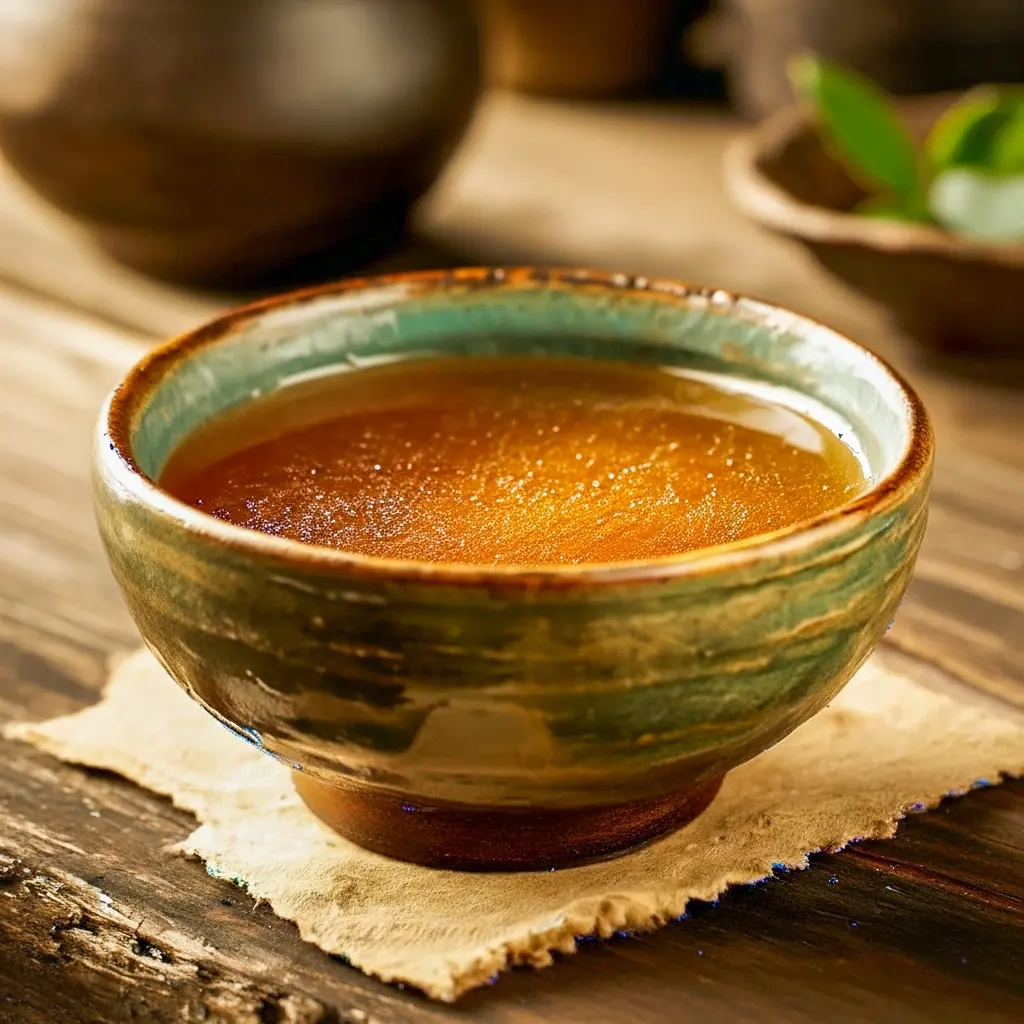
A really good Bone Broth Recipe surprises you. It smells like home, it warms the chest, and it turns simple ingredients into something complex and cozy. This Thai-style broth does exactly that — clear, layered, and full of character. Use it as the foundation for noodle bowls, soups, light stews, or simply sip a cup when you want calm. Read on and I’ll walk you through everything: the why, the how, the small moves that make a big difference, and creative ways to use your finished pot.
Why you’ll love this Thai Broth
This Thai Broth behaves like a quiet superstar in the kitchen. It:
- Delivers deep, savory flavor with a clean finish.
- Works as a base for Asian Soup and noodle bowls, yet stands up on its own.
- Freezes beautifully so you always have flavor on hand for Easy Soups and quick dinners.
- Supports health — it’s hydrating and mineral-rich when properly simmered.
Bold tip: Start with good bones and a gentle simmer — that’s the secret to a clean, flavorful broth every time.
The story behind this pot
I grew up around kitchens where a simmering pot was as common as a clock on the wall. That slow, repetitive sound became my kitchen soundtrack. When I learned to build Thai-style stock, I realized broth isn’t just liquid; it’s memory, ritual, and practical magic. A pot of broth can feed a family, flavor a week of dinners, or be a small, soothing ritual on a tough day. That’s why I teach broth-making the way I do: simple technique, respectful ingredients, and a little patience.
The Key Ingredients (and Why You Need Them)
You don’t need exotic ingredients to make an excellent Thai Broth. You need good choices and balance.
- Bones (chicken or pork): The backbone. Bones release collagen and minerals that give the broth body and a silky mouthfeel.
- Water: Use cold water to start — this helps extract flavor slowly and keeps the broth clear.
- Garlic: Crushed or lightly smashed; it offers warm aromatics without taking over.
- Cilantro roots (or stems): These add a characteristic Thai earthiness that differs from the leaf. Use stems if roots aren’t available.
- White pepper: A subtle warm heat that suits Asian-style soups better than black pepper’s sharper bite.
- Soy sauce (thin): For color and savory depth; it’s not a dominant flavor but it rounds taste.
- Fish sauce: The umami anchor — a little goes a long way. Adds authentic Southeast Asian character.
Optional aromatics you can add if you want a more fragrantly Thai broth: galangal, lemongrass, or kaffir lime leaves. These shift the broth toward Asian Dishes territory and can be used selectively, depending on the final dish.

How to Make It
This section lays out the step-by-step process in a clear, copy-ready format you can paste to your site.
- Prep the bones. Rinse bones under cold water. For a cleaner broth, blanch them: cover with cold water, bring to a brief boil, then drain and rinse bones again. This removes surface impurities that cause cloudiness.
- Fill your pot. Add bones to a large stockpot and pour in cold water to cover by a couple of inches.
- Bring to a gentle boil, then skim. Heat until small bubbles rise and foam appears. Use a ladle to skim the scum from the surface. Skim patiently — this step keeps your stock clear and bright.
- Add aromatics. Toss in crushed garlic, cilantro roots or stems, and a pinch of white pepper. Reduce heat to maintain a soft simmer — you want tiny, lazy bubbles.
- Simmer slowly. Cook for at least 2 hours (3–4 hours for a richer, collagen-rich broth). Keep the lid slightly off or askew to let steam escape slowly. Check occasionally and skim as needed.
- Season near the end. Add thin soy sauce and fish sauce in small amounts. Taste and adjust; if it tastes flat, a tiny pinch more fish sauce will often wake it up. Avoid heavy seasoning early — the liquid will reduce and concentrate.
- Strain. Remove bones and aromatics by pouring the broth through a fine-mesh sieve. Press gently on solids to extract flavor, then discard solids.
- Cool and store. Cool at room temperature until warm, then refrigerate. Fat will rise and solidify; skim it off if you want a lighter broth, or keep some for extra flavor.
Bold tip: Always season at the end. It’s easier to fix a lightly seasoned stock than to rescue an over-salted one.
Pro tips for perfect results
- Cold start helps clarity. Begin with cold water and gentle heat for cleaner extraction.
- Simmer, don’t boil. Boiling emulsifies fat and breaks proteins, which clouds the broth. Keep the heat low.
- Skim early and often. That early foam carries impurities — remove it to preserve a clear soup stock.
- Roast the bones for depth. Optional: roast bones 30–40 minutes at 400°F for a deeper color and richer flavor (gives a more robust base for heartier Soup And Stew).
- Control evaporation. If the broth reduces too much, add water and rebalance seasoning at the end.
- Taste as you go. Broth evolves as it simmers; season only when you approach finishing.
- Freeze in portions. Use ice cube trays for small amounts and larger containers for cups — perfect for quick Broth Recipes add-ins.
Bold tip: If you want a richer finish, reserve a small amount of the unskimmed fat and whisk a teaspoon into a bowl of broth before serving.
Variations to try
Thai Broth adapts easily. Try these versions depending on your mood:
- Simple clear Thai Broth: Bones + garlic + cilantro roots + white pepper. Clean, delicate, and perfect for lighter Asian Soup bowls.
- Herbed Thai Broth: Add lemongrass, galangal, and kaffir lime leaves to the pot for fragrant, citrusy notes (wonderful for tom yum–style dishes).
- Roasted-bone broth: Roast bones first for deeper brown color and richer taste — great for fusion bowls or heartier Soup And Stew.
- Spiced broth: Toast coriander seeds and add a few cloves for a warming aromatic boost that sits well in winter Goulash-style fusion bowls.
- Vegetarian broth: Use shiitake mushrooms, kombu, onion, garlic, and roasted root veg for a leafy, umami-packed vegetarian base — a great alternative for Homemade Soup that needs to be meat-free.
Best ways to serve this broth
This Thai Broth shines in many contexts — it’s a base and a destination.
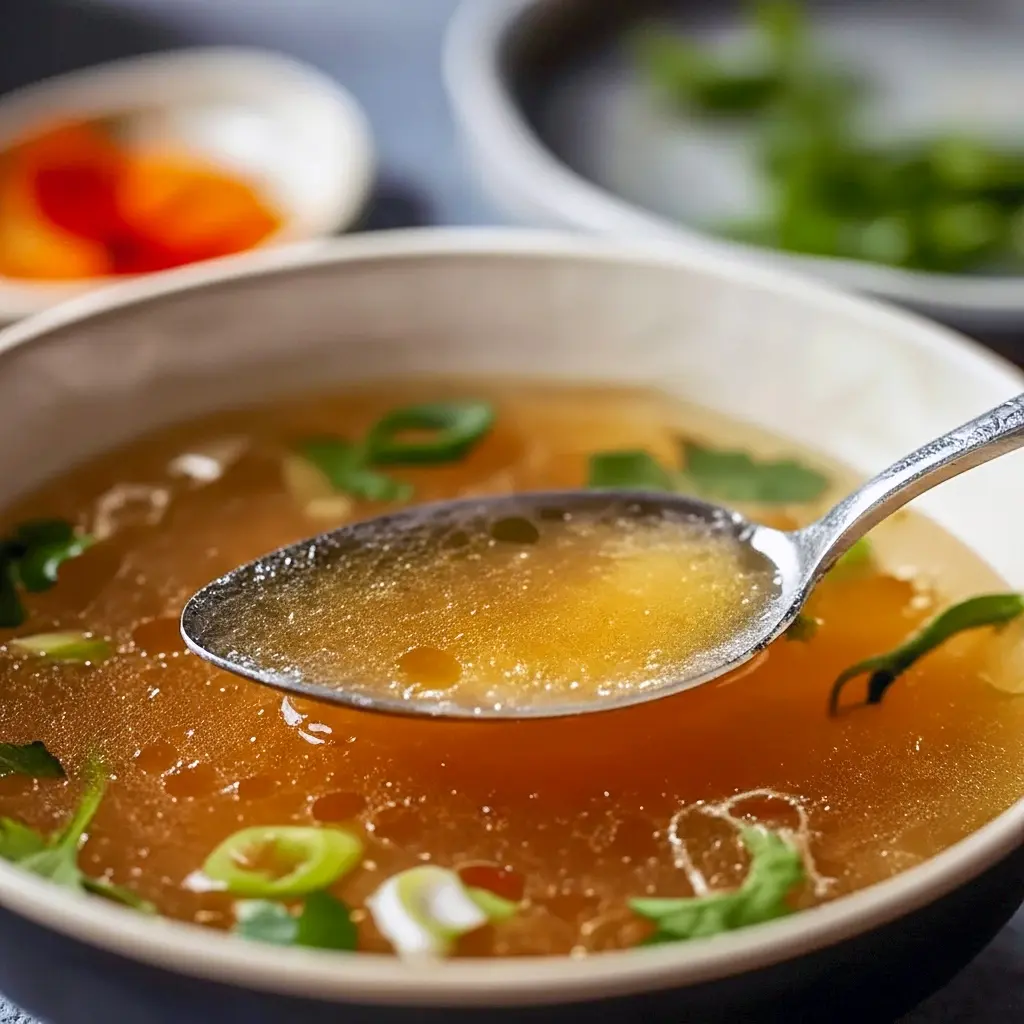
- Classic noodle bowls: Cook rice noodles and ladle hot broth over them; top with sliced chicken, herbs, and a squeeze of lime for an instant Asian Soup.
- Sip as a warm tonic: Pour a cup and enjoy it plain or with a pinch of white pepper and a splash of fish sauce. Perfect when you want Easy Soups that comfort.
- Use as cooking liquid: Replace water with broth when cooking rice, quinoa, or braising vegetables — the result tastes deeper and more interesting.
- Transform into a stew: Add braised meats, root veg, and thicker noodles for a hearty Soup And Stew or a fusion-style Goulash twist.
- Finish with condiments: Offer chopped cilantro, sliced chilies, fried garlic, and lime wedges so guests can personalize each bowl.
Bold tip: Ladle hot broth over fresh herbs and proteins just before serving to keep the aromatics vivid.
Quick tips for storage and leftovers
- Refrigerate: Store in sealed containers up to 3–4 days.
- Freeze: Freeze in portions up to 3 months. Ice trays work great for single-cup uses.
- Degrease if desired: Chill and remove the fat cap if you prefer a lighter broth. Leaving a little fat adds mouthfeel and flavor.
- Label everything: Date your containers so you use older batches first.
FAQs
Can I make a plant-based version?
Yes. Use shiitake mushrooms, kombu, onion, garlic, and carrots as a base. Simmer gently for a deep, savory vegetarian broth.
How long should I simmer bones?
Simmer at least 2 hours for chicken bones; 3–4 hours yields more collagen. For pork or beef bones, longer (4–6 hours) extracts more body.
Why is my broth cloudy?
Too-hot boiling, not skimming early, or not rinsing/blanching bones can make broth cloudy. Slow simmer and patient skimming prevent cloudiness.
Can I overcook the broth?
Extended simmering concentrates flavor; but too long at high heat can develop off flavors. Keep heat low and taste periodically.
Is broth nutritious?
Yes — simmering bones releases minerals and collagen. While exact nutrition varies, broth can support hydration and provide trace minerals and proteins.
Final thoughts
Making your own Thai Broth transforms simple ingredients into a pantry powerhouse. It elevates Broth Recipes into the kind of magic that makes weeknight cooking effortless and restaurant-quality bowls achievable at home. Whether you use it for noodle soups, as a gentle sip before bed, or as a cooking liquid for grains, it repays the time you invest manyfold.
Try one batch this weekend. Freeze portions. Taste the difference in your next bowl of soup, your rice, or your braised veg. You’ll find that a good Homemade Soup base changes the game — it gives depth, comfort, and flexibility to every meal.
Bold final tip: Start cold, simmer low, and season late — those three rules will give you a clean, deeply flavored Thai Broth every time.
Follow me on Pinterest for daily new recipes.

Irresistible Thai Broth — A Bone Broth Recipe with Bold Southeast Asian Flavor
- Prep Time: 15 minutes
- Cook Time: 2 hours
- Total Time: 2 hours 15 minutes
- Yield: 8 servings 1x
- Category: Soup
- Cuisine: Thai
Description
A delicate, fragrant Thai-style stock made by gently simmering chicken or pork bones with garlic, cilantro, and a few simple seasonings. Use it as the base for noodle bowls, soups, or enjoy a warm cup on its own.
Ingredients
- 2 lb (about 900 g) chicken bones or pork bones
- 12 cups water
- 10 garlic cloves, lightly crushed
- 4 cilantro roots (or about 10 cilantro stems)
- 1/4 tsp white pepper powder
- 2 tbsp light (thin) soy sauce
- 1 tbsp fish sauce
Instructions
- Put the bones in a large stockpot and cover with the 12 cups of cold water. Bring the liquid up to a gentle boil, and remove any scummy foam that rises to the surface with a ladle.
- Add the crushed garlic, cilantro roots (or stems), and white pepper. Turn the heat down so the pot barely simmers — you want tiny, slow bubbles rather than a rolling boil.
- Let the stock cook slowly for about two hours, checking now and then and skimming the surface as needed to keep the liquid clear.
- When the flavor has developed, season the broth with the soy sauce and fish sauce. Taste and adjust, adding a little more if the stock needs depth.
- Strain the broth through a fine-mesh sieve (or cheesecloth) to remove bones and aromatics. Discard the solids.
- Serve hot, or let the broth cool to room temperature before refrigerating or freezing.
Notes
- For a richer, deeper flavor, roast the bones in a 400°F (200°C) oven until browned before simmering.
- To help keep the finished stock clear, blanch the bones briefly in boiling water, drain, rinse, and then start the simmer with fresh water.
- Add saltier seasonings (soy or fish sauce) near the end of cooking so you can control the final saltiness.
- Store refrigerated for up to 4 days or freeze for up to 3 months.
- After chilling, you can skim off the solidified fat for a lighter broth, or leave a little for extra mouthfeel.
Nutrition
- Serving Size: 1 cup
- Calories: 40
- Sugar: 0g
- Sodium: 350mg
- Saturated Fat: 0.5g
- Unsaturated Fat: 1g
- Trans Fat: 0g
- Carbohydrates: 1g
- Fiber: 0g
- Protein: 6g
- Cholesterol: 15mg