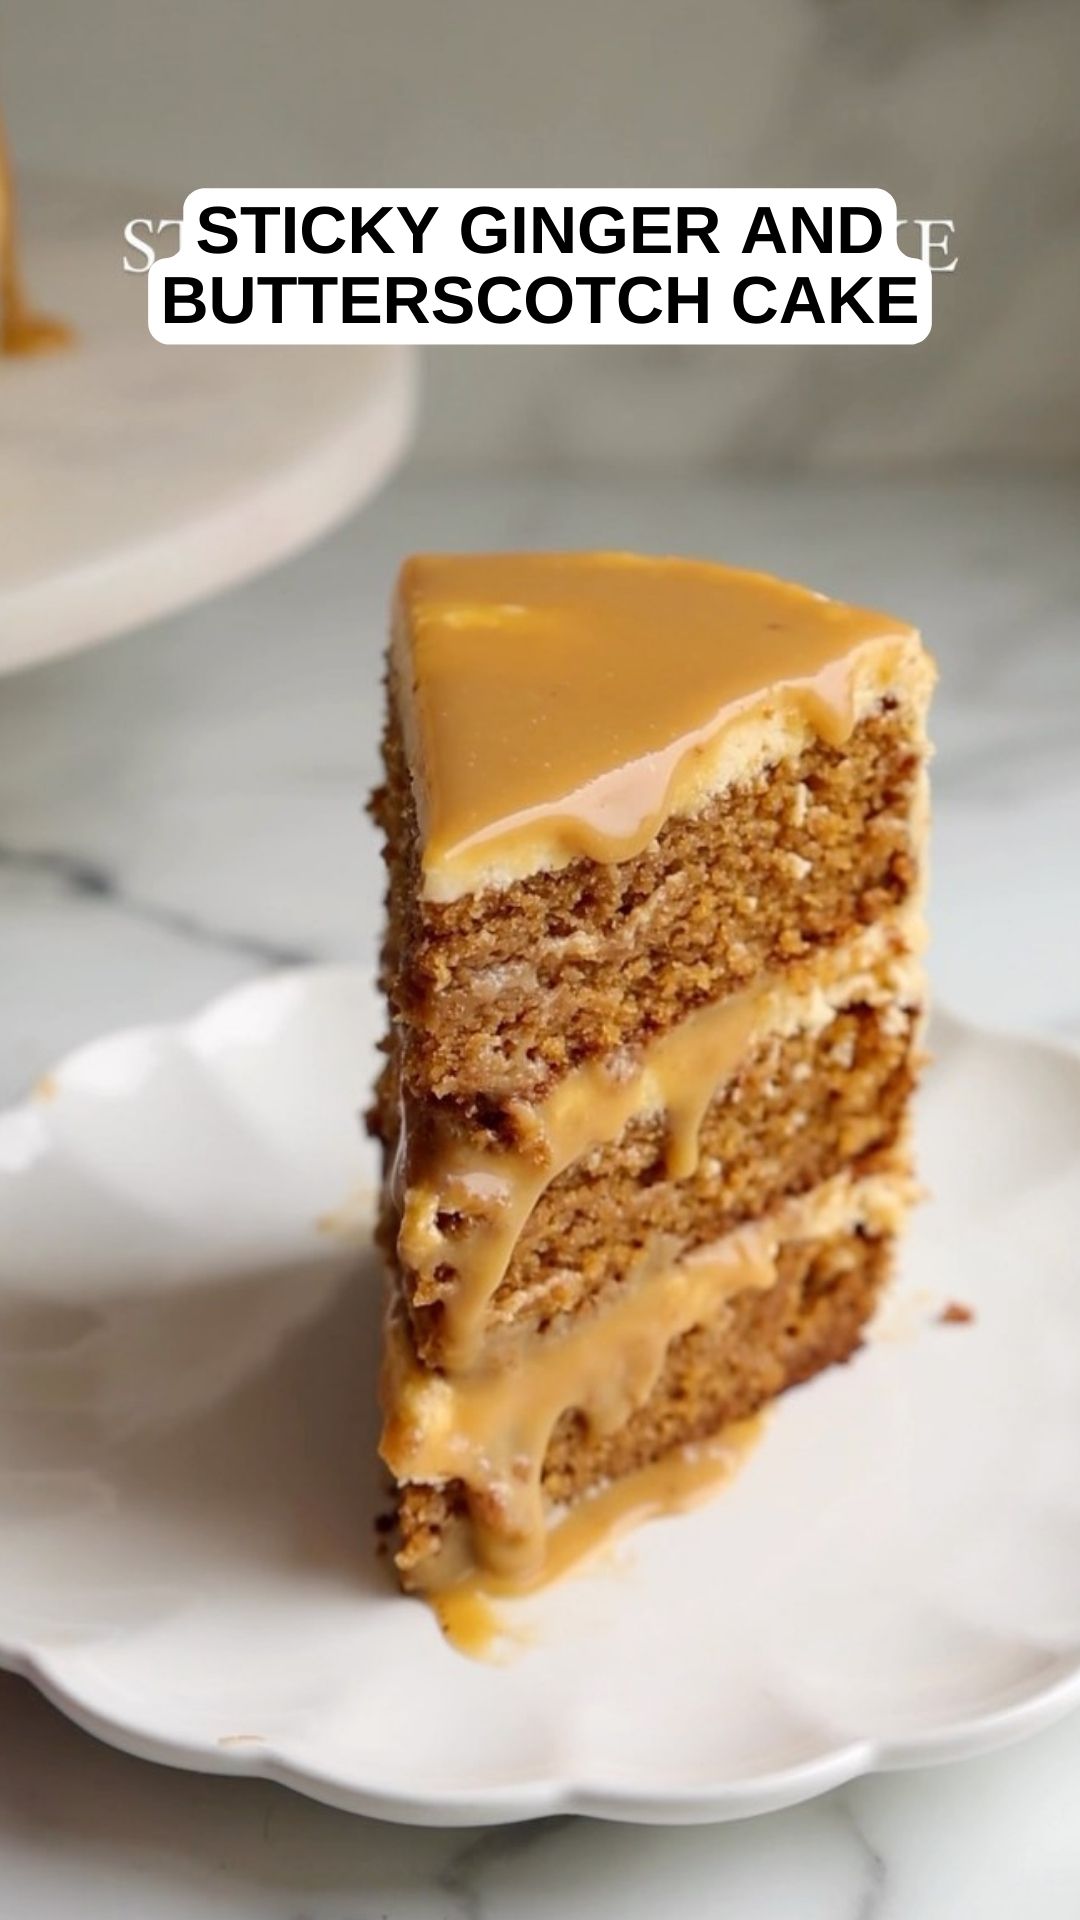
Three layers of deliciously moist, spiced ginger cake, sandwiched together with salted butterscotch sauce and creamy butterscotch buttercream. It’s the perfect cake for the holidays!
This cake features three layers of deliciously moist, sticky spiced ginger cake, sandwiched together with a salted butterscotch sauce and creamy butterscotch buttercream. It’s the perfect cake for the holidays!
Vegan Sticky Ginger and Butterscotch Cake
This Sticky Ginger and Butterscotch Cake features three layers of moist, spiced ginger cake, layered with salted butterscotch sauce and creamy butterscotch buttercream. Perfect for the holiday season!
Sticky Ginger and Butterscotch Cake
Ginger Cake:
- 2½ cups all-purpose flour
- 1½ cups granulated sugar
- 1 cup plant-based yogurt (soy or coconut)
- 1 cup plant-based milk (almond, soy, or oat)
- ½ cup vegetable oil or melted coconut oil
- 1 cup molasses
- 2 tsp baking powder
- 1½ tsp baking soda
- 1 tsp salt
- 2 tsp ground ginger
- 2 tsp ground cinnamon
- ½ tsp ground cloves
- ½ tsp ground nutmeg
- 1 tsp vanilla extract
Salted Butterscotch Sauce:
- 1 cup light brown sugar
- ½ cup dairy-free butter
- 1 cup canned coconut milk (full-fat)
- 1 tsp vanilla extract
- 1 tsp sea salt
Butterscotch Buttercream:
- 1 cup dairy-free butter (softened)
- 4 cups powdered sugar
- ½ cup salted butterscotch sauce (from above)
- 1 tsp vanilla extract
- 2-4 tbsp plant-based milk
Prepare the Ginger Cake:
- Preheat your oven to 350°F (175°C).
- Grease and line three 8-inch round cake pans with parchment paper.
- In a large bowl, whisk together the flour, granulated sugar, baking powder, baking soda, salt, ground ginger, ground cinnamon, ground cloves, and ground nutmeg.
- In another bowl, mix the plant-based yogurt, plant-based milk, vegetable oil, molasses, and vanilla extract until smooth.
- Add the wet ingredients to the dry ingredients, mixing until just combined.
- Divide the batter evenly among the prepared pans.
- Bake for 25-30 minutes, or until a toothpick inserted into the center comes out clean.
- Allow the cakes to cool in the pans for 10 minutes, then transfer to a wire rack to cool completely.
Prepare the Salted Butterscotch Sauce:
- In a medium saucepan, combine the light brown sugar, dairy-free butter, and canned coconut milk.
- Heat over medium heat, stirring constantly until the mixture comes to a boil.
- Reduce the heat and simmer for 5-7 minutes, until the sauce thickens slightly.
- Remove from heat and stir in the vanilla extract and sea salt.
- Allow the sauce to cool to room temperature.
Prepare the Butterscotch Buttercream:
- In a large bowl, beat the dairy-free butter until creamy.
- Gradually add the powdered sugar, mixing until smooth.
- Add the salted butterscotch sauce and vanilla extract, mixing until well combined.
- Add plant-based milk, one tablespoon at a time, until the frosting reaches a spreadable consistency.
Assemble the Cake:
- Place one cake layer on a serving plate or cake stand.
- Spread a layer of butterscotch buttercream over the cake layer.
- Drizzle a generous amount of salted butterscotch sauce over the buttercream.
- Repeat with the second cake layer.
- Place the third cake layer on top.
Frost the Cake:
- Spread the remaining butterscotch buttercream evenly over the top and sides of the cake.
- Drizzle the top with more salted butterscotch sauce, allowing it to drip down the sides for a beautiful finish.
Serve:
- Allow the cake to set for a bit before slicing and serving.
- Enjoy this rich, spiced, and indulgent Sticky Ginger and Butterscotch Cake!
- Molasses: Use unsulfured molasses for the best flavor and texture.
- Salted Butterscotch Sauce: Make sure to let the sauce cool to room temperature before using it in the buttercream to avoid melting the frosting.
- Serving: This cake is best enjoyed at room temperature for the ultimate creamy and moist texture.