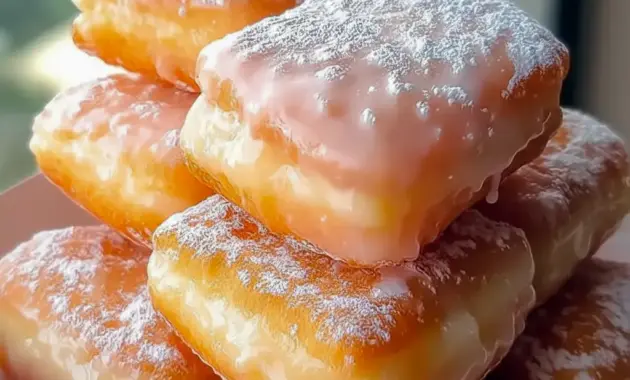
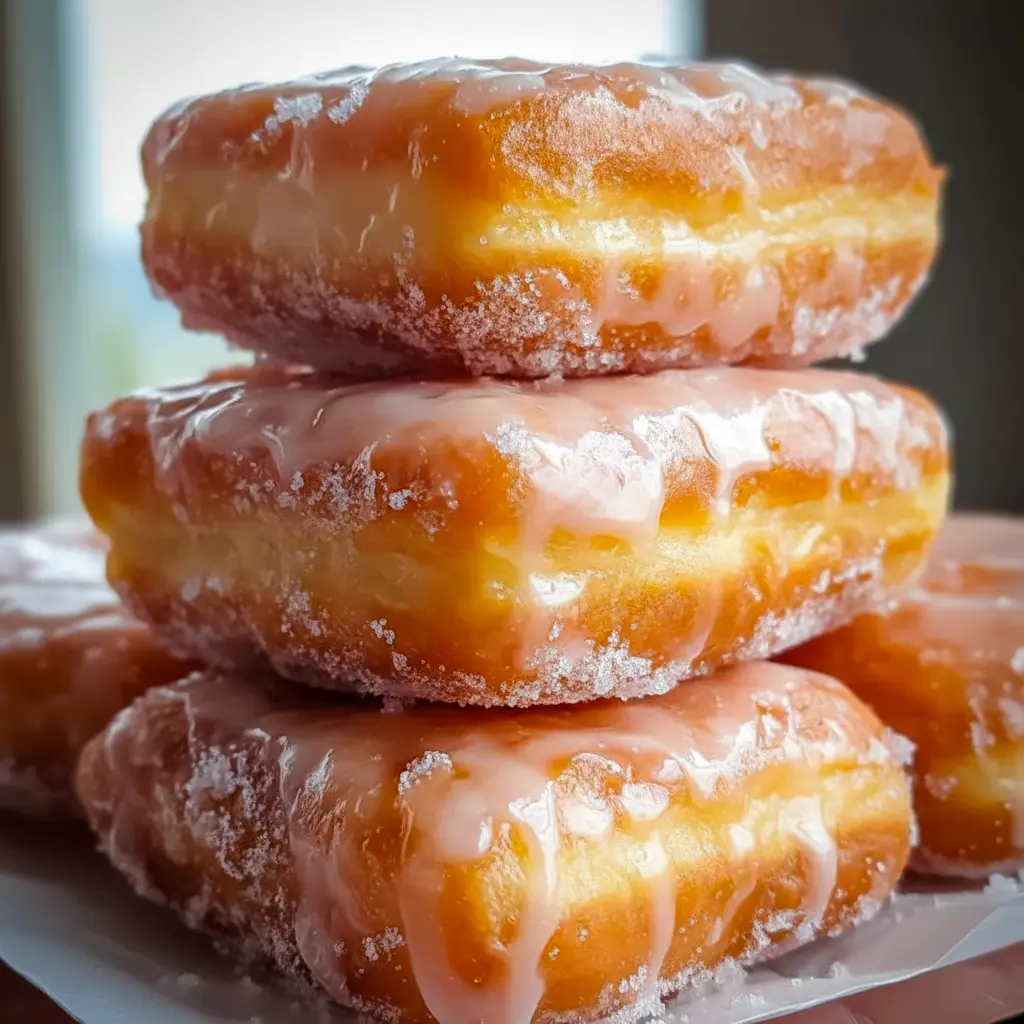
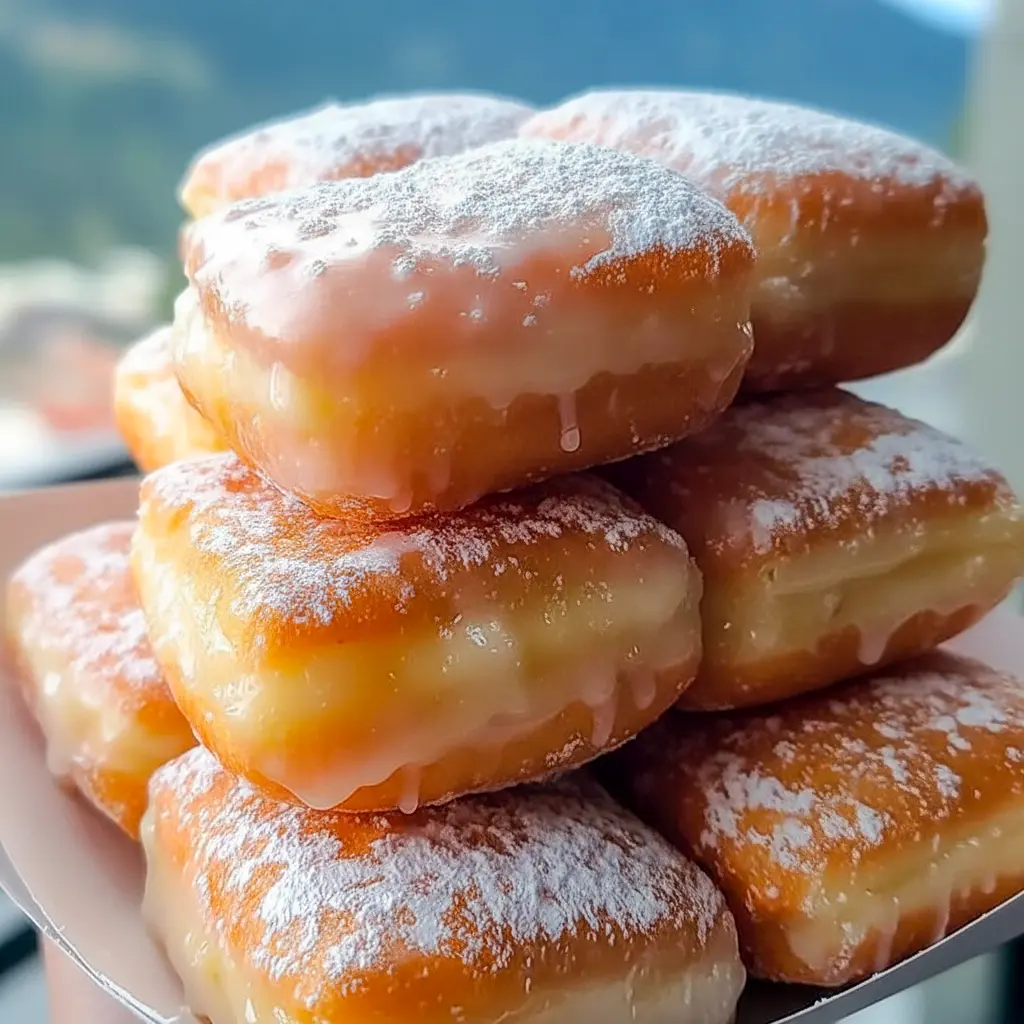
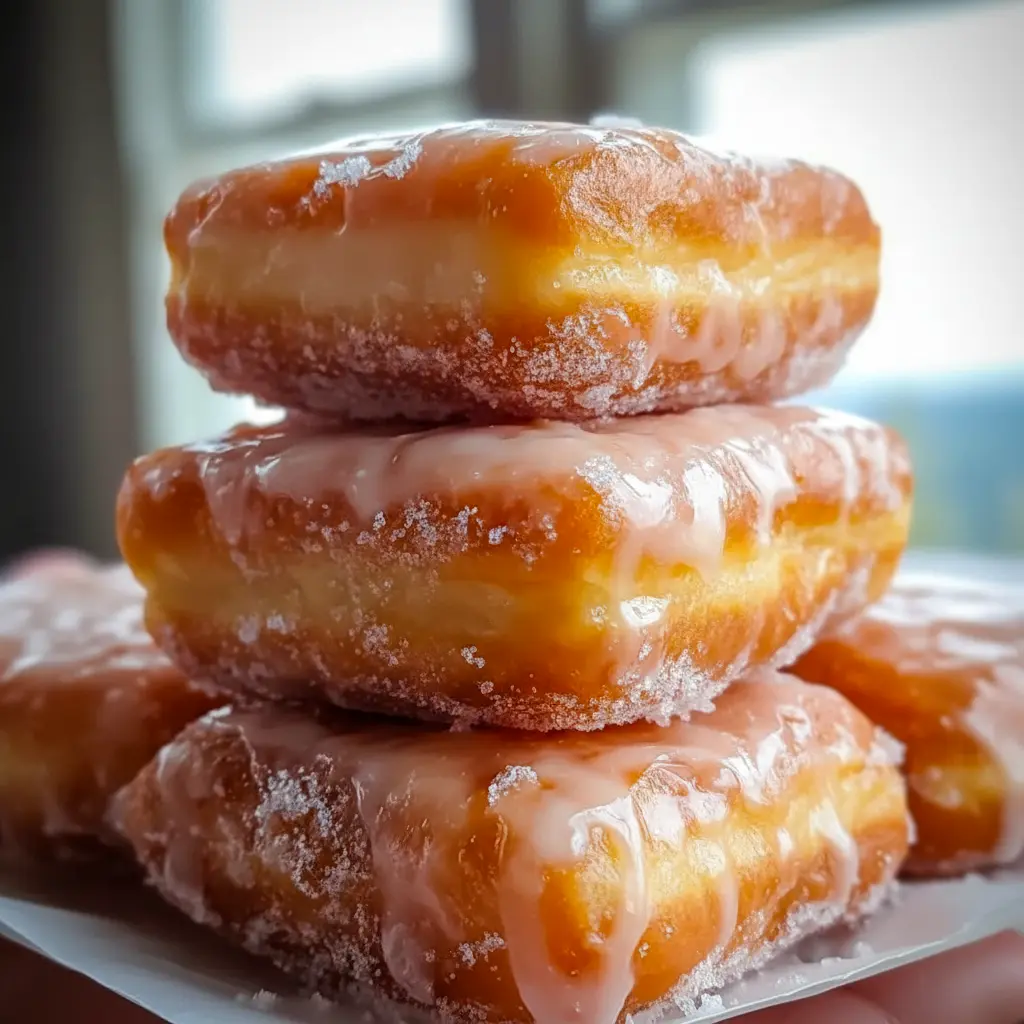
If you crave bakery-level comfort at home, Buttermilk Beignet squares are your new obsession — thick, pillowy, and glazed to a glossy finish that begs for a coffee dunk. These aren’t the airy, powdered-sugar street beignets; they’re dense, tender little squares that eat like a cross between a Doughnut Recipe and a cozy Breakfast Cake. Sound heavenly? Let’s bake one.
Buttermilk Beignet — brief introduction to the recipe
Imagine a warm square that gives a soft, buttery yield when you bite it, with a thin, crackly vanilla glaze that sets like a sugar shell. That’s the gist. This Beignet Recipe leans on buttermilk to deliver tang, tenderness, and even browning. The dough rolls out thick, you cut clean squares, and a quick fry crisps the outside while steam softens the center. No powdered-sugar chaos required. Clean, simple, utterly addictive.
Why you’ll love this recipe
- No-fuss glamour: They look bakery-made but come together at home.
- Buttery, tangy flavor: Buttermilk gives subtle acidity that balances sweetness.
- Perfect texture: Soft inside, lightly crisp outside — no hollow pockets, no gummy middles.
- Weekend-worthy or weekday-quick: Prep ahead or whip them up for brunch guests.
- Flexible: Treat them as Sweet Buns, a mini Dessert Bread, or an elevated Buttermilk Doughnut Recipe.
Craving a donut but want something more homey? This is your hybrid answer.
The Key Ingredients (and Why You Need Them)
Below I list the main ingredients (no amounts here — the printable card has those). I’ll explain what role each plays so you understand how and why to tweak things.
- Buttermilk — The MVP. Its acidity tenderizes gluten slightly and gives a subtle tang that cuts the sugar. It also helps you get that even, golden outside.
- Yeast — Gives gentle rise and structure so the squares are pillowy, not dense. Active dry yeast or instant yeast works depending on your timing.
- Sugar — Sweetens, feeds the yeast a bit during proofing, and contributes to browning.
- Egg — Enriches the dough, adds structure, and helps with color and tenderness.
- Butter — Fat = tenderness. Melted butter folded in gives moist, rich crumb.
- Flour — The base. All-purpose works perfectly — it gives structure without toughness.
- Salt — Tiny but mighty. It balances sweetness and amplifies flavor.
- Neutral frying oil — Use canola or vegetable oil for a clean taste and high smoke point.
- Powdered sugar + milk/cream + vanilla — The glaze components. Powdered sugar gives body, milk thins to the right sheen, and vanilla adds aroma. A pinch of salt wakes up the whole thing.
Each ingredient has a purpose. Remove or swap one and the final texture or flavor shifts — sometimes in delightful ways, but know what you’re changing.
How to Make It
Follow these steps for consistent, bakery-style squares.
- Activate yeast. Warm buttermilk to slightly warm (about body temp). Stir in sugar and yeast; let it sit until foamy. If nothing foams in 8–10 minutes, your yeast might be dead — start over. (FYI: yeast eats sugar and gets happy when it’s warm.)
- Mix dough. Add egg and melted butter to the foamy buttermilk. Combine dry ingredients (flour and salt) and mix until a soft dough forms. Knead by hand or with a stand mixer until smooth and elastic — about 5–7 minutes.
- First rise. Cover the bowl and let the dough rise in a warm place until doubled. This usually takes 1–1½ hours depending on room temp.
- Roll & shape. Turn the dough onto a lightly floured surface. Roll to ½-inch thickness (this is key). Use a sharp knife or bench scraper to cut 2.5–3-inch squares. Clean edges = bakery look.
- Heat oil. Fill a heavy pot with 2–3 inches of neutral oil and heat to 340–350°F (170–175°C). Use a thermometer — temperature matters. Too cool = greasy; too hot = burnt outside, raw inside.
- Fry in batches. Carefully lower 3–4 squares at a time; don’t crowd. Fry 2–3 minutes per side until light golden. Flip once. They’ll puff slightly and cook through.
- Drain & cool on wire rack. Skip paper towels. Place squares on a wire rack so air circulates and the bottoms stay crisp.
- Glaze while warm. Whisk powdered sugar with milk/cream and vanilla until pourable but thick. Dip tops or drizzle glaze, then let set 5–10 minutes.
- Devour. Serve warm. If you must wait, 10 seconds in the microwave revives the softness (I said 10 seconds — don’t resurrect like it’s a roast).
Pro tips for perfect results
- Temperature is king. Keep oil at 340–350°F. Use a thermometer — don’t guess.
- Roll to exact thickness. ½-inch is the sweet spot for that pillowy bite. Thinner = crispier, thicker = undercooked center.
- Cut cleanly. Use a sharp bench scraper or knife and press straight down. Don’t twist the cutter.
- Don’t overcrowd the fryer. Overcrowding drops oil temp and makes greasy beignets. Cook in small batches.
- Wire rack, not paper. Paper towels trap steam and soften your crisp edge. Rack keeps them pretty.
- Glaze while warm. The warm surface sets the glaze into a thin, glossy shell. If you wait until they’re cold, the glaze just sits like paste.
- Test one or two first. If it fries too dark or too pale, adjust the heat. Ovens vary; so do stove outputs.
Bold tip: Always proof your yeast first if it’s older than 6 months. It saves time and heartbreak.
Variations to try
- Cinnamon-sugar finish: Skip glaze; toss warm squares in a cinnamon-sugar mix for a classic twist.
- Filled version: Pipe pastry cream or dulce de leche into the center — a real treat (but slightly more advanced).
- Lemon glaze: Swap vanilla for lemon zest and juice — bright and addictive.
- Buttermilk beignet loaf: Press dough in a pan, bake instead of fry, and glaze for a Dessert Bread vibe.
- Sticky-sweet: Brush with a butter-brown sugar sauce post-fry for a Sticky Buns inspired take.
- Mini versions: Make smaller squares for party bites — think beignet pops!
Looking for a Buttermilk Beignets Recipe that doubles as party food? Mini squares = crowd-pleaser.
Best ways to serve
Serve warm and simple for max impact.
- With coffee or espresso. Classic pairing.
- With fresh berries and whipped cream for brunch glamour.
- Drizzle caramel over the glaze for a decadent dessert.
- Plate with a scoop of vanilla ice cream for a warm-cold contrast.
- Treat them as Sweet Buns: stack in a basket for Sunday brunch and watch them disappear.
Want to host a brunch? Line a basket with a clean towel and layer beignets on top — warm presentation, zero drama.
Quick tips for storage and leftovers
- Short-term: Store at room temp loosely covered for 1 day. Warm slightly before serving.
- Fridge: Keeps for up to 3 days in an airtight container, but texture changes. Rewarm gently.
- Freeze: Freeze unglazed squares flat on a sheet, then bag. Reheat from frozen in a 350°F oven 8–10 minutes, then glaze.
- Reheat smart: Microwave for 10–12 seconds or reheat in oven for crisp edges. Don’t overdo it — they dry out.
Pro tip: If you plan to freeze, glaze after reheating for best texture.
FAQs
Can I bake them instead of frying?
Yes. Press the dough into a greased pan and bake until golden; it becomes more like a Breakfast Cake or Dessert Bread. Glaze after cooling.
What if my dough is sticky?
Add flour 1 tablespoon at a time while kneading. Don’t overflour — you want a soft dough.
My beignets puffed with air pockets. Why?
Likely over-proofed or rolled too thin. Stick to rise times and roll to ½-inch for consistent texture.
Can I make these ahead?
You can prepare dough the night before and refrigerate for a slow overnight proof — develop flavor and save morning time.
Is this basically a Buttermilk Doughnut Recipe?
Sort of — it shares dough properties with doughnuts but the shape and texture (thicker, more bread-like) make it distinct. Think donut cousin.
Can I use powdered buttermilk?
Yes — reconstitute per package instructions. Real buttermilk has the best tang, but powdered works in a pinch.
Final thoughts (short & punchy)
These Buttermilk Beignets are a brilliant hybrid: they combine the nostalgic joy of a Doughnut Recipe with the comforting heft of Sweet Buns or a Breakfast Cake. They deliver bakery-level appearance and taste without the intimidation. Sear the edges, mind the oil temp, glaze while warm, and you’ll have a tray of golden squares that vanish fast.
Cooking’s about small wins. This beignet recipe is one of those wins you can show off without lying about effort. Want a printable recipe card, scaled batch sizes, or a no-fry baked version? I can whip that up next — because who doesn’t want more beignets in their life?
Follow me on Pinterest for daily new recipes.

Glazed Buttermilk Beignet Squares — Easy Homemade Beignets
- Prep Time: 25 minutes
- Total Time: 2 hours 15 minutes
- Category: Dessert
Description
Thick, pillowy beignet squares coated with a glossy vanilla glaze — bakery-style comfort that’s easy to make at home. Crisp at the edges, tender inside, and perfectly photo-ready for brunch or a cozy snack. 🤍☕️
Ingredients
Dough
- ¾ cup warm buttermilk (about body temperature)
- 2¼ tsp active dry yeast
- ¼ cup granulated sugar
- 1 large egg
- ¼ cup unsalted butter, melted
- 3¼ cups all-purpose flour
- ¾ tsp salt
For frying
- Neutral oil (canola or vegetable), enough for 2–3 inches in a pot
Vanilla glaze
- 2 cups powdered (confectioners’) sugar
- 3–4 tbsp milk or cream (add slowly to reach desired thickness)
- 1 tsp vanilla extract
- Pinch of salt
Instructions
-
Warm the buttermilk until just lukewarm, then stir in the yeast and sugar. Let this sit until the surface looks foamy — usually 5–8 minutes.
-
Whisk the egg and melted butter into the foamy mixture.
-
Mix in the flour and salt, bringing everything together into a soft dough. Knead briefly (by hand or with a mixer) until the texture is smooth and slightly elastic — about 8–10 minutes total.
-
Cover the dough and leave it in a warm spot to double in size, roughly 1 to 1½ hours.
-
Turn the risen dough onto a floured surface and roll it out to roughly ½-inch thickness. Use a sharp knife or bench scraper to cut the dough into neat squares.
-
Heat oil in a heavy pot to 340–350°F (170–175°C). Fry the squares in small batches, flipping once, until they become an even, light golden color — about 2–3 minutes per side. Don’t overcrowd the pan.
-
Transfer the beignet squares to a wire rack so excess oil drains away and the bottoms stay crisp. Avoid paper towels, which trap steam.
-
Whisk the powdered sugar with milk (start with 3 tbsp), vanilla, and a pinch of salt until smooth and slightly thick but pourable. While the beignets are still warm, spoon or dip the tops into the glaze.
-
Let the glaze set for 5–10 minutes until it forms a thin, shiny shell, then serve.
Notes
- These squares are intentionally thicker than classic airy beignets, giving a dense, soft crumb without hollow pockets.
- Glazing while warm helps the icing form a thin, glossy coating — don’t wait until the pastries cool completely.
- Use a wire rack to cool and glaze so the bottoms remain crisp and the finish stays smooth.
- Best eaten the same day. Store cooled beignets in an airtight container at room temperature for up to 24 hours; rewarm briefly before serving if desired.