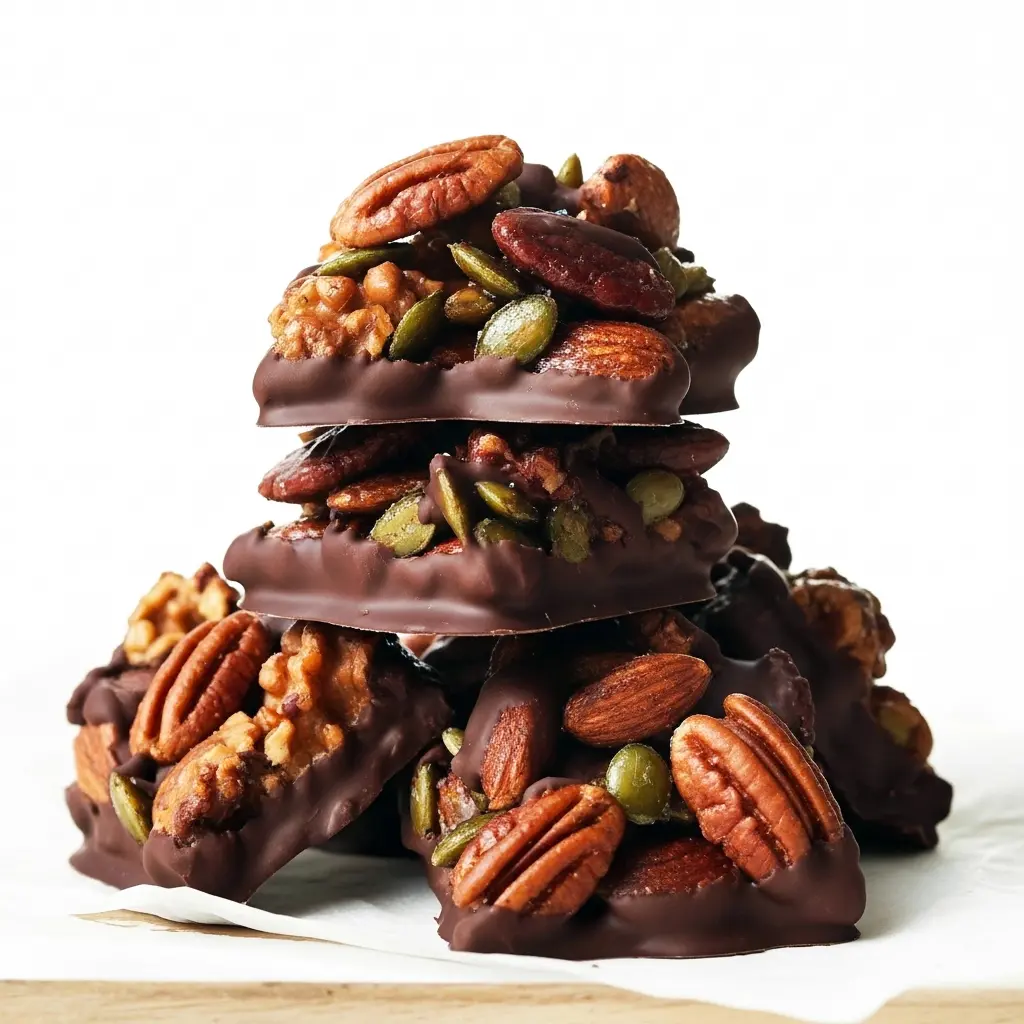
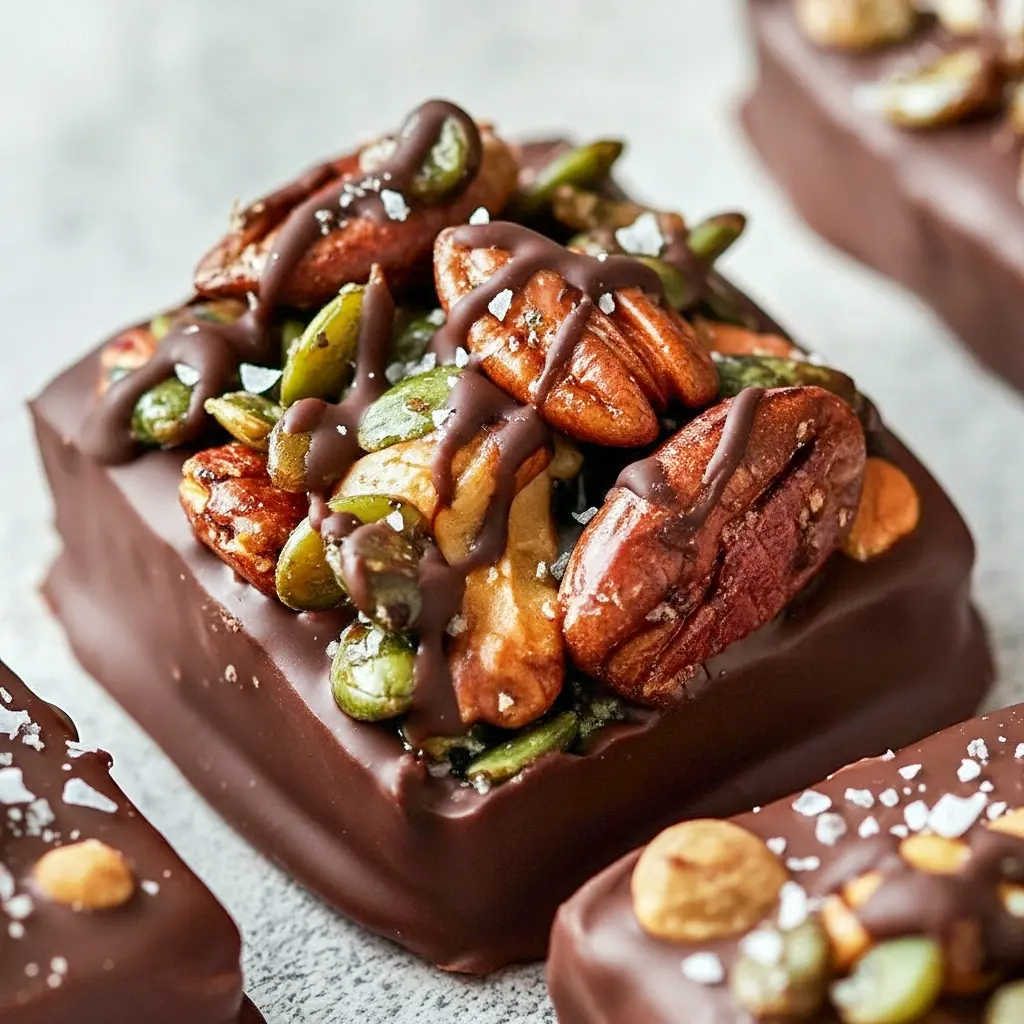
Baking Nuts take center stage in these Dark Chocolate Nut Squares, a snack that feels like dessert but behaves like fuel. Think toasted nuts and seeds bound with a sticky-sweet binder, baked until crisp, then dipped or drizzled in rich dark chocolate. You get a crunchy, chewy bar that doubles as a treat and a tidy energy bite.
What makes these squares so irresistible?
Texture, flavor balance, and nutrition team up to make magic. The bars deliver a satisfying crunch from whole nuts and seeds, chew from the binder (maple or honey), and silky richness from the chocolate finish. You get the bitter-sweet contrast of cocoa, the toasty depth from roasted nuts, and a hint of salt to make everything pop. Put simply: they hit all the right sensory spots.
Bold tip: roast your nuts before assembly for a huge flavor upgrade—don’t skip it.
Ingredients (with short descriptions) and why each matters
- Mixed nuts & seeds — almonds, pecans, cashews, pumpkin seeds, sunflower seeds: the structural and textural backbone.
- Maple syrup (or honey) — the natural sweetener and binder; it caramelizes and helps the bars set.
- A pinch of sea salt — amplifies sweetness and deepens flavor.
- Vanilla extract — adds warmth and rounds out the maple notes.
- Coconut oil or mild butter — helps the binder set and adds mouthfeel.
- High-quality dark chocolate (70% cocoa or more) — coats or drizzles; keeps sugar lower and delivers complex chocolate flavor.
- Optional extras: dried fruit, desiccated coconut, chia or flax seeds for extra nutrition.
Each ingredient plays double duty: taste and function. The nuts give heft; the syrup binds and browns; the chocolate brings the dessert vibe.
Simple how-to (a clear, friendly walkthrough)
- Preheat & toast: Heat oven to 350°F (175°C). Spread nuts and seeds on a sheet and toast 8–10 minutes until fragrant and slightly darkened. Let cool.
- Mix the binder: Warm maple syrup, a little coconut oil, a pinch of salt, and vanilla in a small saucepan until glossy and slightly reduced. Remove from heat.
- Combine: Toss the toasted nuts and seeds in a bowl. Pour the warm binder over them and stir until everything looks evenly coated.
- Press into pan: Line an 8×8 pan with parchment, then press the mixture firmly into the pan—use the back of a measuring cup to pack it tight so the bars hold together.
- Bake briefly: Return to the oven 12–18 minutes until golden at the edges. Baking crisps the binder and deepens flavor.
- Cool & chocolate: Cool completely, then either drizzle with melted dark chocolate or flip bars out and dip bottoms into the chocolate for a base layer. Chill until the chocolate sets.
- Slice and enjoy.
Bold tip: press hard when you pack the pan. The denser you make the mix, the cleaner your squares will slice.
The story behind the recipe
I wanted a snack that bridged two worlds: dessert-level satisfaction and real food benefits. I started with nuts—because they’re portable, filling, and tasty—and experimented with binders and toasts until the texture was spot-on. Add dark chocolate, and the snack felt celebratory; take it to the gym or the couch and it feels equally right. Over time it became a kitchen staple—my version of the beloved store-bought energy bar but with better ingredients and no questionable extras.
Pro tips for the best outcome
- Use a scale. Weighing nuts and binder gives more consistent bars than eyeballing.
- Don’t skip toasting. Toasting unlocks nutty oils and flavor complexity.
- Pack it firm. Press the mixture down firmly into the pan to prevent crumbling.
- Cool fully before cutting. Warm bars fall apart. Chill 30–60 minutes for neat squares.
- Choose good chocolate. A high-cocoa bar melts more smoothly and adds antioxidants with less sugar.
- Storage matters. Keep in an airtight container at room temp up to 5 days or refrigerate for longer shelf life.
Variations to try (playful riff ideas)
- Swap almonds for Pumpkin Pecan combo for fall vibes—pecans give buttery depth.
- Add a handful of dried cherries and a little orange zest for a bright counterpoint.
- Make nut-free version with toasted seeds and roasted chickpeas for crunch.
- Turn them into a Crunch Bar by folding in puffed rice or quinoa for extra snap.
- For a decadent twist, add a drizzle of nut butter before chilling.
Best ways to serve these squares
Serve them as an afternoon pick-me-up, pre-work snack, or plated after-dinner treat. Pair with coffee or a strong tea. They work beautifully on a dessert platter—chewy, chocolate-draped squares offer a healthier-looking option next to cookies. Want to gift them? Stack with parchment between layers and tie with twine.
Quick tips for storage and leftovers
- At room temp: airtight container, up to 5 days.
- In the fridge: up to 3 weeks; chocolate may firm but bars stay great.
- Freezing: wrap individual squares and freeze up to 3 months; thaw 10–15 minutes before eating.
Bold note: let refrigerated bars sit 10 minutes at room temp before biting—chocolate softens and flavor blooms.
FAQs — Quick answers to common questions
Can I use any nuts?
Yes. The recipe is flexible: swap or mix based on preference or pantry odds. Use a mix of textures—some whole, some chopped.
Is dark chocolate necessary?
Not required, but it balances sweetness. If you prefer, use milk or semi-sweet chocolate—your call.
Are these suitable for kids?
Absolutely—just keep an eye on portion sizes. They’re Super Yummy but nutrient-dense.
Can I skip baking?
You can make no-bake clusters by skipping the oven and chilling, but the bake adds toasty depth and helps set the binder.
How sticky will they be?
If you press densely and reduce the syrup well, they’ll set firm. If they’re too sticky, add a few extra minutes of baking or cool longer.
Are they high in protein?
They’re a solid option among High Protein Snacks depending on your nut choices; add protein powder to the binder for an extra boost.
Why these are a smarter snack than typical sweets
Compared to sugar-only treats, these squares offer fiber, healthy fats, and plant protein—ingredients that promote satiety and steady energy. Unlike Sugary Snacks that spike blood sugar and leave you crashing, these bars have more balanced macros that help you power through the afternoon. That doesn’t mean they’re a health food miracle, but they’re a thoughtful swap when you want dessert-level satisfaction without empty calories.
Final thoughts — a humble, powerful bar
Dark Chocolate Nut Squares marry the pleasure of a classic treat with the satisfying profile of a functional snack. Whether you call them a Healthy Dessert after dinner, a Power Snacks option before the gym, or a midday pick-me-up, they deliver texture, flavor, and a nourishing hit. Tinker with nuts, seeds, or sweeteners—this recipe scales and adapts. Want something indulgent yet sensible? These squares are your new go-to.
One last Small Bold Tip: taste your nuts before assembly—raw nuts vary in flavor, and a quick roast can make an enormous difference.
Now grab that baking sheet, torch your chocolate, and make yourself some bars. Crunch, chocolate, and a little good-for-you fuel—what’s not to love?

Dark Chocolate Nut Squares — Baking Nuts & Chocolate Nuts Bliss
- Prep Time: 10 minutes
- Cook Time: 25 minutes
- Total Time: 35 minutes
- Yield: 12 1x
- Category: Dessert
Description
These Dark Chocolate Nut Squares are everything you want in a snack — crunchy, rich, and just indulgent enough to satisfy that post-lunch or late-night craving. They’ve got the soul of a dessert but the nutrition of a smart, energy-packed Power Snack. Perfect for gym-goers, busy bees, or anyone who loves the mix of roasted nuts and smooth dark chocolate.
Ingredients
- 75 g almonds
- 55 g cashews
- 30 g pecans
- 40 g pumpkin seeds
- ½ tbsp chia seeds
- 1½ tbsp maple syrup
- Pinch of sea salt
- 50 g dark chocolate, melted
Instructions
- Preheat the oven to 180°C (160°C fan) / 350°F. Line a small baking dish or silicone mold with parchment paper or lightly grease it.
- Combine the dry ingredients. In a medium bowl, toss together the almonds, cashews, pecans, pumpkin seeds, and chia seeds until evenly mixed.
- Add the binder. Drizzle the maple syrup over the nut mixture, sprinkle with salt, and stir until everything is lightly coated and sticky.
- Shape and press. Spoon the mixture into your mold or prepared pan, pressing it down firmly with the back of a spoon or measuring cup. Compacting the mix helps the bars hold together once baked.
- Bake to perfection. Place in the oven for about 20–25 minutes, or until the nuts are golden and aromatic. Keep an eye on them near the end—nuts can go from toasty to burnt quickly!
- Cool completely. Let the squares rest in the mold until fully cooled and firm before unmolding. This helps them stay crisp and intact.
- Add the chocolate magic. Once cooled, drizzle the melted dark chocolate over the top or dip one side of each square for a thicker chocolate layer.
- Set and serve. Pop them in the fridge for a few minutes to let the chocolate harden. Once set, they’re ready to enjoy — crunchy, rich, and a little bit fancy.
Notes
- Use fresh nuts. Stale nuts will ruin the flavor, so make sure they’re fresh and crunchy before you begin.
- Switch it up. Swap maple syrup for honey or agave, or try a mix of nuts like hazelnuts and walnuts.
- Add extras. Toss in shredded coconut, dried cranberries, or a sprinkle of cinnamon for variety.
- Storage: Keep in an airtight container at room temperature for up to 5 days, or refrigerate for a longer shelf life.
Nutrition
- Calories: 136kcal
- Sugar: 3g
- Sodium: 2mg
- Fat: 11g
- Saturated Fat: 2g
- Carbohydrates: 7g
- Fiber: 2g
- Protein: 4g
- Cholesterol: 0.1mg