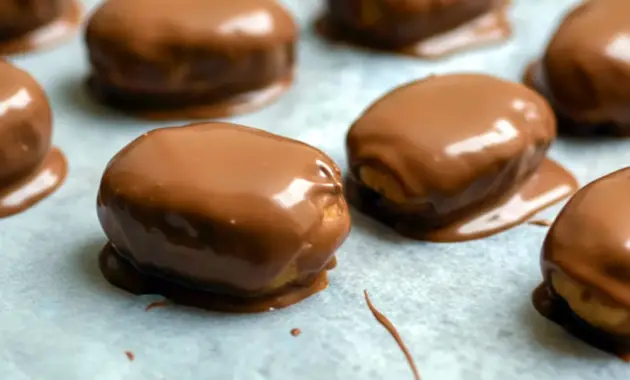
Peanut Butter Protein Bars are the perfect mash-up of dessert-level indulgence and muscle-friendly fuel — no oven required and ready in minutes. If you love peanut butter, chocolate, and a little extra protein to power your day, this no-bake bar will become your go-to snack, post-workout treat, or afternoon pick-me-up.
Why Peanut Butter Protein Bars Deserve a Permanent Spot in Your Snack Rotation
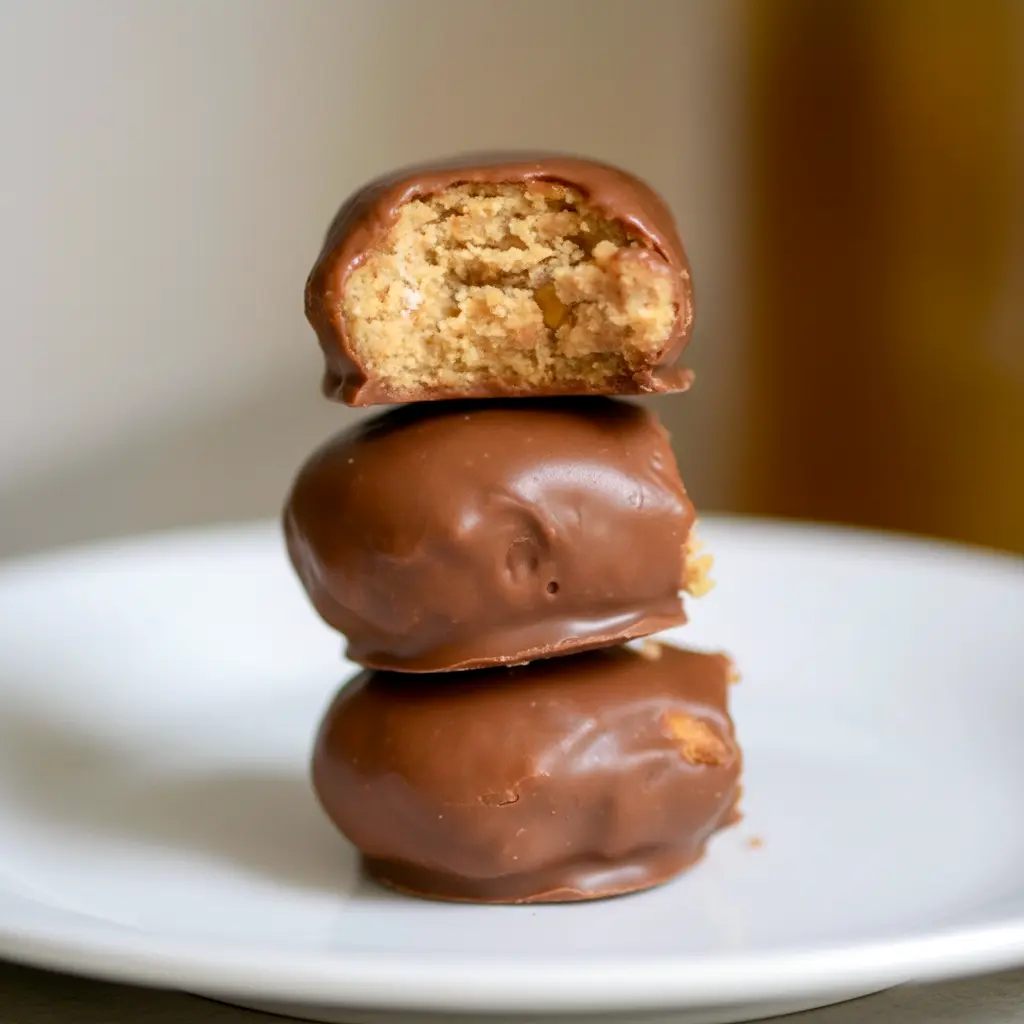
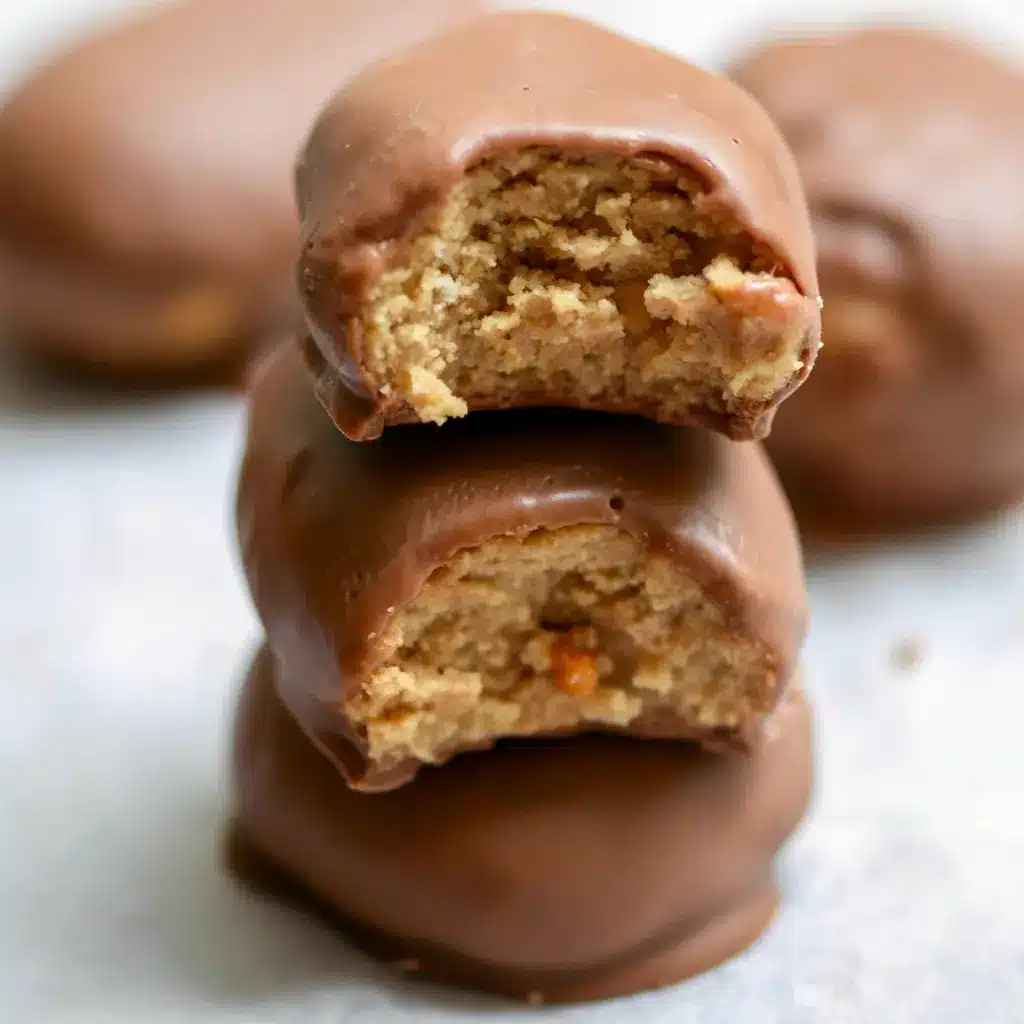
Let’s be real: most store-bought bars either taste weird or come packed with ingredients you can’t pronounce. These homemade bars fix that. They taste like a Healthy Reese’s Protein Bars inspired treat but keep things cleaner, higher in protein, and lower in crap. You get satisfying peanut-buttery richness, a chocolate coating, and the kind of chew that actually fills you up — without baking or fuss.
Why will you love them?
- They come together in one bowl and zero baking time.
- They work as Homemade Protein Desserts when you want a treat that still supports goals.
- You control the sweetener, the protein powder, and the mix-ins — so you can make Healthy Protein Treats or full-on indulgent bites.
- They freeze beautifully, so you can stash a batch for busy weeks.
The Key Ingredients (and Why You Need Them)
Below I list the main ingredients (no amounts here — the printable card has those). I’ll explain what role each plays so you understand how and why to tweak things.
- Oat flour or blended oats — the base that provides fiber and a soft chew. It keeps the bars cohesive.
- Protein powder — this is the personality of the bar. Pick a flavor you actually like because the bars will taste like your powder. Use whey for silkier texture or pea/plant protein if you want vegan Protein Powder Bars.
- Nut/seed butter (peanut, almond, hazelnut) — gives fat, flavor, and that classic peanut-butter bar vibe. Swap freely for Peanut Butter Replacements.
- Sweetener (monk fruit, erythritol, or sugar) — binds a little and adds sweetness. Choose based on your diet.
- Milk of choice — loosens the mixture into a dippable, rollable dough (almond milk is common).
- Chocolate for coating — the finish that makes these feel like Protein Candy Bars or a How To Make Reese’s Protein Bars homage. Dark or milk both work.
- Optional mix-ins (nuts, chocolate chips, salt flakes) — add texture and complexity.
Bold tip: Always pick a protein powder you enjoy — if you don’t like it straight from the scoop, you won’t love it in bars.
Short Recipe Description
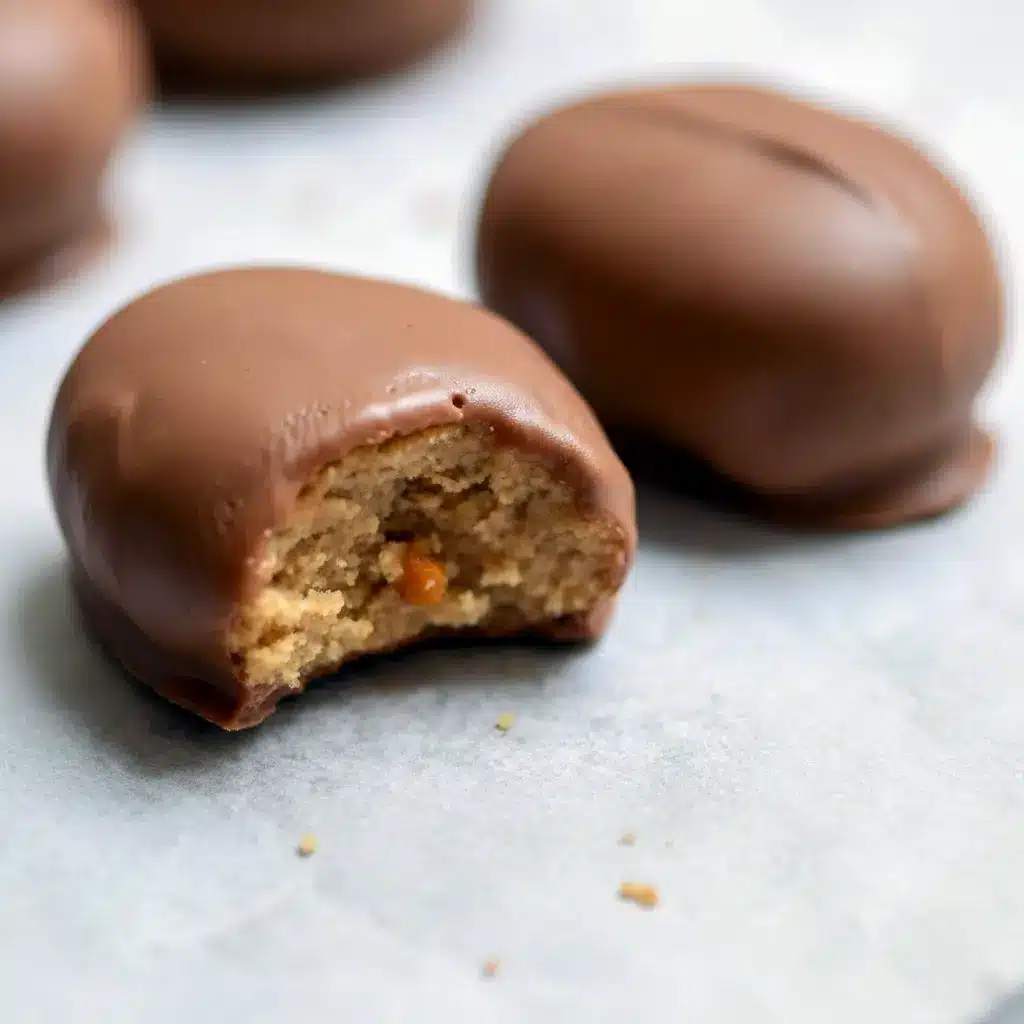
Chewy, chocolate-coated Peanut Butter Protein Bars that require no baking — made with oat flour, your favorite protein powder, and peanut butter, then dipped in chocolate for a satiating, portable snack. Perfect for quick energy, sweet cravings, or post-gym fuel.
How to Make It — no-fail method
This recipe is stupid simple and forgiving. Follow these steps and you’ll have a tray of bars in about 20–30 minutes total (plus chilling).
- Combine the dry base. In a bowl, stir together oat flour and protein powder. Add your granulated sweetener.
- Add the wet ingredients. Mix in the nut butter and 1/4 cup milk, stirring until the mixture forms a firm, slightly pliable dough. Add more milk a tablespoon at a time only if needed. Different protein powders vary in absorption — whey usually needs less liquid than pea.
- Shape the bars. Scoop a tablespoon (or use a small cookie scoop) and roll into mini bars or eggs — you should get about 18 mini pieces. Press them lightly to flatten if you prefer bar shapes. Place them on parchment-lined tray.
- Chill briefly. Pop the tray in the fridge for 10–15 minutes to firm the pieces.
- Coat in chocolate. Melt your chocolate (double boiler or microwave) and dip each bar, letting excess drip off with a fork. Return to parchment.
- Set. Refrigerate 10–15 minutes, or until the chocolate hardens. Store refrigerated or frozen.
Quick note: If the dough is crumbly, add a splash more milk or a teaspoon of coconut oil. If it’s too wet, add more oat flour or protein powder.
Pro tips for perfect Peanut Butter Protein Bars
- Measure protein powder by feel. If your mixture seems dry, add a little milk; if it’s wet, add more oat flour. Texture matters.
- Use a neutral-flavored or vanilla powder if you want classic peanut-chocolate vibes; chocolate powders can overwhelm.
- Chill before coating. Cold bars dip cleaner and get less chocolate bleeding.
- Double-coat the chocolate for a sturdier shell — thin first layer, chill, then dip again.
- Add a pinch of flaky sea salt to the top after dipping for that gourmet contrast.
- Make them mini. Smaller bars are more snackable and less likely to make you go overboard.
FYI: whey protein gives smoother texture; pea or soy tends to be grainier but works fine — adjust liquids accordingly.
Variations & Flavor Ideas — keep it interesting
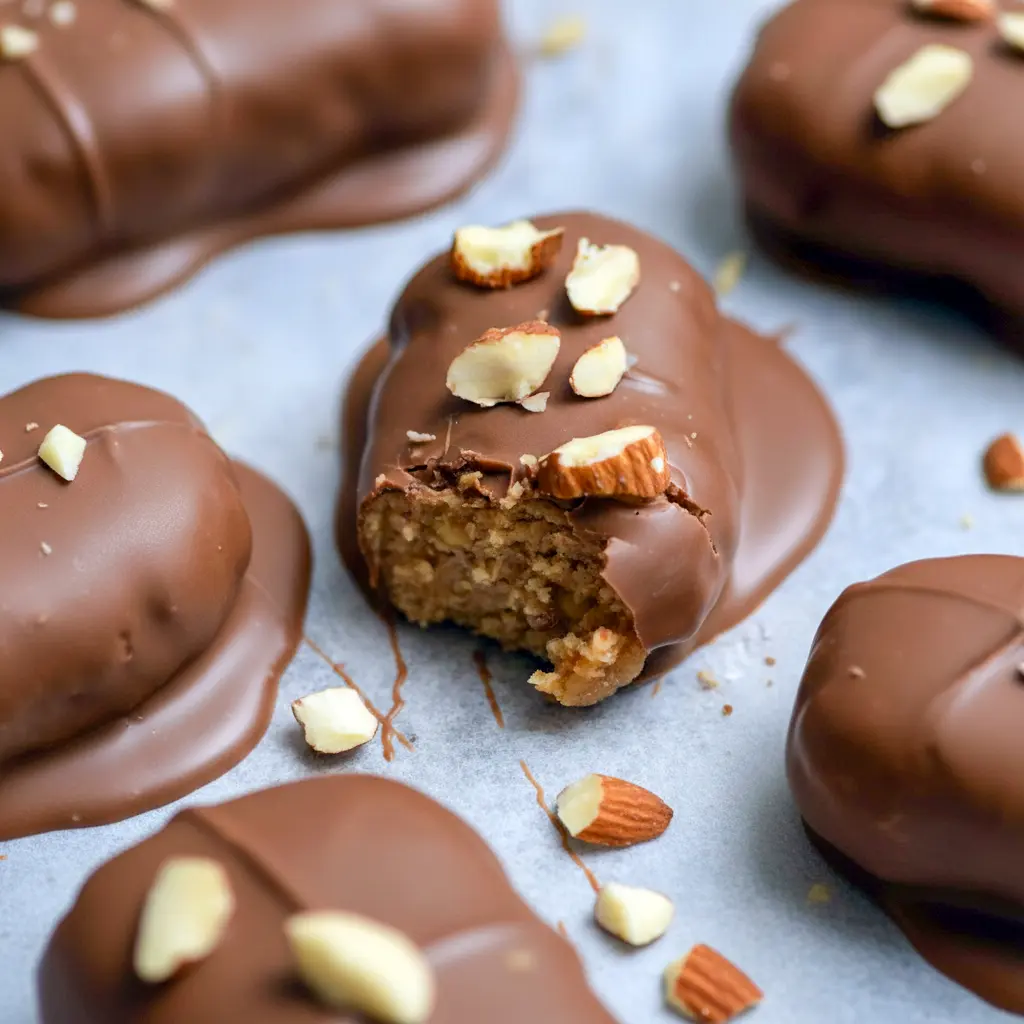
- Chocolate-hazelnut: use hazelnut butter and top with chopped hazelnuts for a Nutella-style bar.
- Crunchy almond: fold in lightly crushed almonds for texture.
- Birthday cake: stir in a teaspoon of vanilla and rainbow sprinkles into the dough (then refrigerate so they don’t melt).
- Dark-chocolate sea salt: use dark chocolate and sprinkle sea salt on top. Classic.
- Vegan: use pea protein or hemp protein and plant milk; ensure chocolate is dairy-free.
- PB&J twist: add a small dot of jelly into the center before chilling or swirl jam on top prior to chocolate dip. Makes a solid How To Make Reese’s Protein Bars riff.
- Boost with seeds: hemp seeds or chia add omega-3s and crunch for Easy Protein-packed Treats.
Best ways to serve these bars
- Post-workout: eat one with a banana for recovery carbs + protein.
- Snackbox: pack a couple in a lunchbox with fruit and nuts for balanced snacking.
- Dessert plate: serve mini bars with berries and a mint sprig for a low-effort dessert.
- On-the-go: freeze extras and pop a couple in your bag — they’ll thaw by snack time.
Storage, Freezing & Shelf Life
- Refrigerator: Store in an airtight container in the fridge for up to 1 week.
- Freezer: These freeze well for up to 3 months. Defrost in the fridge or at room temp for a few minutes.
- Room temp: If your kitchen is cool and bars are fully set, you can keep them at room temperature for a day, but refrigeration gives best texture and keeps chocolate from sweating.
Bold storage tip: Freeze extras. They thaw quickly and feel fresh — perfect for meal prep.
FAQs — quick answers
Can I use almond flour instead of oat flour?
Yes, but almond flour yields a denser, oilier texture. It’s delicious but different; you may need slightly less milk.
My protein powder makes the dough chalky — help!
Add a little more nut butter or a splash of milk to smooth it out. Choose a higher-quality powder next time — taste matters.
Can I omit the chocolate?
Sure — roll into balls and dust with cocoa or shredded coconut for a lighter finish. They’ll still be satisfying.
How to make them nut-free?
Use a seed butter like sunflower seed butter and a seed-based protein powder if needed.
Are these suitable for kids?
Definitely—just watch portion sizes. Little ones often love these as a treat or lunchbox addition.
Why these count as Homemade Protein Desserts (and not just snacks)
These bars bridge dessert and nutrition. They satisfy the sweet tooth while providing a meaningful hit of protein and fiber — making them great Sweet Protein Snacks or an energy boost that actually keeps you full. They fit the bill when you want a treat that still supports a fitness routine.
Ideas for using protein powders creatively
Protein powder does more than boost smoothies. Try it in:
- Muffin batters (reduces carbs slightly)
- Yogurt mix-ins for thicker texture
- As a partial flour substitute in bar recipes — like this one, which produces practical Protein Powder Bars.
Troubleshooting common mishaps
- Too sticky: Add more oat flour, chill, then reshape.
- Too dry/crumble: Add a small spoonful of nut butter or milk.
- Chocolate won’t stick: Make sure the bars are chilled; warm bars melt the chocolate and cause sliding.
Final thoughts — snack smarter, not harder
If you want an easy, Easy Protein-packed Treats that tastes like a cross between a candy bar and a sensible snack, these Peanut Butter Protein Bars deliver. They belong in the “make-ahead, stash-in-the-freezer, eat-with-abandon” category — while still being better for you than most store-bought alternatives.
Ready for the recipe card and shopping list? I can format it printable-style or make a single-serve macro breakdown (calories, protein, carbs, fats) if you track numbers. Either way — get that peanut butter ready. Your future snack-self will thank you.
Follow me on Pinterest for daily new recipes.

No-Bake Copycat Reese’s Peanut Butter Protein Bars
- Yield: 18 mini bars 1x
- Category: Dessert, Snack
Description
No-bake Copycat Reese’s Peanut Butter Protein Bars — chewy, chocolate-coated bites made from oat flour, protein (or almond flour), and peanut butter. They’re quick to assemble, customizable, and perfect for stashing in the fridge or freezer for a grab-and-go protein treat.
Ingredients
- 2 cups oat flour (208 g)
- ⅓ cup vanilla protein powder or almond flour (118 g)
- 3–4 tbsp granulated sweetener of your choice
- ½ cup peanut butter or another nut/seed butter (129 g)
- ½–1 cup milk of choice (start small — see notes)
Chocolate coating
- ½ cup chocolate (87 g), melted
Instructions
-
Combine the oat flour, protein powder (or almond flour), and sweetener in a mixing bowl. Stir to distribute evenly.
-
Add the peanut butter and ¼ cup of your chosen milk. Mix until the ingredients begin to come together. Add more milk, a little at a time, until you get a firm, rollable dough — it should hold together without feeling sticky. Whey-based powders usually require less liquid than plant proteins.
-
Using about a tablespoon of dough each, shape into small bars, eggs, or balls. Place them on a parchment-lined tray as you go. This recipe yields roughly 18 mini bars.
-
Chill the formed pieces briefly (10–15 minutes) to firm them up — this helps when dipping.
-
Melt the chocolate in a double boiler or short bursts in the microwave, stirring until smooth. Dip each chilled piece into the chocolate, tap off excess with a fork, and return to the parchment.
-
Refrigerate until the chocolate sets, about 10–15 minutes. Enjoy straight away or store for later.
Notes
- Yield & storage
- Makes about 18 mini bars.
- Store in an airtight container in the fridge for up to 1 week, or freeze for longer storage.
- Tip: If the dough feels crumbly, add a teaspoon or two more milk. If it’s too wet, fold in a little more oat flour or protein powder.


