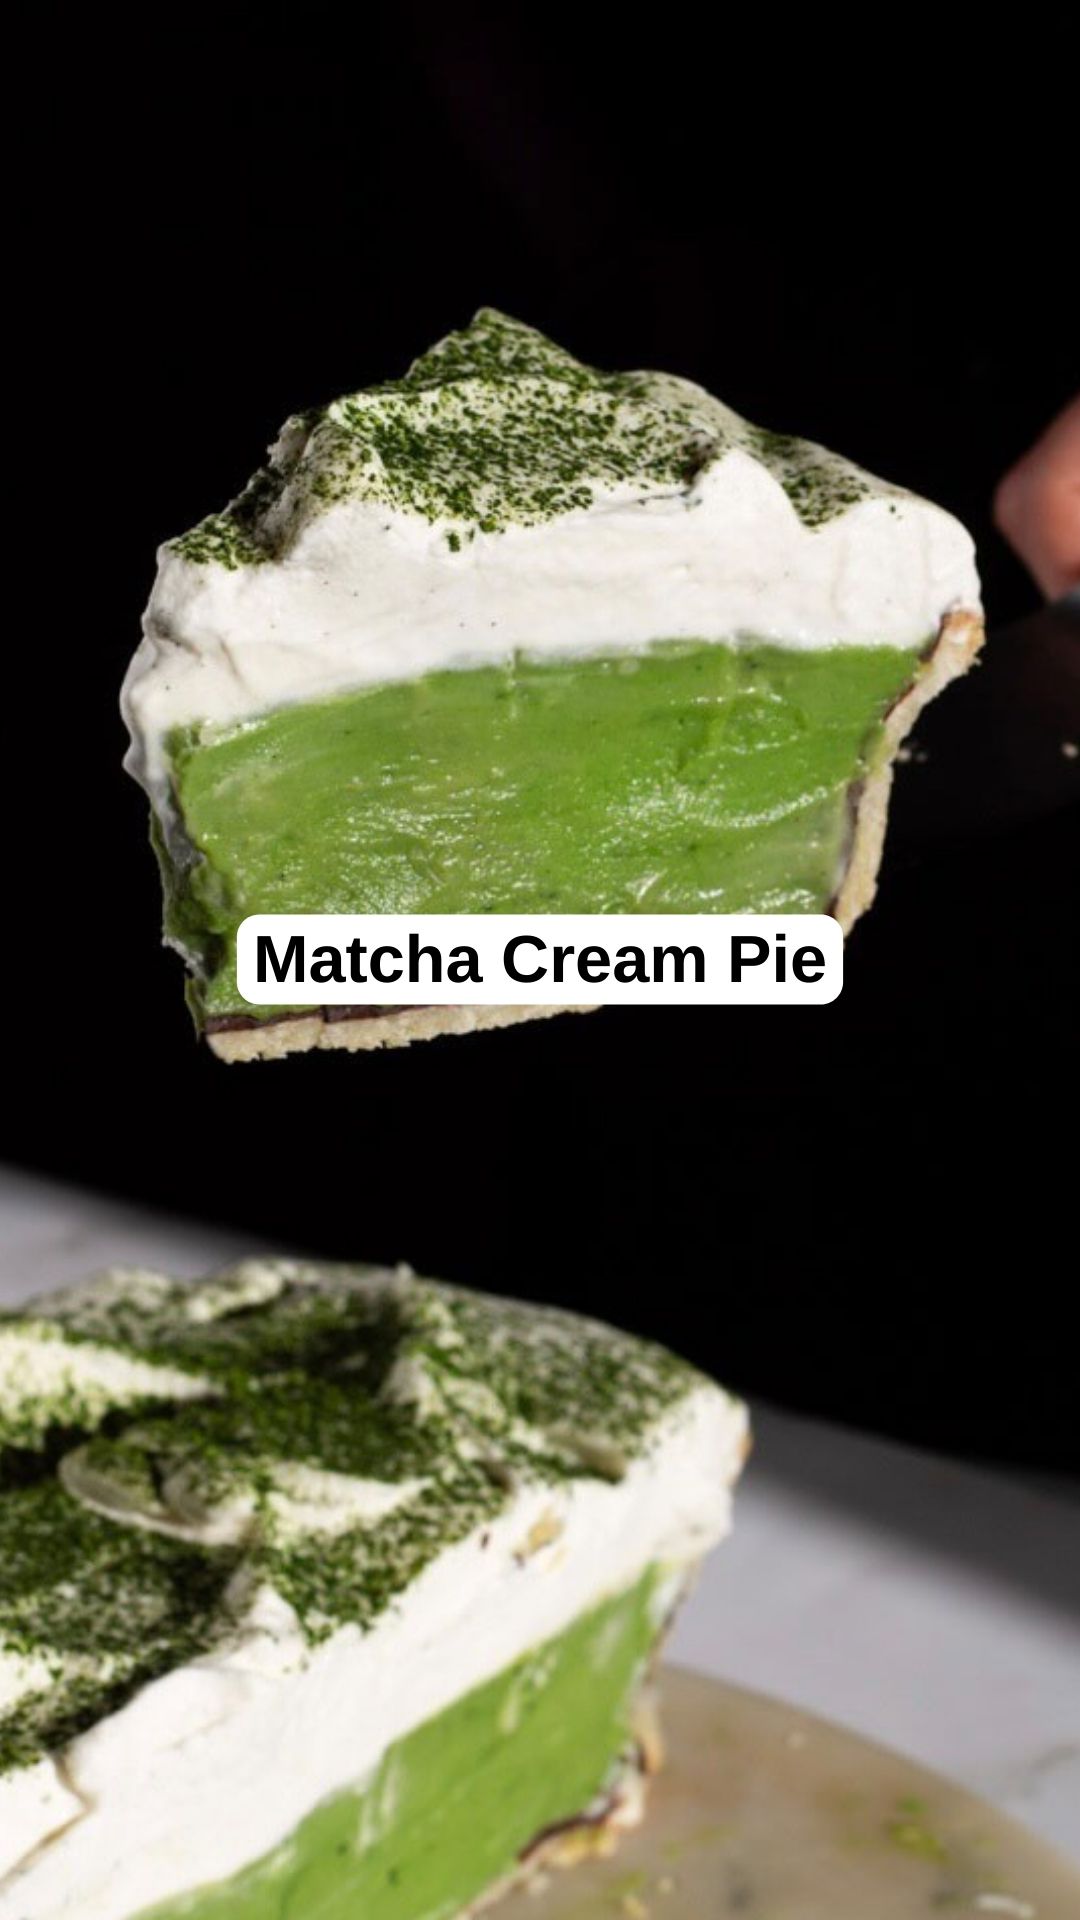
This isn’t just any matcha cream pie—it’s a matcha cream pie with a flaky pie crust lined with dark chocolate, filled with matcha pastry cream, and topped with vanilla bean whipped cream. It starts with a buttery, flaky pie crust. Once baked, the crust is lined with dark chocolate to prevent it from getting soggy and to add a hint of chocolate to every bite. Once the chocolate hardens, the matcha cream filling is poured in and topped with a luscious vanilla bean whipped cream.
TIPS FOR THE BEST MATCHA CREAM PIE
Blind Baking: Make sure to blind bake and cool the pie crust completely before adding the chocolate layer to prevent sogginess.
Matcha Mixing: Whisk the matcha powder with warm water thoroughly to eliminate any clumps. Straining the mixture ensures a smooth and lump-free pastry cream.
Temperature Control: Be careful when heating the milk for the pastry cream. It should be just under a boil to avoid curdling.
Cooling Pastry Cream: Cover the pastry cream with plastic wrap pressed onto its surface to prevent a skin from forming as it cools.
Whipping Cream: Whip the heavy cream until medium peaks form. Avoid overwhipping, as it can make the cream too stiff.
MATCHA CREAM PIE FAQS
Can I use vanilla extract instead of vanilla bean paste?
Yes, vanilla extract works just as well. Use 1 teaspoon of vanilla extract in place of the vanilla bean paste.
How long does the pie need to chill before serving?
Refrigerate the pie for at least 4 hours to ensure it sets properly before slicing.
Can I prepare the pastry cream in advance?
Yes, you can make the pastry cream ahead of time. Ensure it’s tightly covered and refrigerated. Do not whisk it once chilled to avoid breaking down the cream.

Matcha Cream Pie
- Prep Time: 1 hour
- Cook Time: 20 minutes
- Total Time: 1 hour 20 minutes
- Yield: 8 1x
- Category: Dessert
Ingredients
**Pie Crust:**
- – 1 flaky pie crust (blind-baked)
**Dark Chocolate Lining:**
- – 3 ounces bittersweet chocolate (chopped)
**Matcha Pastry Cream:**
- – 4 cups whole milk
- – 1/2 teaspoon salt
- – 1 tablespoon vanilla bean paste or vanilla extract
- – 1/2 cup cornstarch
- – 1 cup sugar
- – 4 eggs
- – 8 tablespoons butter
- – 3 tablespoons warm water (175°F)
- – 3 tablespoons matcha powder
**Whipped Cream:**
- – 1 1/2 cups cold heavy cream
- – 2 tablespoons granulated sugar
- – 1 teaspoon vanilla extract or 1 tablespoon vanilla bean paste
Instructions
**Pastry Cream:**
- Prepare a bowl with a fine-mesh sieve on top to cool the pastry cream.
- In a separate bowl, whisk together the cornstarch and sugar. Add the eggs and whisk until smooth. Set aside.
- In a small bowl, whisk together the matcha powder and warm water. Strain the mixture through a sieve to remove any clumps and set aside.
- In a saucepan, heat the milk and vanilla bean paste over medium-high heat until just under a boil, stirring occasionally to prevent sticking.
- When the milk is warmed, slowly whisk 1/3 of the hot milk into the egg mixture. Then pour the egg-milk mixture back into the saucepan with the remaining hot milk. Whisk over medium heat until thickened like lightly whipped cream. Remove from heat and immediately mix in the matcha mixture. Pour the cream through the sieve into the prepared bowl.
- Let the cream cool for 10 minutes, stirring occasionally. When the cream reaches 140°F, mix in the butter one piece at a time until smooth. Cover with plastic wrap pressed directly onto the surface and chill in the refrigerator.
**Assembly:**
- Melt the chocolate in a microwave-safe bowl in 30-second increments, stirring each time, until fully melted. Spread the melted chocolate evenly over the cooled pie crust. Chill in the refrigerator for 10 minutes.
- While the chocolate hardens, whip the cold heavy cream, vanilla, and sugar in a stand mixer or with a hand mixer until medium peaks form.
- Once the chocolate is hardened, spread the pastry cream evenly in the crust.
- Top with whipped cream and spread evenly. Dust with matcha powder.
- Refrigerate the pie for at least 3 hours before serving.


