The secret to incredible pies is lining the crust with sea salt caramel. This salty caramel adds a complex flavor that makes the pie unforgettable. Plus, it only takes a few minutes to prepare, and you’ll have extra caramel left over – a win-win!
Chocolate Cream Pie with a Twist
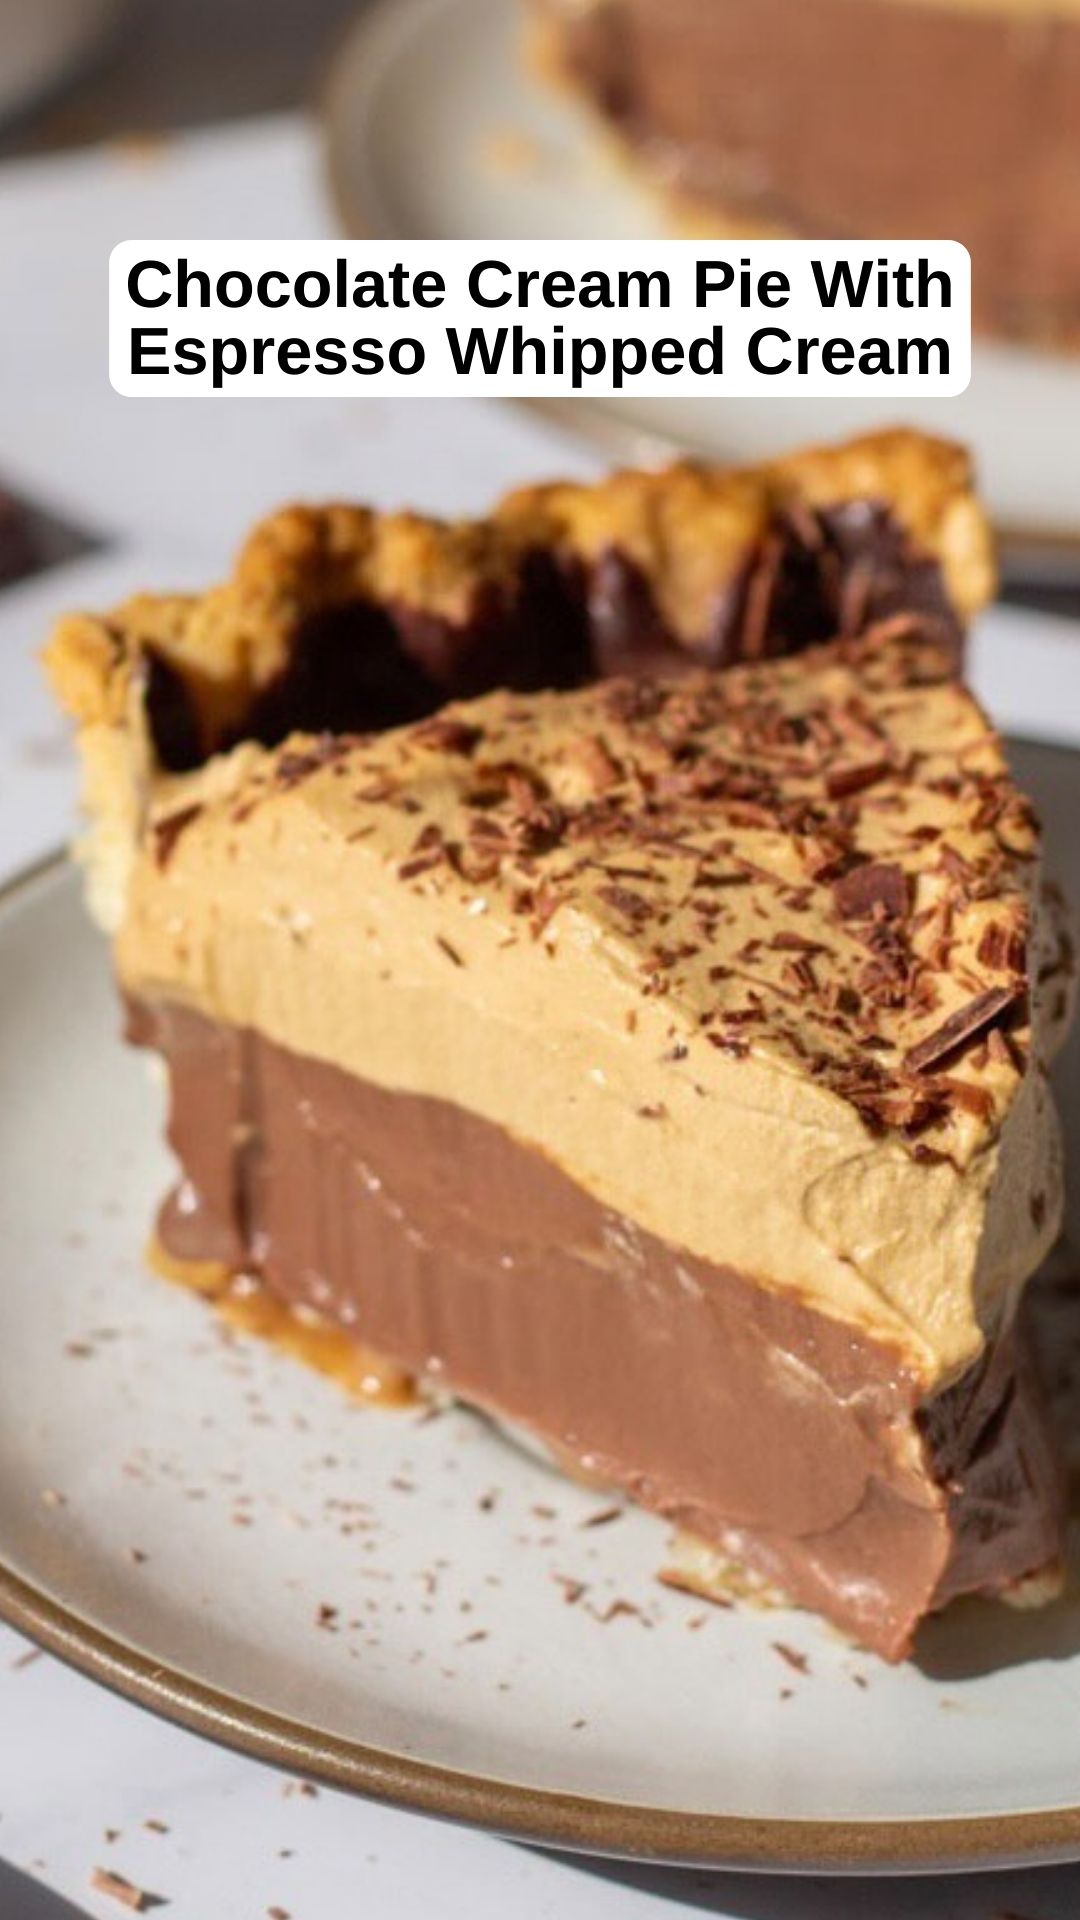
Chocolate cream pie gets a gourmet upgrade with espresso dark chocolate. We line the flaky pie crust with dark chocolate and a touch of sea salt caramel at the bottom. The chocolate layer keeps the crust flaky by protecting it from the chocolate pudding, adding extra chocolate to every bite. Topped with espresso whipped cream, this pie has it all: dark chocolate, coffee whipped cream, vanilla bean sea salt caramel, and golden, flaky pie dough.
Secrets to the Perfect Chocolate Cream Pie with Espresso Whipped Cream:
- Par-bake the crust until golden: Blind bake the crust with baking weights, then remove them and continue baking until the crust is golden.
- Chocolate line the crust: Spread melted chocolate over the crust to keep it crisp and add extra chocolate flavor.
- Espresso powder: Add espresso powder to heavy cream (with vanilla and sugar) and whip it to make the perfect espresso-flavored whipped cream.
- Let it set: Chill the pie in the fridge for at least 4 hours, preferably overnight, to ensure perfect slices.

Chocolate Cream Pie With Espresso Whipped Cream
- Prep Time: 1 hour
- Cook Time: 20 minutes
- Total Time: 1 hour 20 minutes
- Yield: 8 1x
- Category: Dessert
Ingredients
**For the Crust:**
- – 1 par-baked crust (see link for our favorite flaky pie crust)
- – 3 oz chopped dark chocolate
- – 2/3 cup sea salt caramel (optional, see link for our recipe)
**For the Filling:**
- – 1/2 cup granulated sugar
- – 1/4 cup cornstarch
- – 2 large eggs
- – 2 1/2 cups whole milk
- – 1/2 teaspoon salt
- – 1 tablespoon vanilla extract
- – 5 ounces dark chocolate (best quality, such as Valrhona)
- – 4 tablespoons salted butter
**Espresso Whipped Cream:**
- – 1 1/3 cups heavy cream
- – 1 teaspoon espresso powder
- – 3 tablespoons granulated sugar
- – 2 teaspoons vanilla extract
- – Chocolate shavings for topping (optional)
Instructions
**Chocolate, Caramel Lined Crust:**
- Have a par-baked and cooled flaky pie crust ready.
- Melt the dark chocolate in the microwave in short increments, stirring every 30 seconds, or use a double boiler.
- Spread the melted chocolate evenly over the pre-baked crust. Chill in the refrigerator for 10 minutes until hardened.
- Spread the caramel evenly over the chocolate layer. If the caramel is too thick, warm it slightly until it reaches a spreadable consistency (not hot).
- Keep the chocolate caramel crust in the fridge until ready to fill.
**Chocolate Pastry Cream:**
- Set up a bowl with a fine-mesh sieve on top to strain and cool the pastry cream once cooked.
- In another bowl, whisk together cornstarch and sugar. Add the eggs and whisk until smooth.
- In a saucepan, heat the milk, salt, and vanilla extract over medium-high heat until just below boiling, stirring to prevent sticking.
- Gradually add 1/3 of the hot milk to the egg mixture, whisking constantly to avoid cooking the eggs. Pour the egg-milk mixture back into the remaining hot milk. Whisk over medium heat until thickened, just to a boil.
- Remove from heat and pour through the sieve into a bowl.
- Add the dark chocolate and stir until melted. Then add the butter, one tablespoon at a time, stirring until smooth.
- Let the pastry cream cool for 10 minutes, then pour into the prepared crust. Press plastic wrap directly onto the surface to prevent a skin from forming. Chill for at least 4 hours, ideally overnight.
**Espresso Whipped Cream:**
- In a large bowl, whip the cream on medium-high speed. As it thickens, add sugar, espresso powder, and vanilla extract. Whip until medium-firm peaks form.
- Remove the pie from the fridge, discard the plastic wrap, and top with whipped cream. Optionally, garnish with chocolate shavings before serving.


